How to Build a BBQ Island With Blocks in 10 Easy Steps
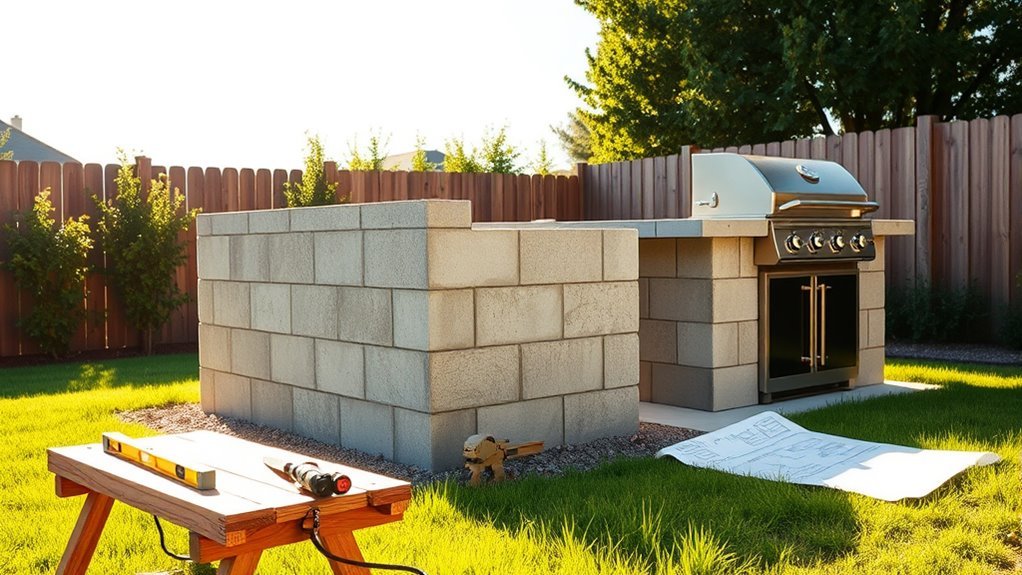
You can build a BBQ island with blocks by first selecting a level, well-drained spot near utilities. This is key for a smooth build and easy access to water and electricity. Gather materials like cinder blocks, mortar, and tools before marking your layout.
Excavate and prepare a gravel base with rebar reinforcement, then lay blocks with mortar, staggering joints. This helps make your BBQ island strong and stable.
Install utility lines and secure a durable countertop for the perfect cooking surface.
Finish by sealing and weatherproofing to protect your new outdoor kitchen from the elements. Keep going to explore detailed steps that’ll help you create a sturdy, functional outdoor cooking space. You’re on your way to building an awesome BBQ island that’ll be the star of your backyard!
Key Takeaways
- Select a level, well-drained site near utilities while complying with local building codes and safety setbacks.
- Prepare tools and materials including cinder blocks, mortar, rebar, gravel, waterproof sealant, and safety gear.
- Excavate and level the foundation trench, lay gravel and wire mesh, then pour a concrete base for block support.
- Lay blocks on mortar with staggered joints, install utility lines carefully, and secure a weather-resistant countertop.
- Seal mortar joints, apply weatherproof coatings, install drainage, and allow adhesives to cure for durability.
Choose the Perfect Location for Your BBQ Island
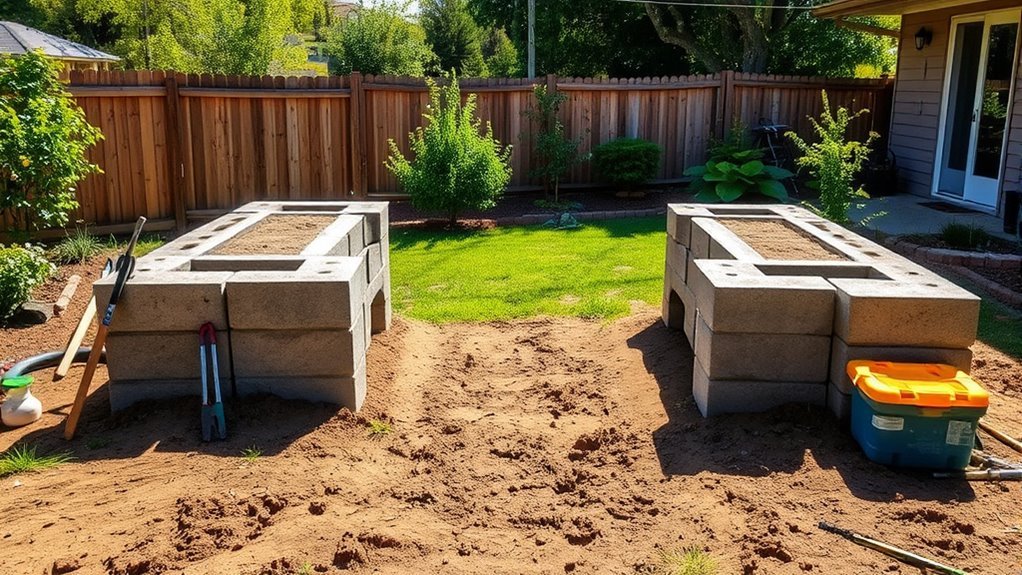
Before you start building, choose a level, well-drained spot that gets plenty of sunlight and isn’t in the way of foot traffic. Your outdoor space should be safe and convenient, so avoid areas near overhead branches or structures that could block airflow or pose fire hazards.
Good site selection also means placing your BBQ island close to utility sources like gas, water, and electricity to simplify connections. Don’t forget to check local building codes and HOA regulations to ensure your location meets setback and safety requirements.
Gather Tools and Materials Needed for Construction
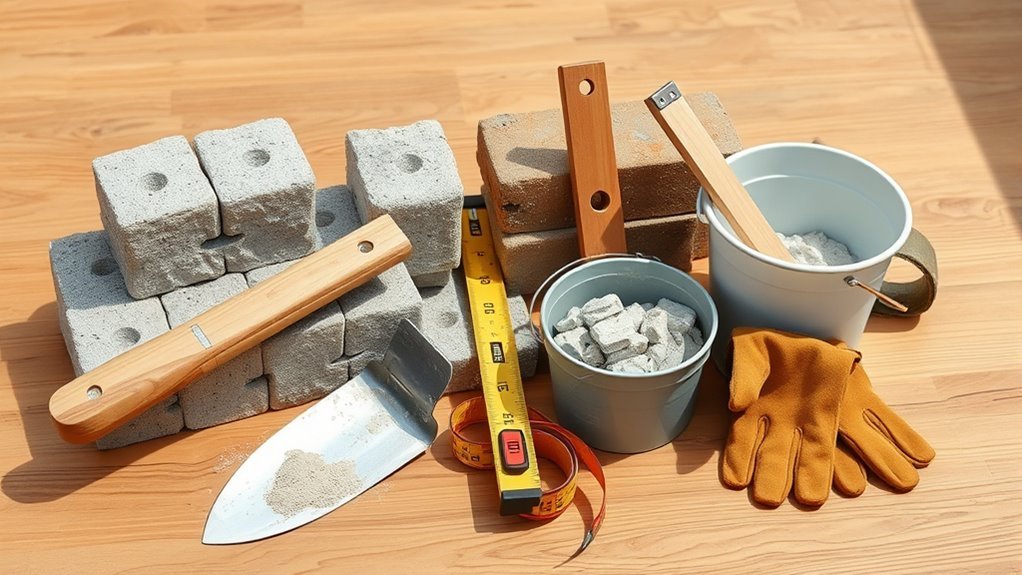
Since a well-prepared workspace makes construction smoother, gather all the essential tools and materials before you begin building your BBQ island. You’ll need tools like a trowel, level, masonry saw, mortar pan, and mortar hoe for mixing and applying mortar.
Prepare your workspace by gathering essential tools like a trowel, level, masonry saw, and mortar pan before building.
Don’t forget measuring tape and chalk to mark your foundation accurately. For materials, stock up on concrete cinder blocks, mortar mix, gravel, rebar, and waterproof sealant to guarantee durability.
Safety gear—gloves, eye protection, and a dust mask—is vital when cutting blocks and handling mortar. Also, have water handy for mixing mortar, a wheelbarrow for transport, and a sponge to clean excess mortar.
Having these tools and materials ready streamlines your construction process and sets you up for success. It really makes the whole building experience a lot easier!
Plan and Mark Your BBQ Island Layout
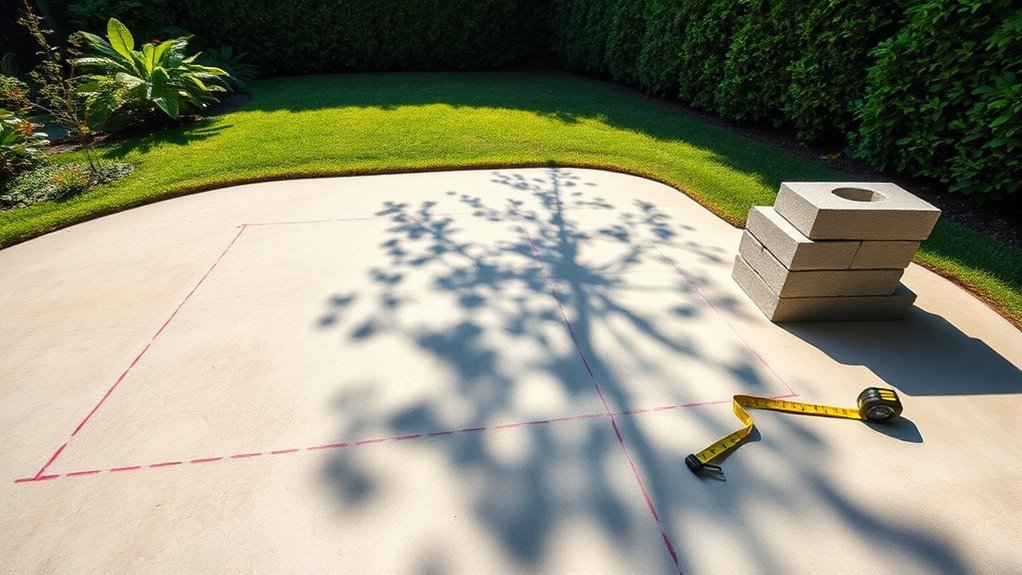
When you choose the perfect spot for your BBQ island, make sure it offers easy access to utilities and enough room for your design. Start by selecting a flat outdoor kitchen area that accommodates your plans and mason blocks.
Use spray paint or chalk to outline the perimeter, matching the exact dimensions of your BBQ island. Measure and mark the foundation’s length, width, and any extra features like seating or storage.
Double-check all measurements with a tape measure, and use a level to keep your layout even and straight. Remember to plan for future access points for utilities and appliances, leaving space for doors, vents, or electrical components.
This careful marking ensures your outdoor kitchen built with mason blocks will be functional and well-organized. It might seem like a lot, but taking your time here really pays off in the long run.
Prepare and Excavate the Foundation Area
Although you’ve already marked your BBQ island’s outline, you’ll need to dig a trench wider and deeper than your planned structure to guarantee a solid foundation. Start by spray painting or chalking the outline, then excavate the area to at least 8 inches wider on all sides and about 12 inches deep.
This extra space ensures your foundations are stable and properly supported. As you dig, keep the trench bottom level using a carpenter’s level, and use stakes with string lines to maintain accurate alignment.
Once the excavation is complete, prepare to add the gravel layer, which will improve drainage and stability. Proper excavation sets the stage for durable foundations, so take your time to get this essential step right before moving forward.
Build a Solid Gravel Base and Install Reinforcement
Start by filling your trench with layered gravel. Make sure to compact and level each layer carefully for a stable base.
Use a hand tamper to press down the gravel. This helps prevent future settling and ensures proper drainage.
Once the base is solid, install wire mesh or rebar. Make sure it’s slightly elevated to reinforce the concrete foundation.
Gravel Layer Preparation
To guarantee your BBQ island rests on a stable foundation, you’ll need to excavate a trench that’s 8 inches wider than your planned base dimensions. This extra width provides essential support and ensures stability.
Next, fill the trench with a 2-inch layer of gravel, such as crusher run, to create a solid base for the foundation. After leveling the gravel, lay a rigid wire mesh reinforcement grid. Make sure to suspend it above the gravel with small wire pieces so it doesn’t touch the soil.
This reinforcement strengthens the foundation and helps prevent cracking. Proper gravel layer preparation is critical since it distributes the load evenly and promotes drainage beneath your BBQ island.
Compacting and Leveling Gravel
Once you’ve spread a gravel layer at least 6 inches deep, you’ll need to compact it thoroughly using a hand tamper or plate compactor to eliminate air pockets and boost stability.
Check the gravel’s level with a spirit or laser level, adjusting as needed to create a flat, even foundation. Compact and level in layers to build a solid, well-drained base.
| Step | Tool Used | Purpose |
|---|---|---|
| Spread gravel | Shovel | Even coverage |
| Compact gravel | Hand tamper | Remove air pockets |
| Check level | Spirit/Laser level | Ensure flat foundation |
| Adjust gravel | Rake | Correct uneven areas |
| Final compaction | Plate compactor | Boost stability |
Installing Wire Mesh
While preparing your BBQ island foundation, you’ll need to install wire mesh above the compacted gravel to reinforce the concrete. First, verify your gravel base is at least 6 inches deep and level.
Cut pieces of wire mesh to fit the foundation area, allowing a 2-inch gap between the mesh and gravel surface. Use small pieces of rebar or wire to suspend the mesh, preventing it from resting directly on the gravel.
Overlap multiple sheets of wire mesh by at least 6 inches to create continuous reinforcement across the foundation. Secure the mesh with wire ties or clips to keep it from shifting during the concrete pour.
This reinforcement step is vital for building a solid, durable foundation for your BBQ island blocks. It really makes a difference in the long run!
Lay the First Course of Blocks Accurately
Before you start laying the first course of blocks, you’ll want to mark a straight, even foundation line using a level and a string line. This guarantees your BBQ island starts perfectly aligned.
Begin by laying the blocks directly on a compacted gravel base for stability. Apply a generous layer of mortar between each block, covering all sides thoroughly to create a strong bond.
As you set each block, continuously check the level and alignment to maintain a straight first course. Remember to stagger the joints by half a block length to improve the wall’s strength and stability.
Taking these careful steps now will save you from issues later and give your BBQ island a solid, professional foundation.
Continue Building Up the Block Walls
With the first course of blocks securely in place and properly aligned, you can start building up the block walls. Apply a consistent 1-inch thick layer of mortar on top of the first course.
Place the second course of blocks, staggering seams to strengthen the block wall. Use a level to check each block is perfectly horizontal and aligned with the previous course. Tap blocks gently with a rubber mallet for a snug fit and good mortar contact.
Don’t forget to fill joints with mortar and smooth them using a pointing trowel for a clean finish. Repeat this process as you build higher.
| Step | Action | Tip |
|---|---|---|
| 1 | Apply mortar | 1-inch thick layer |
| 2 | Place blocks | Stagger seams |
| 3 | Check alignment | Use a level |
| 4 | Secure blocks and joints | Tap with mallet, smooth mortar |
Install Utility Lines and Electrical Components
As you prepare to install utility lines, start by marking their exact locations on the foundation and double-check that they meet local building codes. Use a trench digger or shovel to carefully dig trenches for electrical components and plumbing pipes, avoiding existing underground utilities.
Install conduit pipes or flexible tubing to safeguard electrical wiring, securing them with clamps or straps to prevent movement during concrete pouring. Connect utility lines to outdoor kitchen-rated fixtures, including weatherproof outlets, GFCI-protected circuits, and frost-proof faucets, following manufacturer instructions closely.
Before closing the trenches, test all electrical and plumbing connections to confirm everything operates properly. This careful installation ensures your BBQ island’s utility lines and electrical components function safely and efficiently for years to come.
Add and Secure the Countertop Surface
Choose a countertop material that fits your block structure perfectly. Make sure to cut out spaces for appliances or sinks too.
You’ll want to secure it with strong, weatherproof adhesive. Then, reinforce it using screws or bolts for extra stability.
Finally, seal all edges with a waterproof sealant. Let everything cure fully before using your BBQ island.
Countertop Material Selection
How do you pick the perfect countertop material for your outdoor BBQ island? Focus on durability and weather resistance—granite, concrete, and stainless steel are excellent choices.
These materials hold up well against outdoor elements and daily use. Once you select your countertop, make sure to cut it precisely to fit your block-built island, allowing for a proper overhang and easy access.
To secure the countertop, use an outdoor-rated adhesive or mortar suited to your material, following the manufacturer’s instructions carefully. While the adhesive cures, clamp or support the surface to keep it level and stable.
Finally, protect your investment by applying a weatherproof sealant. This step guards against water damage, staining, and wear, ensuring your BBQ island stays functional and attractive for years.
Securing and Finishing Techniques
Once you place the countertop on your BBQ island, secure it firmly by applying construction adhesive or silicone sealant along the top edges of the blocks. For heavier materials like granite or concrete, use mechanical fasteners such as screws or brackets to guarantee stability.
To prevent any movement, clamp or weigh down the countertop until the adhesive or sealant fully cures, usually within 24 to 48 hours. Fill any gaps between the blocks and countertop with mortar or sealant to achieve a seamless, weather-resistant finish.
Finally, complete the finishing process by applying a waterproof sealant suitable for your countertop material. This step protects against moisture and staining, ensuring your BBQ island remains durable and looking great for years.
Proper securing and finishing techniques are essential for a sturdy, long-lasting setup. Taking these steps seriously will pay off in the long run!
Seal, Weatherproof, and Finalize Your BBQ Island
To guarantee your BBQ island stands up to the elements, you’ll need to seal all mortar joints and surface cracks with a high-quality waterproof sealant. This helps prevent water infiltration and damage.
Next, weatherproof the exterior blocks by applying weatherproofing paint or sealant. This will help resist rain, snow, and harmful UV rays.
Don’t forget to install a drainage system around the base to direct water away and reduce moisture buildup. This step is super important to keep your island dry and sturdy.
To finalize your island, cover the top surface with weather-resistant materials like sealed stone, tile, or concrete. This adds an extra layer of protection.
Make sure to regularly inspect and reseal the structure each year to maintain its durability. By carefully sealing, weatherproofing, and finalizing your BBQ island, you’ll ensure it remains sturdy and attractive for years to come.
Conclusion
Building your BBQ island is like crafting the heart of your backyard—a solid foundation for countless memories and meals. By following these steps, you’ll turn simple blocks into a stunning, functional centerpiece that stands the test of time and weather.
With careful planning and a bit of effort, you’ll have a space that invites friends and family to gather, grill, and enjoy. Think of it as creating your own outdoor kitchen where every BBQ party feels special.
Now, fire up that grill and let the good times begin! Building a BBQ island with blocks is easier than you might think, and the result is a durable, attractive setup perfect for outdoor cooking. So, grab your materials, roll up your sleeves, and start building your dream BBQ island today—your backyard will thank you!