How to BBQ Prime Rib in 7 Easy Steps
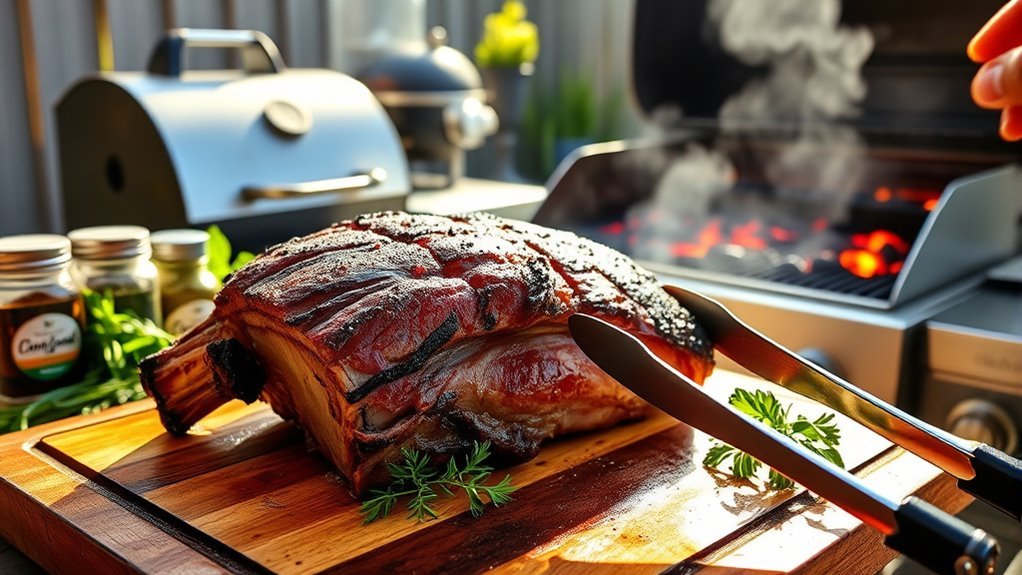
To BBQ prime rib in 7 easy steps, start by choosing a bone-in, USDA Prime cut for the best flavor and tenderness. Trimming the excess fat is key to avoid flare-ups and keep the meat juicy. Season generously with your favorite rub, then let it rest at room temperature to absorb all those flavors.
Next, preheat your grill to 225°F for low and slow cooking using indirect heat. This method helps cook the prime rib evenly and keeps it super tender. Keep an eye on the internal temperature, aiming for about 125°F for medium-rare perfection.
Once you hit that temp, crank up the heat and sear the meat over high heat to develop a crisp, flavorful crust. Don’t forget to rest the prime rib before slicing; it allows the juices to redistribute, making every bite juicy and delicious.
Slice against the grain and serve. Stick with these steps, and you’ll be a prime rib BBQ master in no time!
Key Takeaways
– Choose a bone-in USDA Prime grade prime rib and season it generously with kosher salt and herbs at least 12 hours before cooking.
This step really helps the flavors soak in and makes your roast taste amazing.
– Preheat the grill to 225°F and set up for indirect heat with a drip pan to maintain moisture during slow cooking.
Keeping the moisture in is key to a juicy prime rib.
– Cook the prime rib at 225°F until the internal temperature reaches 125°F for medium-rare, using a probe thermometer to monitor.
This way, you don’t have to keep opening the grill and guessing.
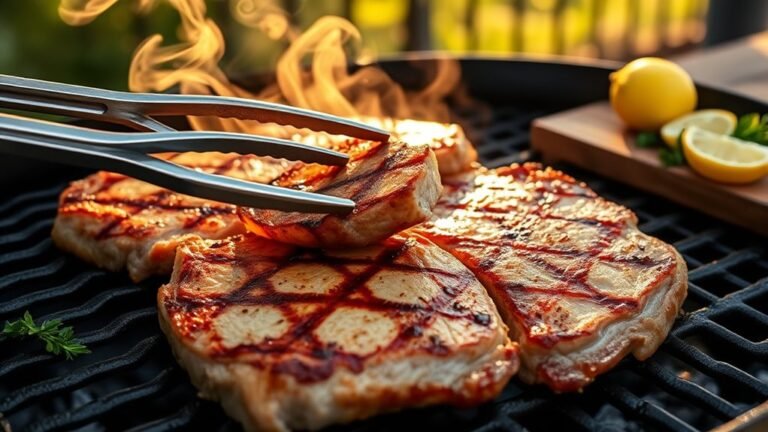
– Sear the roast over high heat (450-500°F) for 5-10 minutes, turning regularly to develop a crispy, flavorful crust.
That crust is what gives the prime rib that incredible texture and taste.
– Rest the meat for 15-20 minutes before slicing against the grain and serving immediately to retain juices and tenderness.
Trust me, resting makes all the difference in keeping your prime rib juicy and tender.
Choose the Right Prime Rib Cut and Grade for BBQ Success
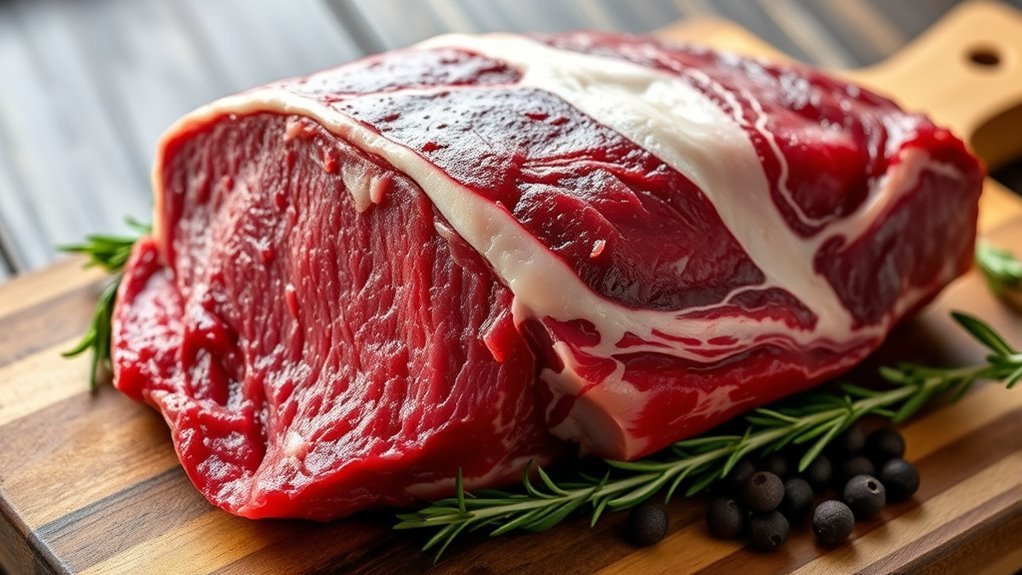
Although you can choose between bone-in and boneless prime rib, opting for bone-in often enhances flavor thanks to the marrow in the bones. When selecting your prime rib, aim for Prime grade if possible.
This USDA grade boasts higher marbling, which means more tenderness and richer taste that’s perfect for BBQ. While Choice grade works fine, Prime grade consistently delivers superior results.
Make certain you source your prime rib from a reputable butcher or supplier to guarantee freshness and proper preparation. This ensures you get a cut that’s ready to shine on the grill.
Picking the right cut and grade sets the foundation for BBQ success, so take the time to choose wisely before moving on to seasoning and cooking.
Trim and Season Your Prime Rib for Maximum Flavor
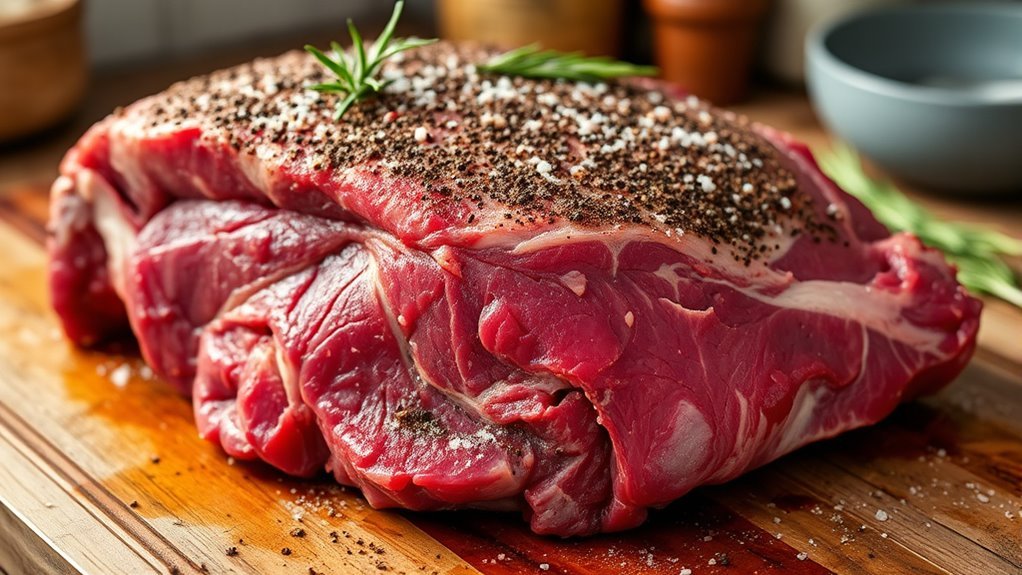
Start by trimming any excess fat and uneven edges to guarantee your prime rib cooks evenly and looks great. Then, season it generously with kosher salt well ahead of time to lock in moisture and tenderness.
Finish by applying herbs and a flavorful rub evenly for a rich, layered taste that’ll impress. It’s all about building those deep flavors that make your prime rib unforgettable.
Trimming Techniques Explained
Because trimming your prime rib properly sets the foundation for even cooking and maximum flavor, you’ll want to remove excess fat and uneven edges with a sharp knife before seasoning. Focus on trimming the fat cap down to about 1/4 inch; this thickness lets seasoning penetrate better while cutting down on greasiness.
Use butcher’s twine to tie the roast, keeping its shape uniform for consistent cooking and easier handling during trimming. Be sure to remove any loose or hanging meat, which can cause uneven heat distribution and flare-ups on the grill.
Proper trimming not only improves presentation but also helps you achieve a delicious crust once you season and cook the prime rib. This careful prep sets you up for BBQ success.
Seasoning Essentials Guide
Once you’ve trimmed your prime rib, seasoning it properly is key to revealing deep, savory flavors that will make your BBQ unforgettable. Start by salting the meat heavily with kosher salt at least 12 hours before cooking; this step enhances tenderness and locks in moisture.
After salting, let the meat rest for 1 to 4 hours, then rinse off excess salt to avoid oversalting. Next, apply a generous coating of your favorite seasoning blend, like Meat Church Holy Cow rub, seasoning from high above to guarantee even coverage.
Don’t forget to incorporate herbs such as garlic and thyme, and add flavorful liquids like Worcestershire sauce during seasoning for a layered taste. These steps will prepare your prime rib perfectly for a delicious BBQ experience.
Enhancing Flavor Profiles
Although trimming your prime rib might seem like a small step, removing excess fat and uneven edges guarantees your seasoning sticks evenly and your flavors shine through.
Start by generously applying kosher salt at least 12 hours before cooking to tenderize the meat and boost natural flavor through dry-brining.
For flavor enhancement, layer your seasoning with herbs like rosemary, thyme, garlic, and black pepper. Use a flavorful rub like Meat Church Holy Cow, sprinkling it evenly from high above to cover every inch.
After cooking, rest the prime rib in butter before slicing—this enriches the meat and lets all those flavors meld beautifully.
Get Your Grill Ready for Low and Slow Cooking
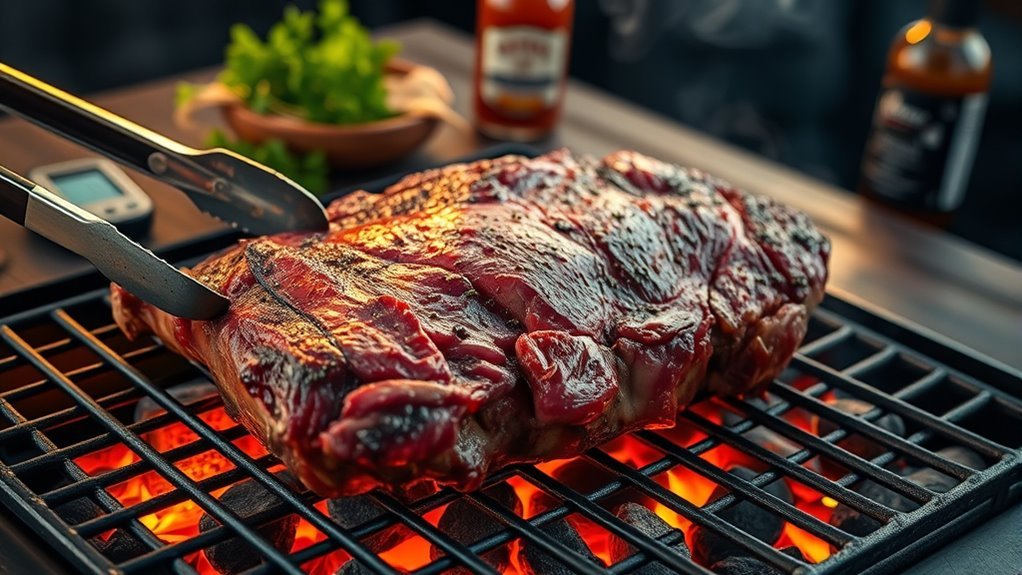
Start by preheating your grill to a steady 225°F. Set it up for indirect heat to cook your prime rib slowly and evenly.
Arrange your coals or burners so the meat isn’t directly over the flame. This helps maintain a consistent temperature.
This low and slow method is key to tender, juicy results every time. Trust me, it’s worth the wait!
Preparing Grill Temperature
To get the best results when BBQing prime rib, you’ll want to preheat your grill to a steady 225°F. This guarantees even heat distribution for that low and slow cooking everyone loves.
Start by using a reliable grill thermometer to monitor your grill temperature closely. It really helps you keep consistent heat throughout the entire cooking process.
If you’re using a pellet grill, just set the temperature to 225°F and let it preheat fully before adding your meat. And keep the grill lid closed as much as possible—that locks in heat and smoke.
This way, your prime rib cooks evenly and comes out tender every time. By carefully preparing your grill temperature, you’re setting the foundation for a perfectly cooked prime rib every single time.
Setting Up Indirect Heat
When you set up your grill for indirect heat, you create the perfect environment for low and slow cooking that tenderizes your prime rib beautifully. Start by preheating your grill to a steady 225°F.
On a charcoal grill, pile the coals on one side, leaving the other side empty to establish an indirect heat zone. Place a drip pan filled with water or broth under the meat on the cooler side to keep moisture in and stabilize temperature.
Position your prime rib on the indirect heat side, not directly over the coals or burners. Insert a reliable probe thermometer into the center of the meat to track internal temperature without opening the grill.
Keep the grill lid closed as much as possible to maintain steady heat and even cooking. This helps you get that perfect, juicy prime rib every time.
Monitor BBQ Prime Rib Temperature and Sear for a Crispy Crust
Although it’s tempting to rely on time alone, you should use a reliable probe thermometer to monitor your prime rib’s internal temperature closely. Aim for 125°F for a perfect medium-rare.
Pull the roast when it’s 10-15°F below your target to avoid overcooking. Then, crank your grill or oven up to 450-500°F to sear for a crispy crust.
Sear for 5-10 minutes, turning regularly to get an even, golden-brown finish. This step really makes a difference in texture and flavor.
| What to Do | Why It Matters |
|---|---|
| Monitor BBQ prime rib temperature | Ensures ideal doneness |
| Remove early | Prevents overcooking |
| Sear for a crispy crust | Adds irresistible texture |
Follow this, and your prime rib will be juicy inside with a mouthwatering crust outside. You’re going to love it!
Rest Your Prime Rib Properly Before Slicing
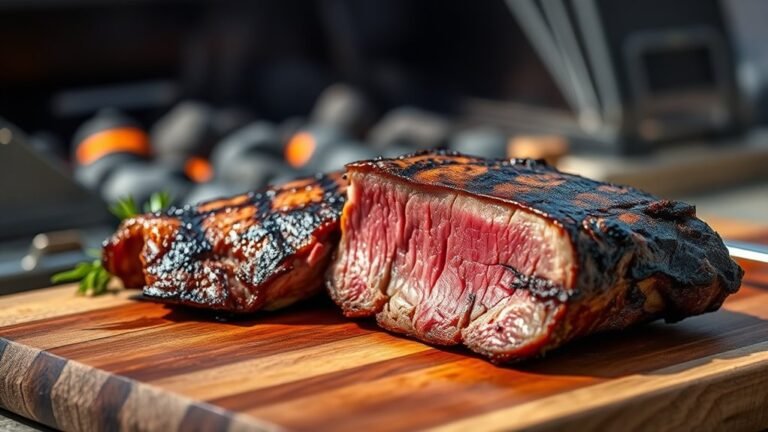
After searing your prime rib to a perfect crust, let it rest for at least 15-20 minutes before slicing. Resting is vital because it allows the juices to redistribute evenly throughout the meat, preventing them from running out when you cut into it.
This process keeps your prime rib moist and tender. To maintain the temperature without trapping excess moisture, loosely tent the meat with aluminum foil while it rests. Avoid slicing immediately after cooking—patience here ensures better flavor and texture.
During resting, carryover cooking finishes, bringing your prime rib to the ideal internal temperature without overcooking. By giving your prime rib this essential resting time, you’ll enhance both its taste and juiciness, setting the stage for a perfect serving.
Slice and Serve Your BBQ Prime Rib Like a Pro
To slice your BBQ prime rib like a pro, start by letting it rest for at least 20 minutes. This helps keep the juices locked in and the meat tender.
When you’re ready to slice, grab a sharp carving knife and cut against the grain. Doing this maximizes tenderness and makes every bite better.
Begin carving from the center of the roast outward to create uniform slices. This technique not only looks impressive but also guarantees every piece has the perfect balance of crust and juicy interior.
Once sliced, serve the prime rib immediately for the best flavor and texture. For a final professional touch, sprinkle flaky Maldon salt over the slices to bring out the natural flavors.
Follow these steps, and you’ll be slicing and serving your BBQ prime rib like a true expert in no time!
Tips for Troubleshooting and Perfecting Your BBQ Prime Rib
When you want to nail the perfect BBQ prime rib, paying close attention to temperature control is key. Aim for an internal temperature of 125°F to achieve that ideal medium rare. Use a reliable meat thermometer to avoid overcooking.
Remember, the prime rib’s temperature will rise 10-15°F during resting, so take it off the heat a bit early.
To troubleshoot and perfect your BBQ prime rib, keep these tips in mind:
- Cook with indirect heat at 225°F to ensure even cooking and prevent flare-ups.
- Rest the meat for at least 20 minutes to let juices redistribute, boosting tenderness and flavor.
- Sear at 450-500°F for 5-10 minutes after cooking to get a caramelized crust without overcooking inside.
Following these will help you master your BBQ prime rib every time.
Frequently Asked Questions
What’s the Best Way to Barbecue a Prime Rib?
You should cook prime rib low and slow at 225-275°F using indirect heat. Smoke it with flavorful wood, baste with Worcestershire, then sear at high heat. Rest it before slicing for juicy, tender results.
How Do I Cook Prime Rib for a Beginner?
Think of cooking prime rib like painting a masterpiece—you start with a blank canvas. You’ll want to season it well, cook low and slow, then finish with a hot sear to create a perfect, flavorful crust.
How Long Does It Take to Cook a 5 Lb Prime Rib on the Grill?
You’ll cook a 5 lb prime rib on the grill for about 2.5 to 3 hours at 225°F. Use a meat thermometer to hit 125°F internal temperature for perfect medium-rare every time.
Is Prime Rib Better on the Grill or in the Oven?
You’d say prime rib’s better on the grill if you crave smoky flavor and a rustic vibe, like knights feasting by firelight. But the oven wins for precise control and consistent, juicy medium-rare results every time.
Conclusion
Grilling prime rib is like nurturing a garden—patience and care yield the richest harvest. By choosing quality, seasoning thoughtfully, and tending your grill with steady attention, you’ll create a masterpiece worth savoring.
Just as a gardener waits for blossoms, resting your roast lets flavors fully bloom. Slice with confidence, knowing every step you took brings you closer to BBQ perfection.
Keep refining your technique, and your prime rib will always be the centerpiece of your table. With these simple steps, BBQ prime rib becomes an enjoyable and rewarding experience. Stick with the process, and you’ll impress everyone with juicy, flavorful meat every time.