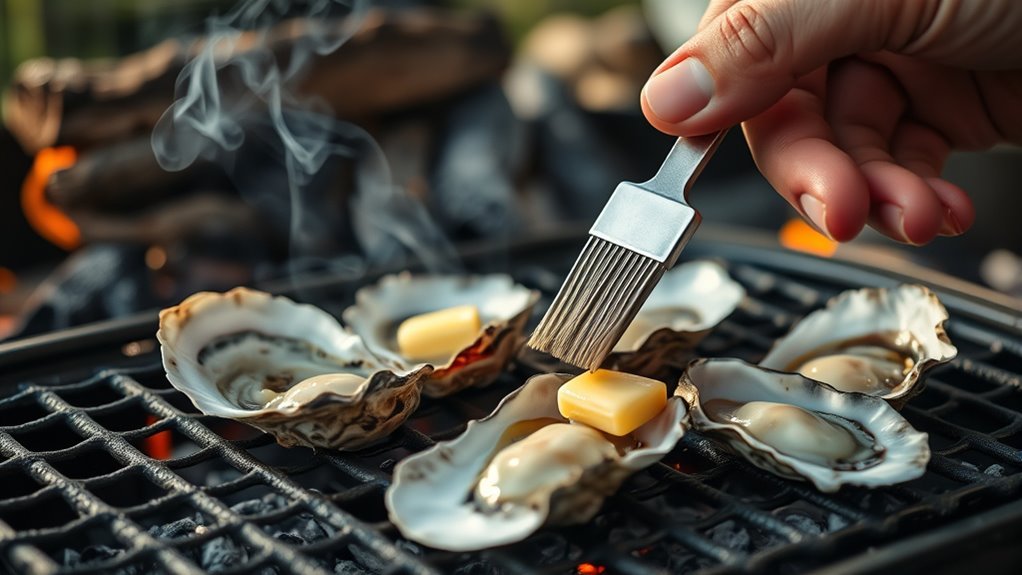
How to Grill Oysters in 5 Easy Steps
To grill oysters in five easy steps, start by rinsing and scrubbing them clean. This step is crucial to remove any grit or sand stuck to the shells, ensuring a tasty bite.
Carefully shuck the oysters next, making sure to keep their juices intact because that’s where much of the flavor lives.
Now, mix softened butter with garlic, herbs, and a splash of lemon juice or white wine. This buttery, garlicky mix is what really elevates the oysters.
Spoon this flavorful mixture onto each oyster, then place them cup-side down on a hot grill.
Cook the oysters until the butter bubbles and the edges caramelize, which usually takes about 3-4 minutes.
The smell alone will have you hooked! Keep going to discover tips on serving and presentation that will impress your guests every time.
Key Takeaways
- Clean and scrub oysters thoroughly, then shuck them carefully, leaving the oyster in the bottom shell.
- Prepare a garlic butter mixture by combining softened butter, minced garlic, parsley, lemon zest, and a splash of white wine or lemon juice.
- Arrange oysters cup-side down on a foil-lined, rimmed baking sheet to prevent tipping on the grill.
- Spoon 2 teaspoons of the garlic butter mixture onto each oyster and grill over high heat for 3-4 minutes until the butter bubbles and edges caramelize.
- Serve immediately with lemon wedges, crusty bread, and optional hot or cocktail sauces for added flavor.
Cleaning and Preparing the Oysters
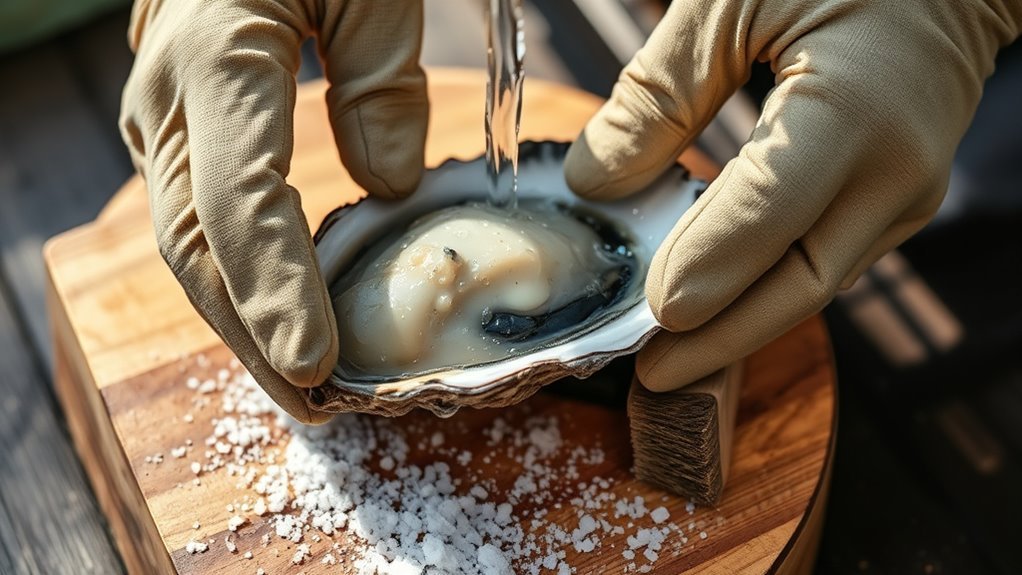
Before you start grilling, make sure to rinse your oysters under cold running water and scrub their shells thoroughly with a vegetable brush to eliminate any dirt or debris. This essential step helps remove dirt and guarantees clean shells for safe oyster preparation.
Once you’ve scrubbed shells properly, use a shucking knife or oyster shucker to carefully loosen the oyster from the top shell. Gently sever the muscle connecting it to the shell without spilling the oyster liquor, which adds flavor during grilling. Discard the top shell, leaving the fresh oysters in their bottom shells.
To prepare oysters for grilling, place them upright on a tray lined with coarse salt or crumpled foil to prevent tipping. Properly rinse oysters and remove dirt to enjoy the best taste and safety.
Safely Shucking the Oysters
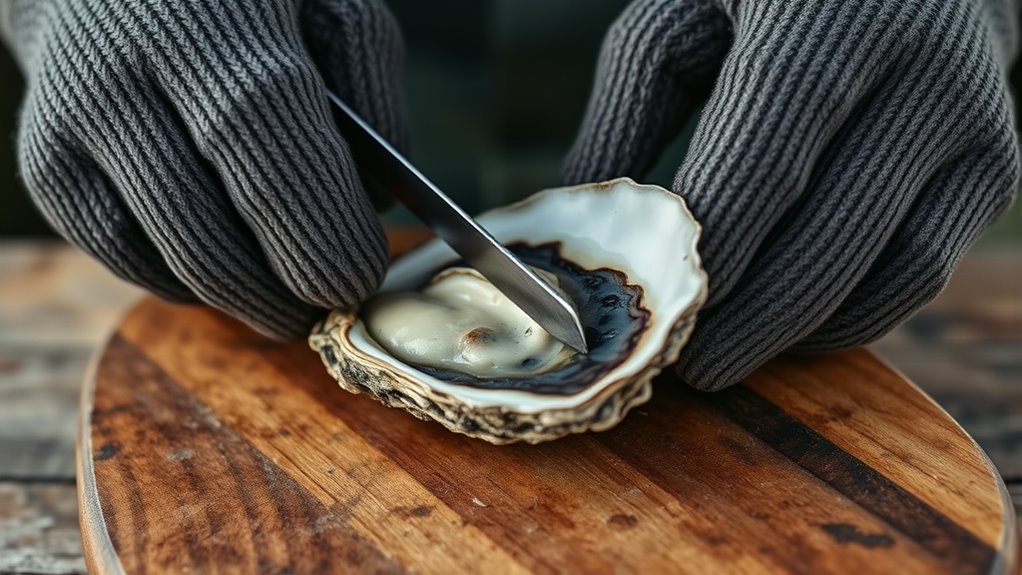
While shucking oysters may seem tricky at first, using a sturdy oyster knife and protecting your hands will make the process safe and efficient. Start by wearing safety gloves or wrapping your hand in a thick towel to avoid injury from a slip or puncture.
Locate the hinge at the narrow end of the shell and carefully insert the tip of your oyster knife. Apply gentle, steady pressure to pry open the shell without forcing it.
Once open, slide the knife along the inside of the top shell to sever the muscle holding the oyster in place. Be cautious to avoid shell fragments.
After shucking, rinse the oysters in cold water to remove any debris and preserve their natural liquor for grilling. It’s a simple step but makes a big difference!
Making the Garlic Butter Mixture
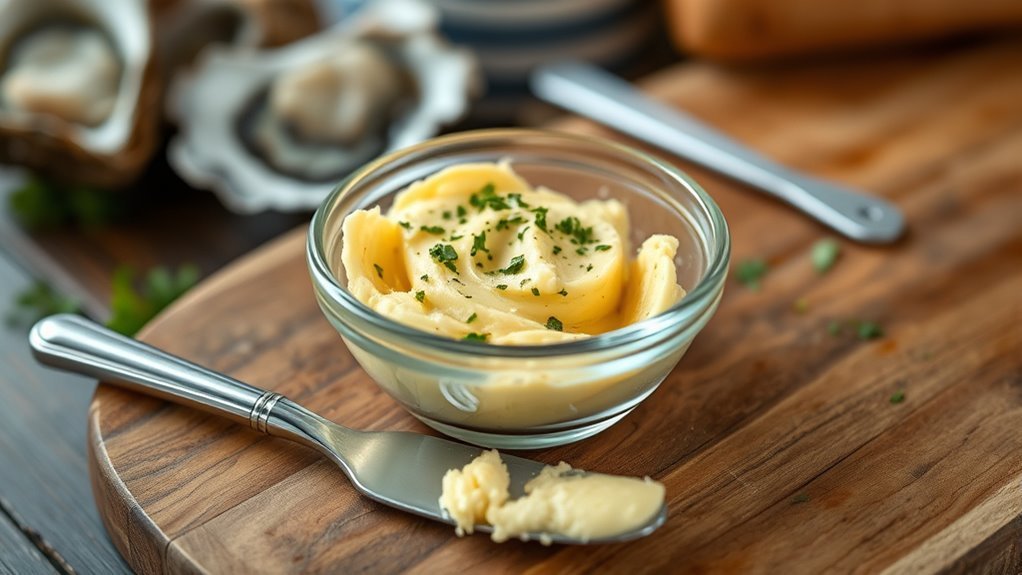
To enhance your grilled oysters, start by combining softened unsalted butter with finely chopped garlic, fresh parsley, and lemon zest to create a rich, flavorful garlic butter mixture. Whisk in a splash of dry white wine or lemon juice to brighten the flavor and add depth.
Use a fork or food processor to mash the ingredients until the mixture is smooth and well blended. Taste the garlic butter and adjust the seasoning with a pinch of black pepper or Creole seasoning to suit your preference.
This garlic butter mixture will be perfect for spooning or spreading onto your oysters before grilling. It ensures every bite bursts with savory, zesty flavor that complements the natural brininess of the oysters beautifully.
Arranging and Grilling the Oysters
Once you’ve prepared your garlic butter mixture, it’s time to arrange the oysters for grilling. Place the shucked oysters cup-side down on a rimmed baking sheet lined with crinkled aluminum foil to keep them stable.
Position the baking sheet over the hottest part of your grill. Make sure to keep even spacing between each oyster so they cook consistently.
Next, spoon about 2 teaspoons of your seasoned butter mixture onto each oyster, then close the grill lid. Grill for 3-4 minutes until you see the bubbling liquid and the edges start to caramelize.
Keep an eye on them and remove the oysters promptly once they shrink slightly and the butter is bubbly. That way, you avoid overcooking and get perfectly grilled oysters every time.
Serving Suggestions and Enjoying
Since grilled oysters are best enjoyed fresh off the heat, serve them immediately with lemon wedges to brighten their briny flavor and a side of crusty French bread or toasted baguette slices to soak up the rich garlic butter.
Serve grilled oysters hot with lemon wedges and crusty bread to soak up every flavorful drop.
Arrange the oysters on a serving platter set atop a bed of coarse sea salt or crushed ice for an appealing seafood display. Add a dollop of herb butter or sprinkle fresh herbs like parsley for a vibrant touch.
Offer hot sauce and cocktail sauce on the side so everyone can customize their oysters. The crusty bread perfectly complements the buttery, garlicky juices, making each bite irresistible.
With these simple serving suggestions, you’ll elevate your grilled oysters from delicious to unforgettable.
Conclusion
Now that you’ve mastered grilling oysters in five simple steps, you’re ready to impress at any cookout. Like a chef conducting a flavorful symphony, you’ve cleaned, shucked, buttered, and grilled your way to perfection.
Serve them hot, savor each bite, and watch friends’ faces light up with delight. Keep this easy method in your back pocket—it’s your ticket to oyster greatness every time you fire up the grill.
Grilling oysters brings out their natural briny flavor with a smoky twist that’s hard to beat. Whether you’re a seafood lover or trying it for the first time, this simple grilling technique guarantees delicious results every time. So next time you’re planning a cookout, don’t forget to add grilled oysters to your menu—your guests will thank you!