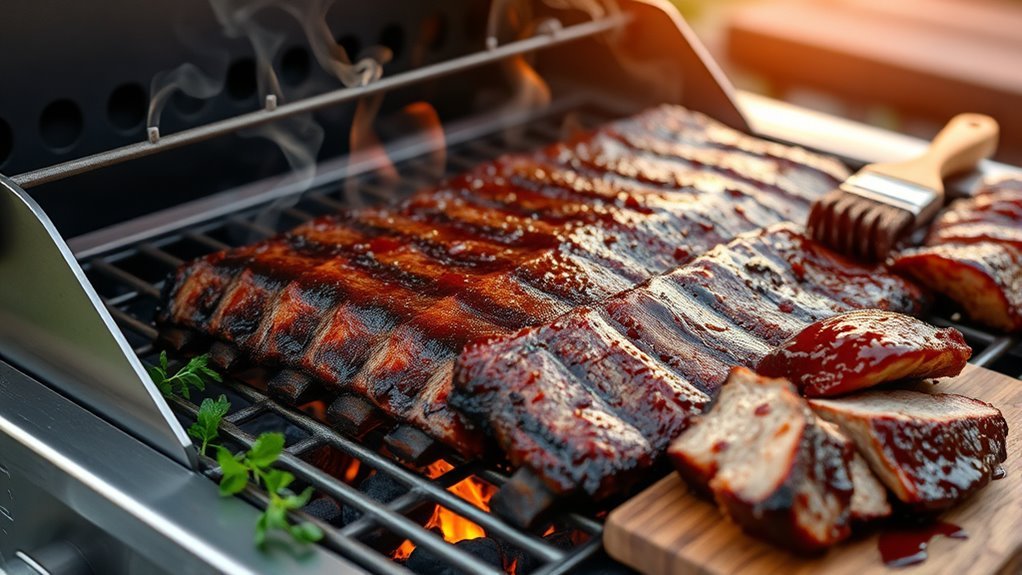
How to Cook Baby Back Ribs on the Grill in 10 Simple Steps
Start by selecting fresh baby back ribs and trimming any excess fat. Don’t forget to remove the silver membrane on the bone side — this step is key for tenderness.
Next, apply a generous dry rub all over the ribs. Let them rest for a while so the flavors really soak in.
Preheat your grill to about 250–275°F and set it up for indirect heat. This low and slow method is perfect for cooking baby back ribs evenly.
Add some wood chips to the grill to smoke the ribs and infuse them with that delicious, rich flavor.
Once smoked, wrap the ribs tightly in foil with a splash of liquid inside. This keeps them moist and tender during cooking.
Finally, finish by glazing the ribs and searing them on the grill for a perfect crust. Let them rest briefly before slicing and serving.
Ready to master each step in detail and grill the best baby back ribs ever? Let’s dive in!
Key Takeaways
- Remove the silver membrane from ribs and trim excess fat for tenderness and even cooking. This step really helps the ribs cook evenly and makes them more tender.
- Apply a generous dry rub and let ribs rest for 1-2 hours or overnight for flavor infusion. The longer you let them sit, the more flavor they soak up.
- Preheat grill to 250-275°F using indirect heat and create two heat zones for slow cooking. This setup is perfect for cooking ribs low and slow without burning them.
- Smoke ribs with wood chips at 225-275°F, then wrap in foil with liquid to tenderize. Wrapping keeps them moist and helps break down the meat for that fall-off-the-bone texture.
- Finish by glazing with BBQ sauce, searing briefly, resting 10 minutes, and slicing between bones. That final glaze gives the ribs a delicious sticky finish you’ll love.
Selecting the Perfect Baby Back Ribs
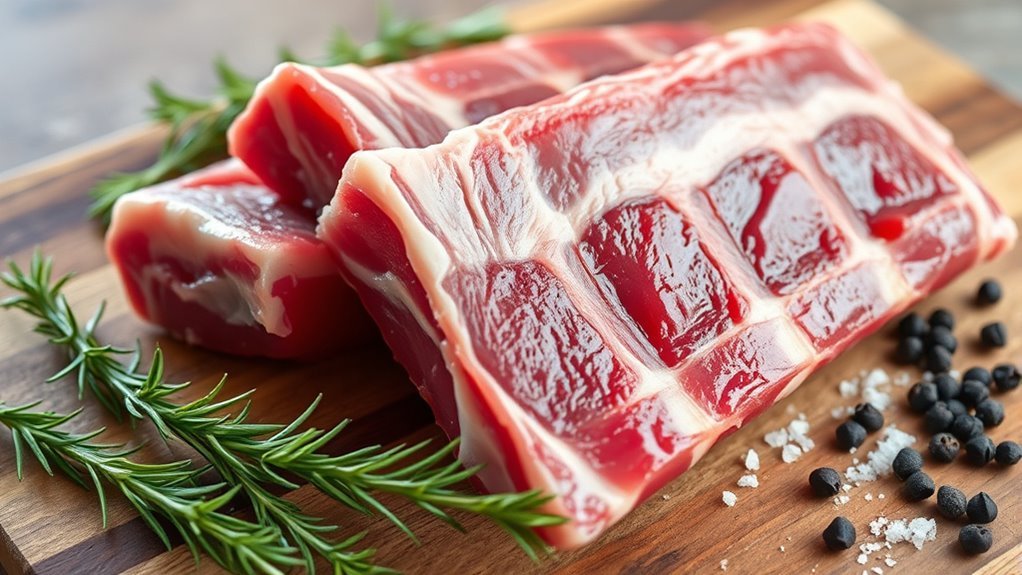
When choosing baby back ribs, you want to look for racks that are fresh with bright pink meat and firm bones. The meat quality is key since baby back ribs come from the upper ribcage, making them leaner and naturally tender.
For ideal rib selection, pick racks measuring 3 to 6 inches long and weighing about 1 to 2 pounds. Check the bone side for firmness and avoid ribs with discoloration or excessive connective tissue, which can affect tenderness.
Freshness ensures the meat cooks evenly and absorbs your spice rub better, enhancing flavor. By focusing on these details, you’ll get baby back ribs that grill quickly and taste delicious every time, setting the stage for a perfect BBQ experience.
Preparing and Trimming the Ribs
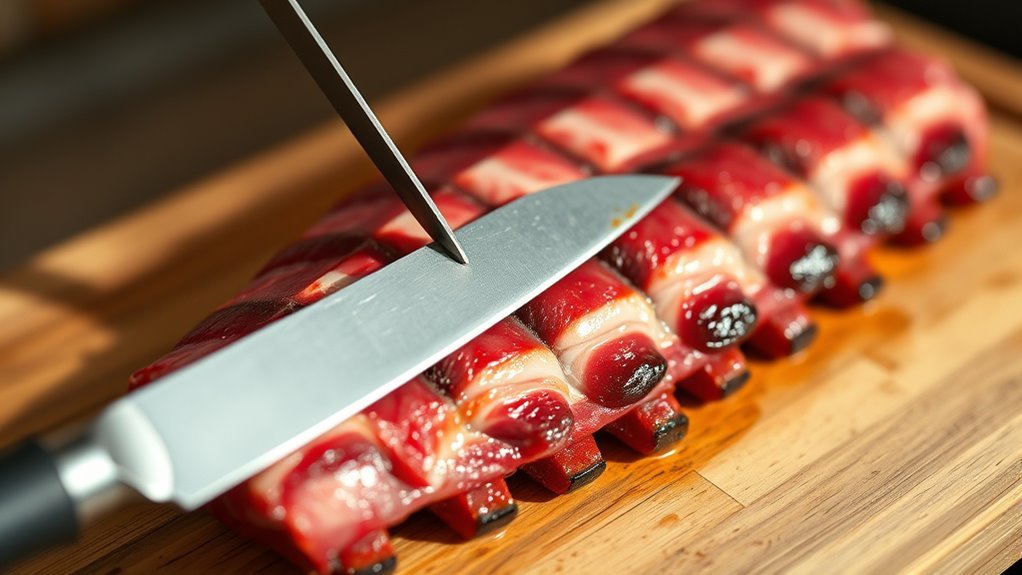
Start by removing the silver membrane on the bone side of the ribs. This helps your seasoning soak in better.
Trim away any excess fat and loose tissue too. It’ll prevent flare-ups and help the ribs cook evenly.
Finally, rinse and dry the ribs thoroughly. Then, apply a binder like mustard or olive oil so your rub sticks perfectly.
Removing Rib Membrane
Although it might seem tedious, removing the rib membrane is essential for juicy, tender baby back ribs. The membrane, also known as silver skin, can become tough and chewy if left on.
To remove it, start by scoring the membrane with a small knife to loosen it. Use a paring knife to gently lift one end of the membrane from the bone side.
Then, slide your fingers or a paper towel underneath to grip and peel it off in one piece. Removing this layer allows seasonings to penetrate better, enhancing flavor and tenderness.
| Step | Action |
|---|---|
| 1 | Score the membrane to loosen it |
| 2 | Use a paring knife to lift one end |
| 3 | Slide fingers or paper towel underneath |
| 4 | Grip firmly |
| 5 | Peel off the membrane in one piece |
Trimming Excess Fat
A sharp knife or kitchen scissors will help you trim excess fat along the edges of the ribs, which prevents flare-ups and improves texture. After removing the membrane from the bone side, take a close look at the rack.
Trim any loose pieces of meat or cartilage that could cause uneven cooking. Cut away excess fat carefully to avoid over-trimming, but make sure the ribs have an even thickness.
Also, trim thinner or ragged sections to create a uniform rack that cooks consistently. This step not only improves the ribs’ appearance but also ensures they grill evenly.
Preparing for Seasoning
Once you’ve trimmed the ribs and removed the membrane, rinse them under cold water and pat them dry to prepare for seasoning. Proper ribs preparation guarantees your dry rub sticks well and cooks evenly.
Focus on these preparation steps:
- Peel off the silver membrane from the back side for tenderness.
- Trim excess fat and ragged edges with scissors or a sharp knife.
- Dry the ribs thoroughly with paper towels to help dry spices adhere.
- Optionally, apply a binder like mustard on the meat side before seasoning.
With the membrane gone and ribs dry, sprinkle your dry rub evenly over the meat side. This approach guarantees the seasoning penetrates deeply, creating flavorful, tender ribs every time you grill.
Removing the Membrane for Tenderness
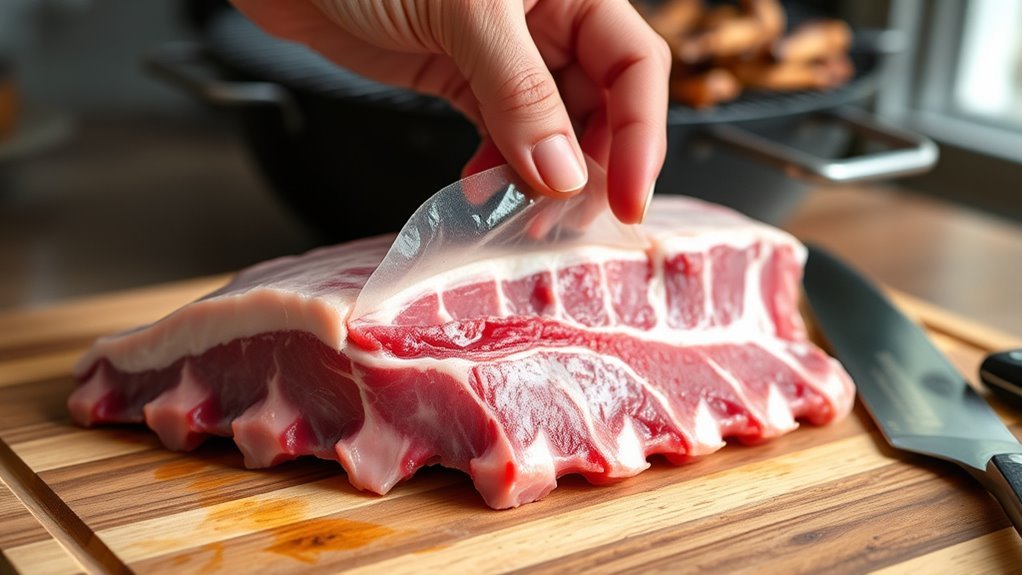
Because the silver skin membrane can block flavors and toughen the meat, you’ll want to remove it before seasoning your baby back ribs. To remove the membrane easily, start by sliding a knife or a paper towel under one end to loosen it.
If it feels tight, score the membrane with a small knife to create tabs that make peeling easier. Once loosened, grasp the edge with your fingers or a paper towel for better grip, then peel it off in a smooth, steady motion.
Removing this membrane not only allows your seasonings to penetrate the meat better but also helps keep the ribs tender. It prevents the membrane from curling and creating a chewy texture during grilling.
Applying a Flavorful Dry Rub
You’ll want to start by mixing garlic powder, paprika, brown sugar, and other spices to create a dry rub that packs flavor. Apply it generously and evenly on all sides, patting it in to help it stick without using any wet binder.
Then, let the ribs rest so the flavors really soak in before grilling. This step makes a big difference, trust me!
Choosing Dry Rub Ingredients
When preparing baby back ribs, choosing the right dry rub ingredients sets the foundation for rich, savory flavor. A well-balanced dry rub combines spices that enhance the meat flavor without overpowering it, acting like a dry marinade.
Your spice blend should complement the natural smoked flavor you’ll develop on the grill.
Consider including these key seasoning elements in your dry rub:
- Salt and black pepper for basic seasoning and flavor depth
- Paprika for a subtle smoky sweetness
- Garlic powder and onion powder to add savory complexity
- Chili powder and brown sugar to balance heat with a touch of sweetness
This combination creates a flavorful crust that locks in juices and highlights the ribs’ richness. Selecting quality spices ensures your dry rub transforms the ribs into a mouthwatering grilled masterpiece.
Applying Rub Evenly
Once you’ve mixed your dry rub to perfection, the next step is applying it evenly across the ribs. Use about a tablespoon of rub per rack and sprinkle it lightly over all sides.
To guarantee even seasoning, gently massage the rub into the meat with your hands or a brush, avoiding thick clumps in one spot. Patting the rub firmly onto the surface helps it adhere better and locks in flavor during grilling.
After applying the rub evenly, let the ribs rest in the refrigerator for 1-2 hours or overnight. This rest time allows the seasoning to penetrate deeply, enhancing the overall flavor.
Taking these steps guarantees your ribs will be flavorful and tender when they hit the grill. Trust me, it’s worth the extra care!
Enhancing Flavor Without Binder
How exactly can you boost your ribs’ flavor without using a binder like mustard or oil? Applying a dry rub directly onto the meat lets the seasoning penetrate deeply, enhancing the natural pork flavor.
This method helps create a rich crust that caramelizes beautifully on the grill. After seasoning, let the ribs rest for 15–30 minutes so the flavors meld and the rub adheres better.
To visualize the process:
- Sprinkle garlic powder, paprika, chili powder, and brown sugar evenly
- Watch the sugar caramelize, forming a savory crust
- Smell the spices intensify as they meld with the meat
- Feel the dry rub’s texture locking onto the ribs before grilling
This approach maximizes flavor while preserving the pork’s essence without extra binders.
Preheating the Grill to the Right Temperature
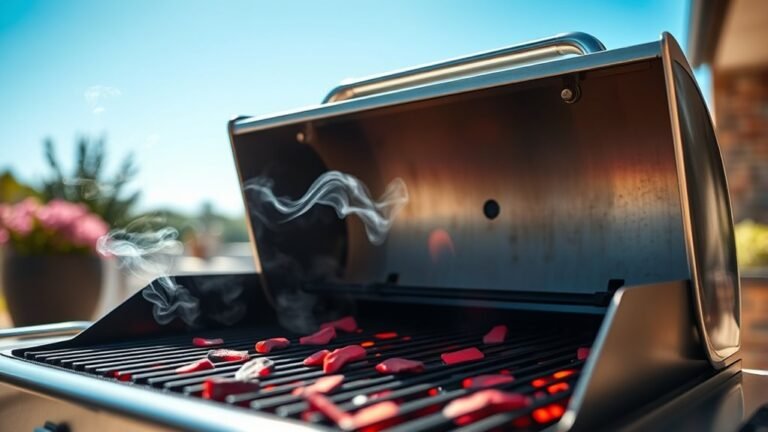
To achieve tender, flavorful baby back ribs, you’ll want to preheat your grill to a steady temperature between 250°F and 275°F. Start by lighting one side of your grill and leave the other side unlit to create indirect heat, ideal for slow cooking ribs.
Use a reliable grill thermometer to monitor your grill temperature accurately, ensuring you maintain steady heat throughout the cooking process. Allow your grill to preheat fully for 15-20 minutes before placing the ribs on the grates; this preheat time helps stabilize the grill setup.
During cooking, adjust the burners as needed to keep the temperature within your target range. This way, you avoid temperature spikes that can dry out the meat.
Proper preheating really sets the stage for perfectly cooked ribs. So, take your time with it and your ribs will turn out amazing!
Setting Up Two-Zone Cooking on the Grill
Although preheating sets the foundation, you’ll want to create two distinct heat zones on your grill by turning on only one side burner. This two-zone cooking method gives you precise temperature control and allows for indirect heat, which is essential for tender ribs.
For your grill setup, follow these steps:
Turn on one burner to create the hot side and leave the other off for the cool side. Preheat to 250-300°F, keeping an eye on the cool side with a thermometer.
Place wood chip foil packets on the hot side to generate smoke without direct flame contact. Then, position the ribs on the cool side to cook slowly with indirect heat.
This setup ensures balanced cooking with steady smoke and temperature control, perfect for baby back ribs. It’s a simple trick that makes all the difference!
Smoking the Ribs for Optimal Flavor
When you smoke ribs at a low temperature between 225 and 275°F, you reveal rich, deep flavors that make each bite unforgettable. To create that smokey flavor, wrap wood chips like cherry or hickory in foil, poke holes in the wrap, and place it directly over the heat source on your grill.
This allows the chips to smolder slowly, releasing steady smoke throughout the cooking process. Maintaining a consistent temperature is essential; it ensures the smoke infuses the ribs evenly, forming a flavorful bark and tenderizing the meat.
Keep an eye on the wood chips and replenish them as needed to sustain that rich smoke. By mastering this, you’ll enhance your ribs with mouthwatering aroma and taste every time you grill.
Wrapping and Steaming the Ribs in Foil
Now that your ribs are smoked, it’s time to wrap them tightly in foil to lock in moisture and steam them to tenderness. Adding a bit of liquid like apple cider vinegar or beer inside the foil helps keep the meat juicy and flavorful.
Make sure to seal the edges well, then cook the wrapped ribs indirectly to let the steam work its magic. This step really helps make the ribs tender and delicious.
Foil Wrapping Techniques
If you want to lock in moisture and boost tenderness, wrap your ribs tightly in aluminum foil with the meat side facing inward. This foil wrapping traps steam and enhances moisture retention during the cooking process.
To get the most out of the steam process, follow these foil wrapping techniques:
- Lay out a large sheet of aluminum foil and place ribs meat-side down.
- Optionally add a splash of liquid like apple cider vinegar, water, or beer for extra moisture.
- Wrap tightly and seal edges completely to prevent steam from escaping.
- Place the foil-wrapped ribs on the grill’s cool side to avoid direct heat.
Steaming Benefits for Ribs
Wrapping your ribs in foil doesn’t just lock in moisture—it creates a steaming environment that tenderizes the meat and breaks down tough connective tissues.
When you wrap your ribs tightly, the trapped steam keeps the meat juicy and promotes even cooking. It’s like giving your ribs a little spa treatment!
Adding a splash of liquid like apple cider vinegar or butter inside the foil enhances this effect, making your ribs incredibly tender and flavorful.
| Benefit | Explanation | Result |
|---|---|---|
| Moisture Lock | Foil traps steam and juices | Juicy ribs |
| Tenderizing | Steam breaks down connective tissue | Fall-off-the-bone |
| Even Cooking | Heat circulates inside the wrap | Consistent tenderness |
Use foil steaming to ensure your ribs come out perfectly juicy and tender every time. You’ll wonder why you didn’t try this sooner!
Glazing and Searing the Ribs for Finishing Touch
When you glaze the ribs with a high-quality BBQ sauce during the last 10-15 minutes of grilling, you create a sticky, caramelized crust that elevates both flavor and texture.
To perfect the grilling process, apply the sauce late to avoid burning, then sear the ribs over high heat for 1-2 minutes per side. This final touch locks in flavor and enhances the crust’s glossiness.
Imagine this: sweet, sticky BBQ sauce spreading evenly, ribs sizzling over hot grill grates, a rich, caramelized crust forming, and the aroma of smoky, seared ribs filling the air.
After searing, let the ribs rest briefly to set the glaze and keep juices inside. This glazing and searing step transforms your ribs into a mouthwatering masterpiece.
Resting and Serving Your Perfect Baby Back Ribs
Though the ribs are off the grill, you’ll want to let them rest for at least 10 minutes to allow the juices to redistribute evenly. This ensures every bite stays juicy and flavorful.
During this resting period, wrap the ribs loosely in foil to retain moisture and prevent the crust from getting soggy. Resting also stabilizes the internal temperature, making the meat tender and easier to slice without falling apart.
Wrap ribs loosely in foil during resting to keep moisture and preserve crust texture for tender, easy slicing.
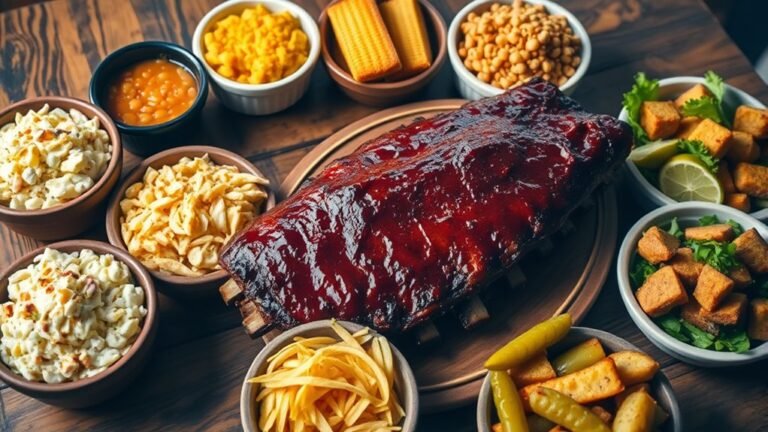
When you’re ready to serve, slice the ribs along the valleys between the bones for an attractive presentation and *ideal* texture. Proper resting enhances tenderness, so the meat pulls apart effortlessly.
Taking these steps guarantees you’ll serve perfectly juicy, tender baby back ribs every time. It really makes all your grilling efforts worthwhile.
Conclusion
Congrats, grill master—you’ve just unlocked the secret society of baby back rib perfection. Who knew that removing a stubborn membrane and wrapping ribs in foil could feel like rocket science?
Now, with your smoky, tender masterpiece resting, you’re basically a culinary wizard, ready to impress or intimidate dinner guests alike. So go ahead, serve those ribs with a side of swagger and remember: real chefs don’t just cook ribs—they conquer them.
Grilling baby back ribs isn’t just about cooking; it’s about mastering the art of flavor and tenderness. With these simple steps, you’ve learned how to grill baby back ribs perfectly every time. So fire up that grill, follow the process, and enjoy ribs that are smoky, juicy, and absolutely delicious. Your journey to baby back rib greatness starts now!