How to Grill Bacon in 10 Easy Steps
Preheat your grill to 450–500°F. Then, line a baking sheet with foil and place a wire rack on top. This setup helps the bacon cook evenly and lets the fat drip away.
Arrange bacon strips in a single layer without overlapping. Make sure to space them evenly so each piece gets perfectly crispy.
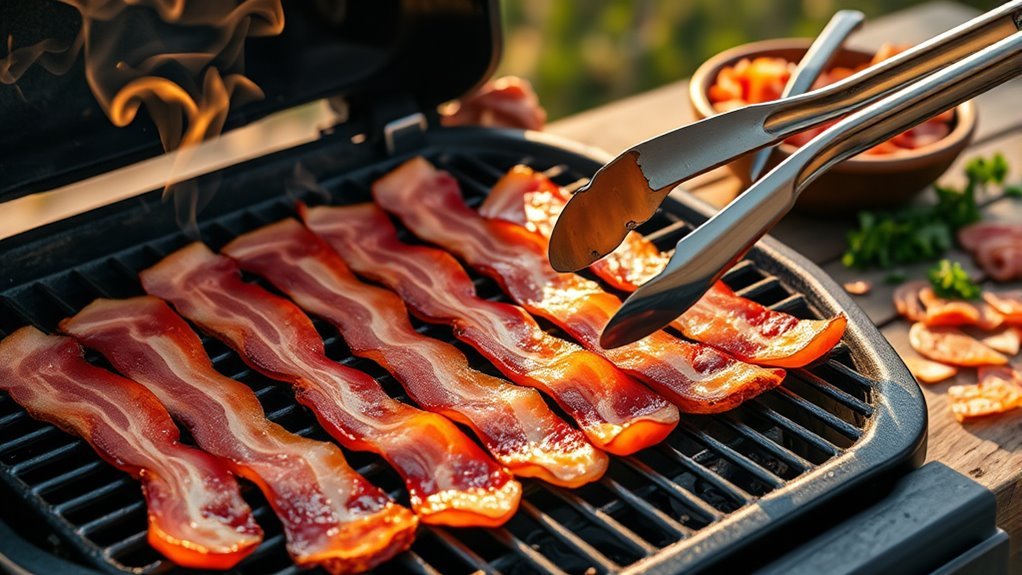
Place the tray on the grill and flip the bacon every 1–2 minutes. This step guarantees even cooking and helps prevent flare-ups.
Once the bacon is crisp and golden, remove it from the grill.
Let it drain on paper towels to soak up any extra grease. Serve immediately for the best texture and flavor.
Keep going to discover tips on perfect timing and cleanup! Grilling bacon this way is easy, fun, and delivers deliciously smoky results every time.
Key Takeaways
- Preheat grill to 450–500°F with lid closed for at least 10 minutes. This helps ensure even bacon crisping and fat rendering.
- Arrange bacon strips in a single layer on a foil-lined wire rack. Make sure to space them about 1/4 inch apart so heat can circulate properly.
- Flip bacon every 1–2 minutes using tongs. Turn gently to get even browning and avoid tearing.
- Keep an eye out for flare-ups. Move the bacon if needed to prevent burning. Cook until it’s deep golden brown and firm, usually 2–4 minutes per side.
- Remove bacon with tongs and place it on paper towels. This drains excess fat. Serve immediately to enjoy maximum crispiness and flavor.
Preheat Your Grill to High Heat
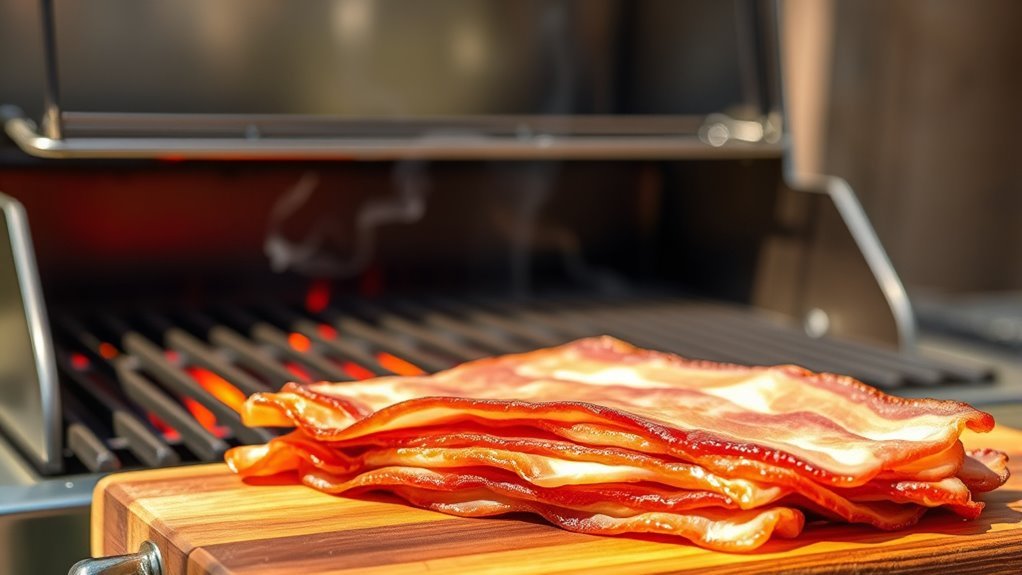
Before you place the bacon on the grill, preheat it to a high temperature between 450 and 500°F (232-260°C). This high heat guarantees the fat renders quickly and the bacon crisps up nicely.
Make sure to allow your grill to fully preheat for at least 10 minutes, giving you an even cooking surface. Use a grill thermometer to confirm the temperature, helping you avoid flare-ups caused by dripping fat.
Keep the lid closed during preheating to create an oven-like environment that distributes heat evenly. Never place bacon on a cold or partially heated grill—it’ll stick and cook unevenly.
Prepare a Foil-Lined Tray for Bacon
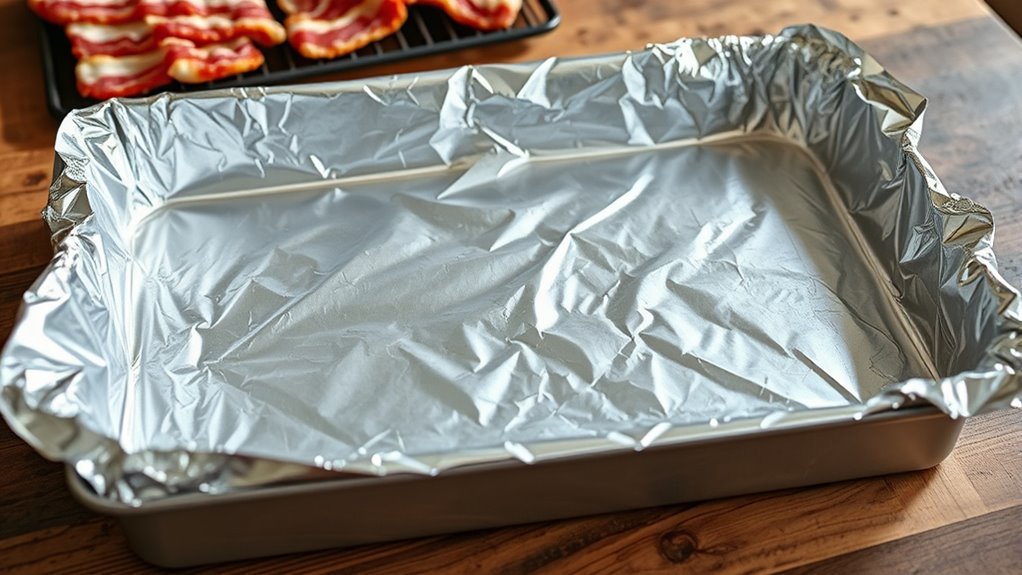
When you line a baking sheet with aluminum foil, make certain to let the edges overhang for easy handling and cleanup. This simple step saves time and effort later on.
Here’s how to prepare your tray effectively:
- Use heavy-duty foil to prevent tearing, especially for large batches.
- Place a wire rack on top of the foil to elevate bacon, helping grease drain away.
- Fold excess foil over the baking sheet edges to contain drippings and avoid splatters.
- Avoid using parchment paper under the bacon as it can’t handle direct heat like foil.
- Make sure the foil covers the entire baking sheet for maximum protection and easy cleanup.
Following these tips ensures your bacon cooks evenly and your cleanup is hassle-free!
Arrange Bacon Strips Evenly on the Tray
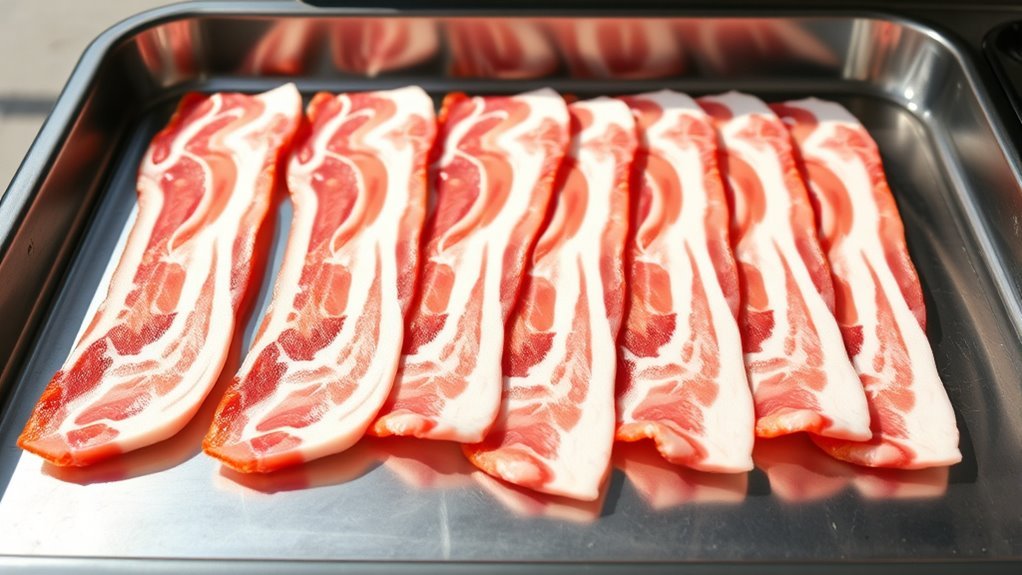
Although it might seem simple, arranging bacon strips evenly on the tray is essential for perfect cooking. You want to lay each strip in a single layer without overlapping, spacing them about 1/4 inch apart.
This spacing allows heat to circulate evenly and prevents the bacon from sticking together. Use tongs or a fork to smooth out any wrinkles or folds, ensuring uniform crisping.
Proper arrangement guarantees that every strip cooks consistently under the grill’s heat.
| Step | Detail |
|---|---|
| Layer | Single, even layer |
| Spacing | 1/4 inch between strips |
| Tool | Use tongs or fork |
| Avoid | Overlapping, wrinkles, folds |
| Heat circulation | Ensure space for even heat |
Place the Tray on the Grill
Since the tray needs to catch drippings and prevent flare-ups, line it with foil before placing it directly on the grill grates. To grill bacon perfectly without the oven’s convenience, you’ll want to place the tray carefully and correctly. Here’s how to do it:
Use tongs to place the foil-lined tray on the grill, avoiding hot spots. Make sure the tray is stable and level to prevent spills.
Place the foil-lined tray with tongs on stable, level grill spots, steering clear of hot areas to prevent spills.
Position the tray over indirect heat to avoid burning the bacon. Double-check the grill vents and adjust if necessary to control temperature.
Keep the tray steady and watch for flare-ups, but don’t lift the lid too often.
Following these steps ensures even cooking and safety while grilling bacon on your grill.
Monitor Bacon as It Cooks
As you grill, keep a close eye on flare-ups caused by dripping grease and move the bacon if flames flare. Check the bacon frequently to catch it at your preferred crispiness, usually when it’s evenly browned.
Using tongs, flip and reposition the slices to guarantee they cook evenly and avoid burning. This way, you’ll get that perfect balance of crispy and tasty every time.
Watch for Flare-Ups
When fat drips onto hot coals or burners, flare-ups can quickly ignite, risking burnt bacon and uneven cooking. To grill bacon perfectly, you need to monitor bacon closely and watch for flare-ups.
Here’s how to keep things under control:
- Use indirect heat to minimize fat dripping onto flames.
- Space bacon slices evenly to avoid flare-ups.
- Keep a spray bottle of water handy for quick flame control.
- Move bacon to a cooler part of the grill if flames flare up.
- Stay attentive, especially with fatty cuts or high heat grilling.
It really pays off to keep your eyes on the grill so your bacon comes out just right!
Check for Crispiness
How do you know when your bacon has reached the perfect crispiness on the grill? You need to check for crispiness frequently to avoid burning. Use tongs to flip the bacon and closely monitor its color and texture, especially as it nears the end of cooking.
Look for a deep golden-brown hue and a firm texture—that’s your sign of perfectly crispy bacon. Remember, bacon will continue to crisp from residual heat after you remove it from the grill, so don’t wait until it looks completely done.
Adjust cooking time based on thickness; thin slices usually take 2-4 minutes per side. By actively checking for crispiness, you’ll ensure your bacon comes off the grill just right every time, crispy but not burnt.
Flip the Bacon Using Tongs
Although flipping bacon might seem simple, using tongs correctly can make all the difference in keeping the slices intact and cooking them evenly.
Flipping bacon with the right tongs technique ensures slices stay intact and cook evenly every time.
When you flip bacon, tongs give you control and help avoid tearing or breaking the slices. Here’s how to do it right:
- Use long-handled tongs to protect your hands from hot grease.
- Grip each slice firmly at the edges to prevent slipping.
- Flip bacon every 1-2 minutes to ensure even cooking.
- Turn slices gently to maintain an even sear on both sides.
- Avoid pressing down too hard to keep the texture perfect.
Mastering these tips will help you flip bacon smoothly and get that ideal crispy, evenly cooked finish every time. Give it a try—you’ll notice the difference!
Avoid Overlapping for Even Cooking
To achieve perfectly cooked bacon, you need to arrange the slices in a single layer without overlapping. Overlapping bacon slices block heat, causing uneven cooking where some parts burn while others stay underdone.
Make sure to leave space between each slice so hot air and smoke can circulate freely, promoting uniform crispiness. If your grill space is tight, trim or cut the bacon slices to fit without overlapping.
This simple step ensures every piece cooks evenly and crisps up nicely. Keep an eye on the bacon during grilling and adjust the slices if they shift or start to overlap.
Check Crispiness and Adjust Time
Once you’ve arranged your bacon slices without overlapping, it’s time to keep a close eye on their crispiness. You need to check crispiness early and monitor closely to avoid burning.
Start by grilling thinner slices for about 2 minutes per side, while thicker-cut bacon usually takes 4-5 minutes per side. Use tongs to lift a strip and inspect its texture—if it feels firm and looks golden-brown, it’s ready.
For extra crispiness, continue grilling in 30-second increments, watching carefully. Keep these tips in mind:
- Check bacon after 2 minutes per side for thinner cuts
- Grill thicker slices 4-5 minutes per side
- Use tongs to lift and inspect texture
- Adjust time based on desired crunch
- Monitor closely during extra crisp grilling intervals
Remove Bacon and Drain Excess Fat
How do you safely remove bacon from the grill without getting burned by hot grease? Use tongs or a fork to carefully remove bacon and drain excess fat securely.
Once off the grill, place the cooked bacon on a plate lined with paper towels. The paper towels will absorb much of the grease, making the bacon less greasy and easier to handle.
Let the bacon sit for 1-2 minutes to allow additional drippings to drain off. You can gently tilt or shake the bacon so more fat drips away, either into the sink or a grease container.
Remember to discard or save the drained bacon fat for other cooking, but make sure it’s cooled and stored safely. This simple step keeps your bacon crisp and reduces mess.
Serve Bacon Hot and Enjoy
Once you’ve grilled your bacon, serve it hot to keep that perfect crispiness and flavor. Use tongs to transfer it onto a plate lined with paper towels to catch any extra grease.
Pair it with your favorite breakfast items or enjoy it plain with a drizzle of maple syrup for a delicious treat. Either way, it’s sure to be a hit!
Serving Tips for Bacon
Because bacon tastes best when served hot, you should plate it immediately after cooking to enjoy its crispiness and rich flavor. Whether you grill bacon or bake bacon in the oven, serving it hot guarantees the best texture.
Here are some serving tips to help you serve bacon perfectly every time:
- Use a paper towel to drain excess grease and keep bacon crispy.
- Plate bacon on a warm dish to retain heat and texture.
- Serve bacon alongside breakfast favorites like eggs, pancakes, or toast.
- Enjoy bacon straight from the pan or oven for maximum flavor.
- Avoid letting bacon sit too long, as it loses its crispiness quickly.
Following these tips will help you serve bacon that’s deliciously hot and satisfying. Give them a try and your bacon game will be on point every single time!
Best Ways to Enjoy
Why settle for cold, soggy bacon when you can enjoy it hot and crispy? As soon as you cook bacon on your grill, serve it immediately to preserve its crunch and rich aroma.
Grilling bacon really brings out its flavor, making it perfect to pair with breakfast staples like eggs, pancakes, or toast. You can also top salads, baked potatoes, or burgers with warm bacon strips for added texture and savory goodness.
When you cook bacon and enjoy it right away, you get the best sensory experience—the juiciness and crispiness are at their peak. So, don’t wait; savor your grilled bacon hot to fully appreciate all the flavors and textures you worked hard to create.
Conclusion
Grilling bacon is like conducting a sizzling symphony—each step plays a vital note. Just like a chef who once burned their first batch but mastered the heat with practice, you’ll get better every time.
Remember, patience and attention turn simple bacon into a crispy masterpiece. So fire up that grill, follow these steps, and enjoy bacon that’s as perfectly grilled as a well-rehearsed song.
With these 10 easy steps, grilling bacon becomes simple and fun. Whether you’re cooking for breakfast, a BBQ, or just a snack, perfectly grilled bacon adds that irresistible smoky crunch. Keep your grill ready, watch the heat, and don’t rush the process. Your taste buds will thank you with every crispy, flavorful bite of grilled bacon!