How to Start a Traeger Grill in 7 Easy Steps
To start your Traeger grill in 7 easy steps, first set up your grill on a flat, stable surface with plenty of clearance for airflow. This ensures safe operation and better cooking results.
Next, gather all the grill parts you’ll need and load high-quality pellets into the hopper.
Now, power on the grill and wake the controller. Set your target temperature to get things heating up.
Keep the lid closed while the grill preheats to trap the heat inside, which is key for an even cook.
Once the grill reaches the desired temperature, check the internal temperature before you start cooking.
Following these simple steps guarantees a smooth, flawless start to your grilling session. Keep practicing, and you’ll master every detail of your Traeger grill in no time!
Key Takeaways
- Clear your workspace and set up the grill outdoors. Make sure the hopper is loaded with pellets.
- Plug in the grill, turn the power switch on, and wake up the controller by tapping the dial.
- Next, set your desired temperature on the digital display and press to confirm.
- Within five seconds, press the ignite button. Be sure to keep the lid closed so it can ignite properly.
- Now, preheat the grill for about 15 minutes. You’ll know it’s ready when the temperature indicator stops blinking.
Prepare Your Grill and Workspace
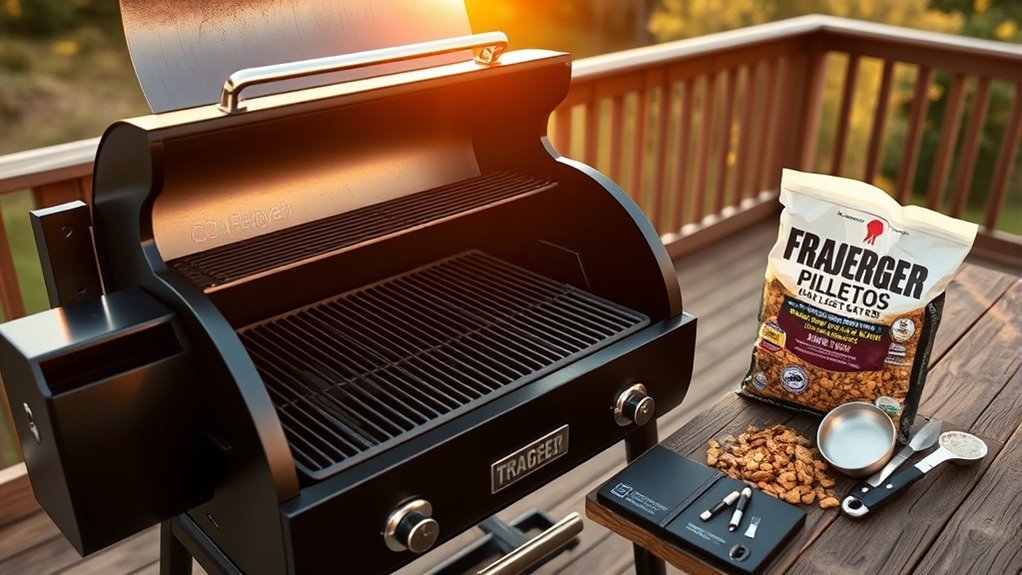
Before you start assembling your Traeger grill, clear your workspace of any clutter and set up on a flat, stable surface. This guarantees maximum safety and efficiency as you put together your Traeger grill.
Clear your workspace and set up on a flat, stable surface for safe, efficient Traeger grill assembly.
Follow these steps: gather all components, tools, and accessories, and place the grill where it has at least 24 inches of clearance for proper airflow. Check the drip tray and add Traeger pellets, which help maintain the desired temperature.
When you start your Traeger, keep the lid closed to stabilize the temperature set on the controller. Last but not least, lightly coat the grill grates with olive oil to prevent sticking.
Preparing your grill and workspace this way sets you up for grilling success. It’s a simple way to make sure everything goes smoothly once you start cooking.
Assemble All Grill Components Properly
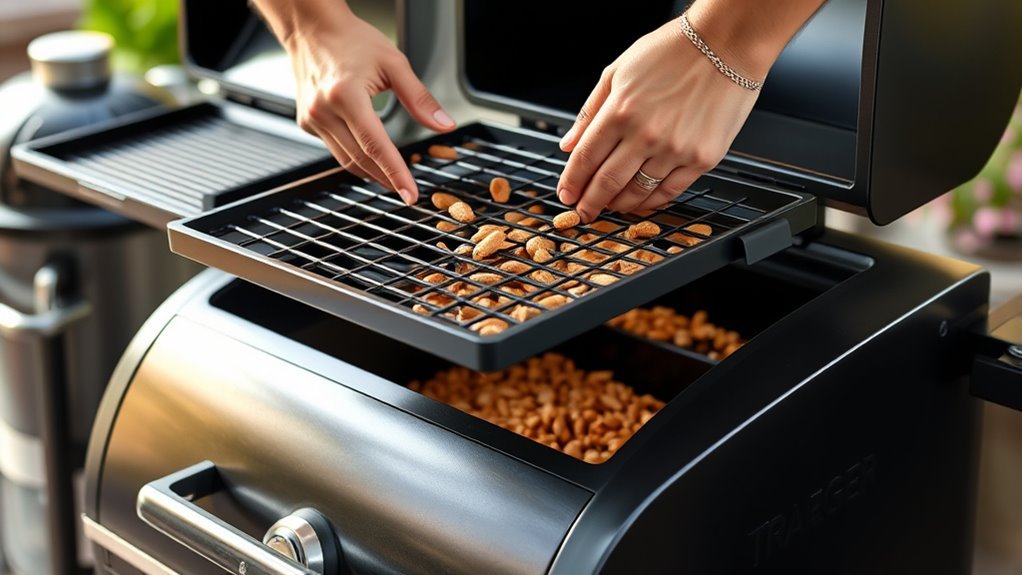
Make sure every component is in its correct spot before you seal the grill. Pay special attention to securing the drip tray properly to avoid leaks or spills.
Taking these steps guarantees your Traeger runs smoothly from the start. It’s all about setting yourself up for success right from the get-go.
Verify Component Placement
How can you guarantee your Traeger grill operates smoothly from the start? Begin by verifying that all internal components are correctly placed. Make sure the heat baffle, cooking grates, and drip tray sit properly inside the grill, with the drip tray’s concave side facing the back to optimize smoke flow.
Check that the auger screw is securely installed and free from blockages to ensure consistent pellet feeding. Inspect the firepot to confirm it’s clean and clear of debris or sawdust, which could cause ignition issues or uneven burning.
Finally, securely reassemble the ash keg and firepot cover to maintain proper airflow and prevent pellet buildup. Taking these steps ensures your grill runs efficiently and safely every time you fire it up.
Secure Drip Tray Properly
While assembling your Traeger grill, you’ll want to secure the drip tray properly to guarantee efficient grease management and prevent flare-ups. Make sure the drip tray’s concave side faces the back for ideal grease flow.
Hook it securely into the grill’s slots to avoid shifting during use. Regular cleaning is essential—grease buildup causes smoke and flare-ups.
After cleaning, reassemble by aligning the tray with the hooks and ensuring it sits flush against the frame. Proper drip tray installation maintains safety, reduces fire hazards, and improves grill performance.
| Step | Action | Purpose |
|---|---|---|
| Position | Concave side faces back | Ensures proper grease flow |
| Hook | Secure into slots | Prevents movement |
| Clean | Remove grease buildup | Avoids smoke and flare-ups |
| Reassemble | Align and flush with frame | Maintains safe operation |
Load High-Quality Pellets Into the Hopper
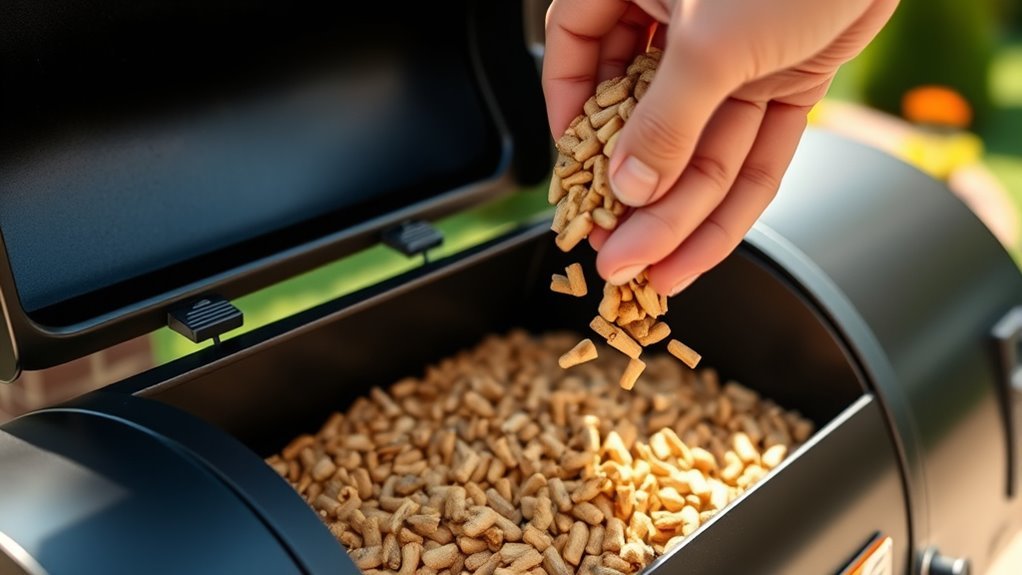
To get the best flavor from your Traeger grill, use high-quality pellets like mesquite, hickory, or apple. Make certain to store your pellets in a sealed container to keep them dry and effective.
When you load the hopper, fill it completely to ensure steady heat throughout your cook. This way, you won’t have to worry about running out mid-cook. It keeps things nice and consistent!
Choose Premium Traeger Pellets
Since the quality of your pellets directly affects your grill’s performance and flavor, you’ll want to choose premium Traeger pellets made from 100% hardwood blends like oak, hickory, or mesquite. Pellet quality is key to achieving consistent heat and rich smoke flavor.
When selecting pellets, keep these tips in mind:
- Use only fresh, high-quality pellets to prevent clogging and uneven burning.
- Fill the hopper completely to ensure smooth, continuous feeding during cooking.
- Check pellet levels before each use to avoid running out mid-cook.
- Clean out any sawdust or debris from the hopper bottom to maintain proper pellet flow.
It’s pretty simple, but these little steps can make a big difference in your grilling results!
Store Pellets Moisture-Free
After choosing premium Traeger pellets, you’ll want to keep them dry and stored properly to maintain their quality. Pellet moisture can cause clumping, which disrupts pellet feeding and leads to inconsistent heat.
Store your pellets in a sealed container away from humidity and direct sunlight to prevent moisture absorption. This keeps the pellets free-flowing and ready for smooth operation.
When you’re ready to grill, make sure the pellets are dry and pour them into the hopper carefully. Using dry, high-quality pellets ensures your grill runs efficiently and your food cooks evenly.
Regularly check your pellet supply and refill with fresh, moisture-free pellets to avoid interruptions during cooking. Proper storage is key to getting the best results from your Traeger grill.
Fill Hopper Properly
While preparing your Traeger grill for cooking, make sure you fill the hopper with high-quality, 100% hardwood pellets that are completely dry. Pellet quality directly impacts flavor and the grill’s performance, so choose pellets carefully.
Follow these tips to fill the hopper properly:
- Fill the hopper completely but don’t exceed the maximum fill line to ensure smooth pellet flow.
- Use only dry pellets to prevent clogging and maintain pellet quality.
- Store unused pellets in a sealed container to keep them moisture-free.
- Regularly check and refill the hopper during long cooks to keep a steady fuel supply.
Power On and Wake the Grill Controller
Before you start cooking, you need to power on your Traeger grill by flipping the power switch to the “On” position. This simple action wakes up the grill controller and prepares it for use.
Next, tap the selection dial to wake the controller from sleep mode; the display will light up, showing three dashes and the temperature unit, signaling it’s ready for your input.
Proper grill maintenance includes routinely checking the power switch and controller for any dirt or debris to guarantee smooth operation. Keeping these components clean helps your Traeger grill respond accurately and extend its lifespan.
Once the controller is awake, you’re set to move on to setting your desired temperature, confident your grill is functioning perfectly.
Set and Confirm Your Desired Temperature
With your Traeger grill controller awake and ready, you can set the temperature to match your cooking needs. Achieving temperature accuracy is key to perfect grilling.
Here’s how to set and confirm your desired temperature: Turn the controller dial to your target temperature, anywhere from 165°F to 500°F depending on your recipe. Then, press the dial to confirm your selection so the grill registers the correct setting.
For quicker preheating, consider setting the dial slightly higher than your intended cooking temperature. And if your grill supports smart features, you can use the WiFIRE app to monitor and adjust temperature remotely for precision.
This simple process ensures your Traeger maintains the ideal heat to cook your food just right. Easy, right?
Ignite the Grill and Preheat With Lid Closed
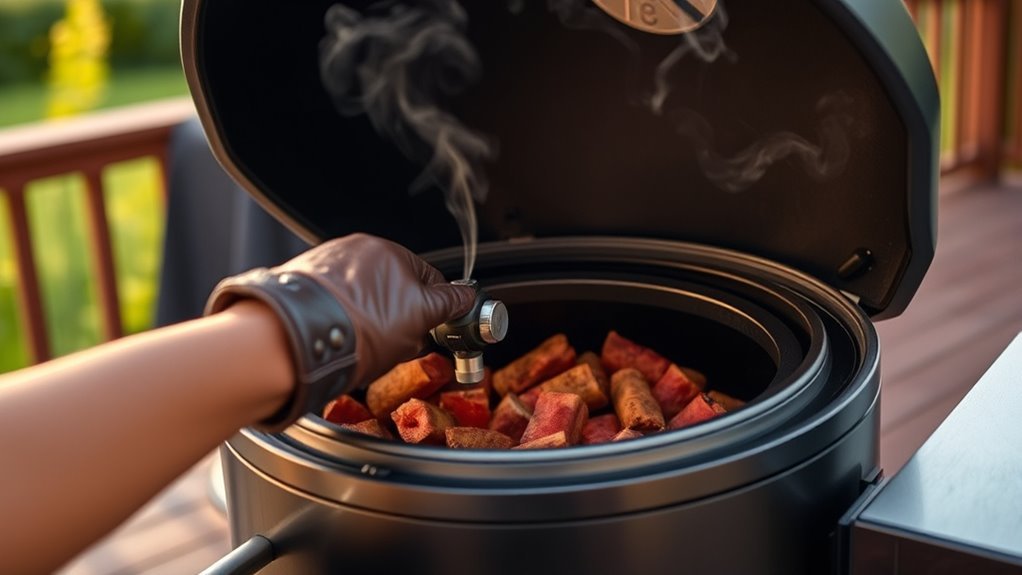
Once you’ve set your desired temperature, press the ignite button within five seconds to start the grill. Before you do, double-check that all internal components are properly installed and that the lid is securely closed.
Lid closure is essential to ensure proper ignition and consistent heat distribution. After ignition, keep the lid closed and let the grill preheat for about 15 minutes. During this time, you’ll notice the arrow indicator next to the temperature display blinking; it will stop once the grill reaches the set temperature.
Avoid opening the lid during preheating—doing so interrupts the temperature buildup and smoke flow. Keeping the lid closed during this phase guarantees the grill stabilizes at the right temperature, setting you up for successful cooking.
Monitor Internal Temperature and Start Cooking
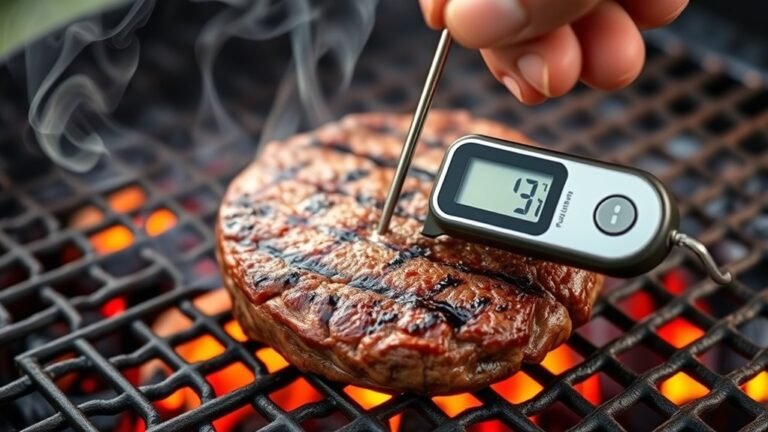
As you place your meat on the grill, make sure to insert the probe into its thickest part to get an accurate internal temperature reading. Effective temperature monitoring is key to perfect results.
Use the grill’s digital display or the WiFIRE app to keep a close eye on the internal temperature throughout cooking. Remember, rely on these readings rather than cook time to know when your meat is done.
Adjust grill settings as needed based on the temperature to avoid overcooking or undercooking. Key tips include:
- Insert the probe in the thickest part of the meat
- Continuously track temperature via digital display or app
- Adjust grill temperature based on internal temperature readings
- Remove meat once it reaches the recommended internal temperature
This approach guarantees safety and superior flavor every time.
Conclusion
Starting your Traeger grill is like planting a seed—you prepare the soil, nurture it with care, and patiently wait for the right warmth to help it grow. By following these steps, you’re setting the foundation for something flavorful and rewarding.
Just as a gardener trusts the seasons, trust the process. Keep an eye on the heat, and soon enough, you’ll harvest a perfect meal that’s worth every moment of tending.
Happy grilling! Starting your Traeger grill correctly ensures you get that perfect smoky flavor every time. With a little patience and attention, your Traeger will be ready to cook up delicious meals that everyone will love. So follow these easy steps, and enjoy the experience of great outdoor cooking with your Traeger grill!