How to Build a BBQ Pit in 7 Easy Steps
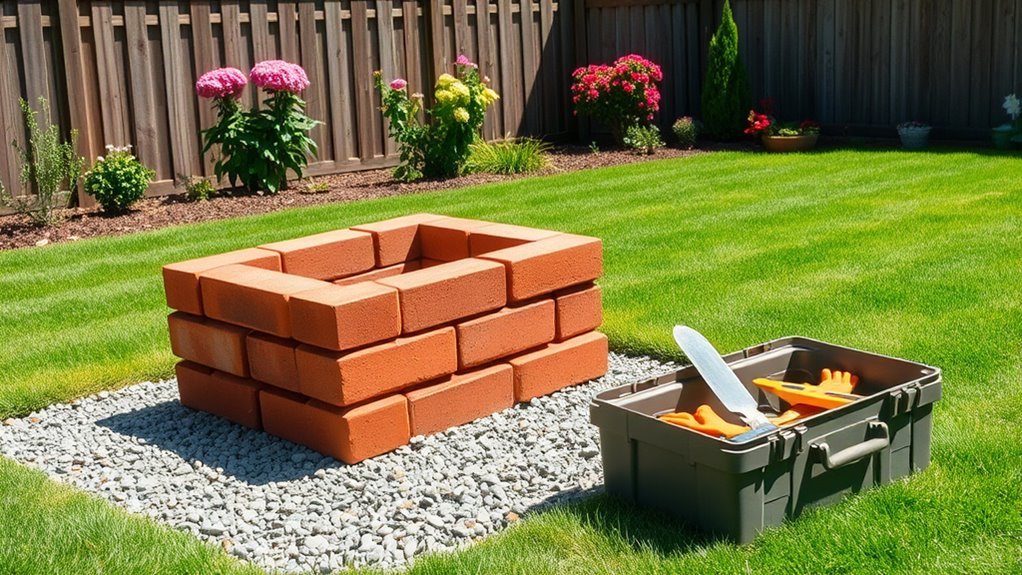
To build a BBQ pit in 7 easy steps, start by gathering essential materials like cinder blocks, firebricks, mortar, and metal braces. These items will form the foundation and structure of your BBQ pit, ensuring it’s sturdy and functional.
Next, pick a level, safe spot at least 10 feet away from any structures. Safety first, right? You want plenty of space around your pit to keep things secure while you’re grilling.
Dig a 3×5-foot pit about 8 inches deep, then lay and compact gravel for the foundation. This base helps with drainage and keeps your pit stable over time.
Apply mortar and stack blocks in a running bond pattern, keeping walls level and plumb. This technique makes your BBQ pit both strong and visually appealing.
Finally, install metal braces to support the grill top securely. These braces hold everything together and make sure your grill stays put while you cook.
Following these steps gets you close—but there’s more to perfect your pit’s stability and function. With a little extra care, you’ll have a BBQ pit that’s ready for many delicious cookouts!
Key Takeaways
- Select a level, stable location away from combustible materials. Clear it of debris for the BBQ pit foundation.
- Excavate an 8-inch-deep, 3×5-foot area. Then compact a 2-inch gravel layer for drainage and stability.
- Build brick walls using mortar in a running bond pattern. Make sure walls are level, plumb, and squared with drainage holes.
- Install metal braces at 36-42 inches height inside the walls. These will securely support and level the grill top.
- Perform final inspections to verify wall alignment, brace stability, and grill top attachment. Do this before using the BBQ pit.
Gather All Materials
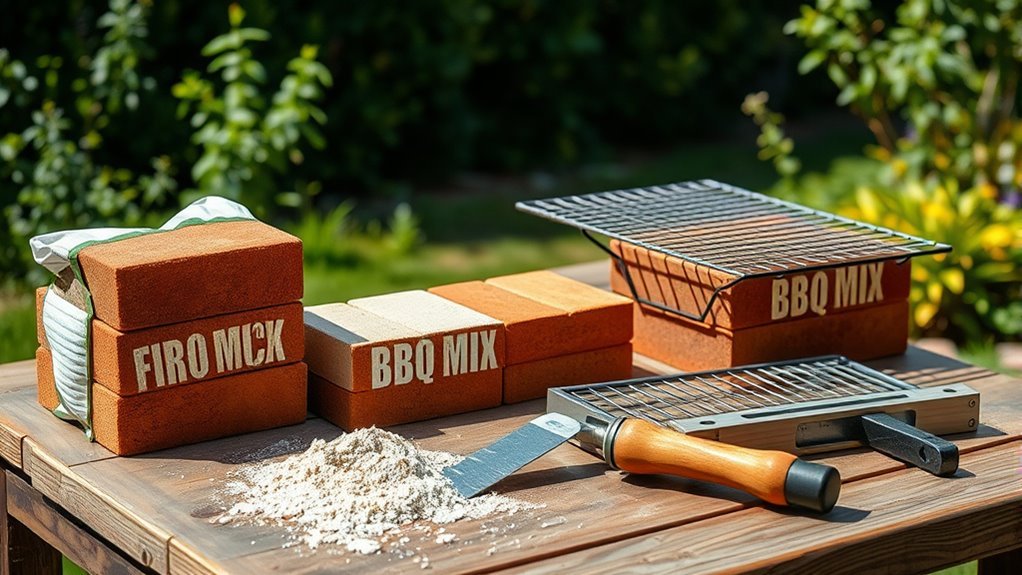
Before you start building your BBQ pit, make sure you gather all the necessary materials and tools. You’ll need cinder blocks and bricks, especially durable, heat-resistant firebricks for the cooking area.
Don’t forget mortar, gravel, metal braces, and a grill top to complete the structure. Essential tools include a shovel, hand tamp, measuring tape, leveler, carpenter’s square, and trowel.
Also, have water ready for mixing the mortar. Keep everything organized in your workspace to avoid interruptions during construction.
Double-check you have enough materials to finish the job smoothly, including extra bricks and mortar for any adjustments. By assembling all these items upfront, you’ll ensure a seamless building process and a sturdy, long-lasting BBQ pit.
Choose the Perfect Location
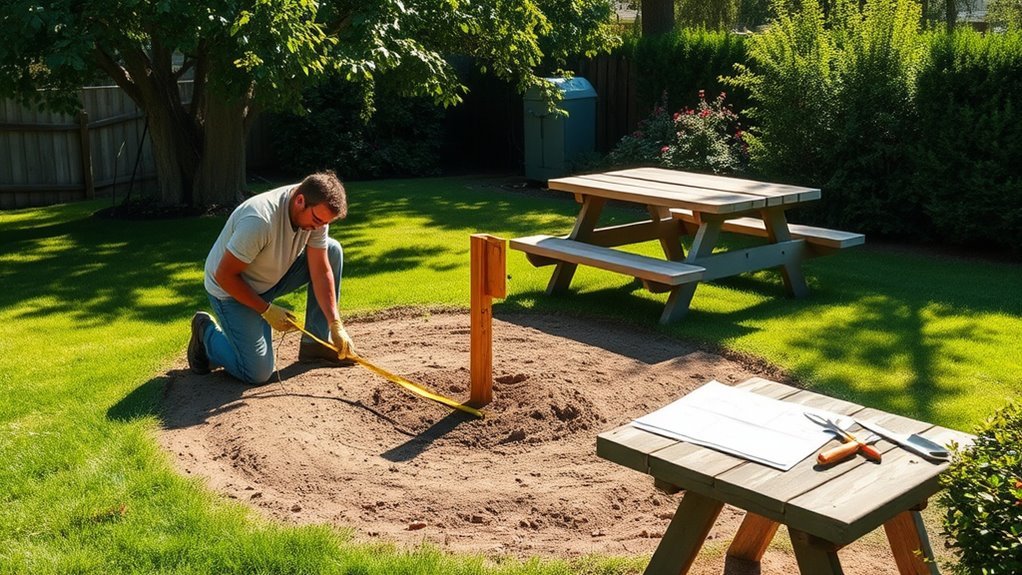
While selecting the perfect spot for your BBQ pit, you should pick a level, stable area about 3 feet by 5 feet to guarantee a solid foundation. This ensures your outdoor grilling setup stays safe and sturdy.
Choose a flat, stable 3×5-foot area for your BBQ pit to ensure safety and stability.
When choosing the location, keep these key points in mind:
- Clear the area of brush, dry vegetation, and fire hazards. You definitely don’t want anything flammable nearby.
- Position the BBQ pit downwind from your house and seating area. That way, smoke won’t blow in your direction.
- Maintain at least 10 feet from combustible structures or fences to be safe.
- Ensure easy access for transporting materials. It makes setup and cleanup much easier.
- Consider prevailing wind direction for proper ventilation. Good airflow keeps the grill working smoothly.
Dig and Prepare the Pit
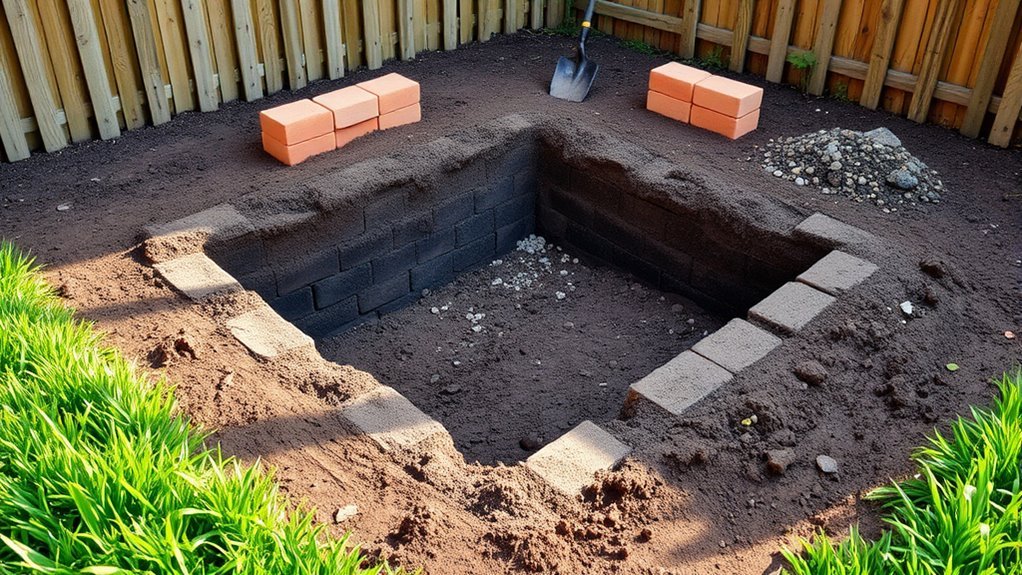
Start by marking and measuring the area where your pit will go to make certain accuracy.
Next, dig down about 8 inches, removing any roots or debris as you go.
Finally, level the bottom and clear the space to create a stable, clean base for your BBQ pit.
Mark and Measure Area
Once you’ve chosen a level spot, use a measuring tape to mark a 3 ft by 5 ft area for your BBQ pit. This precise measurement guarantees your pit will fit perfectly and allows enough room to work comfortably.
Next, clearly outline the area with stakes and string to keep your build organized and safe. Here’s what you should do:
- Mark the perimeter accurately with measuring tape.
- Place stakes at each corner and tie string tightly.
- Double-check your measurements before digging.
Also, keep extra space around the pit for workspace and safety. Don’t forget to soak your bricks in water beforehand to improve mortar adhesion. Easy steps, right? This will make your build go smoother!
Excavate to Depth
After marking and measuring your BBQ pit area, dig an 8-inch (20 cm) deep hole to form the foundation. As you excavate, remove all excess soil, roots, and debris from the site to guarantee a clean workspace. This step is vital for creating a solid base.
Once the hole is cleared, use a hand tamper to level and compact the bottom, providing a stable surface for your foundation. Adding a layer of gravel helps with drainage and adds extra stability to the foundation.
Make sure to soak any bricks you plan to use beforehand; this improves mortar adhesion and reduces dust during construction. Taking these steps to properly excavate and prepare the pit foundation sets the stage for a durable and long-lasting BBQ pit.
Level and Clear Pit
Although it might seem straightforward, leveling and clearing the pit requires careful attention to guarantee a sturdy foundation.
First, you’ll want to clear the area of soil, roots, and any debris to create a clean workspace. Then, level the bottom precisely to support the BBQ pit’s structure.
Here’s how to get it right:
- Mark the build area and dig an 8-inch-deep hole.
- Remove all loose soil and roots to clear the site.
- Add a 2-inch layer of gravel for drainage.
- Use a tamper or compactor to level and stabilize the gravel.
- Soak bricks with water before laying them to improve mortar adhesion.
Lay the Gravel Foundation
How do you create a stable base for your BBQ pit? Start by spreading a 2-inch layer of gravel evenly over the cleared foundation area. This gravel layer guarantees proper drainage and prevents water buildup.
Next, use a hand tamper to compact the gravel firmly, creating a solid foundation that won’t shift or settle over time. Make sure the gravel is level within 1/4 inch to maintain an even surface for the BBQ pit structure.
| Step | Action | Importance |
|---|---|---|
| Spread Gravel | 2-inch layer evenly | Ensures drainage |
| Compact Gravel | Use hand tamper | Creates stable foundation |
| Level Surface | Within 1/4 inch | Prevents uneven settling |
Maintaining a consistent thickness and compaction across the gravel foundation is key to long-lasting stability.
Doing these steps right will keep your BBQ pit solid and safe for years to come!
Apply Mortar and Set Cinder Blocks
Once your gravel foundation is compacted and level, you’re ready to apply mortar and set the cinder blocks. Start by mixing dry mortar with water until it reaches a smooth, workable consistency.
Spread an even layer of mortar over the gravel to create a strong base. Carefully place each cinder block onto the mortar, using a leveler and carpenter’s square to keep them plumb and aligned.
Remember to leave small drainage holes in the blocks to allow airflow and prevent water buildup. Finally, let the mortar dry completely—usually overnight—before moving forward.
- Mix mortar to a workable consistency
- Spread mortar evenly on the foundation
- Set cinder blocks carefully and level them
- Leave drainage holes in the blocks
- Allow mortar to dry fully before proceeding
Build Up the Brick Walls
As you stack each brick, spread the mortar evenly and press them firmly to guarantee a solid bond. Keep checking that the walls stay level and straight with your tools to avoid any crooked layers.
These steps will help you build a sturdy, well-aligned BBQ pit wall. It’s all about taking your time and making sure everything lines up just right.
Brick Layering Techniques
Mixing dry mortar with water to the right consistency, you’ll spread a layer over the foundation before setting the first bricks. When building your brick barbecue, pay close attention to how you layer each brick to ensure strength and durability.
Follow these key techniques:
- Lay bricks in a running bond pattern, staggering vertical joints by half a brick length.
- Use a level and carpenter’s square frequently to keep bricks plumb and aligned.
Maintain consistent mortar joints about 3/8 inch thick using spacers or a jointing tool. Regularly check the alignment and levelness of each course.
Adjust bricks as needed to keep walls straight and square. These steps will help you build up the walls of your brick barbecue solidly and evenly.
Mortar Application Tips
Although applying mortar might seem straightforward, getting the consistency right is essential for strong, durable brick walls. Mix your mortar to a peanut butter-like texture—not too dry or runny—so it spreads easily.
Use a trowel to apply a 3/8-inch thick layer of mortar between each brick. When placing the brick, press firmly and twist slightly to ensure it sticks well and there are no gaps.
Clean off any excess mortar from the joints with a damp sponge before it sets to keep your work neat and professional. These mortar application tips will help you build solid brick walls that stand the test of time and look great on your BBQ pit.
Wall Alignment Checks
How do you guarantee your brick walls stay perfectly aligned as you build them up? Maintaining proper wall alignment and level is vital for a sturdy BBQ pit. Use these quick tips to keep everything straight and true:
Use a level and carpenter’s square on each brick layer to ensure they’re perfectly plumb and even. Measure diagonally from corner to corner frequently to confirm the walls remain square.
Stretch a mason’s string or place a straightedge along the top bricks to verify the wall is level horizontally. Embed rebar or metal braces within mortar joints to prevent shifting and add stability.
Step back regularly to visually check for straightness and consistent joint lines as you stack bricks. Following these steps will keep your brick walls aligned and level throughout your BBQ pit construction.
Install Metal Braces and Grill Top
Once you’ve allowed the mortar to dry completely, insert metal braces into the final mortar layer with the braces facing inward to support the grill top securely. Position the metal braces at the right height—usually between 36 and 42 inches from the ground—to create a comfortable grilling surface.
Make sure you use stainless steel or heat-resistant metal for both the braces and grill top to withstand high temperatures and outdoor elements. After setting the braces, weld or bolt the grill top firmly to them.
Double-check that the grill top is level and stable to ensure safe cooking. Taking these steps will guarantee a durable, functional BBQ pit that stands up to frequent use and weather conditions.
Conclusion
Now that you’ve built your BBQ pit step by step, aren’t you excited to fire it up and enjoy mouthwatering grilled meals with friends and family?
With your new pit ready, outdoor cooking just got a whole lot better and more fun. Remember, each part you built adds to a perfect grilling experience.
So, get that grill going, savor the smoky flavors, and make unforgettable memories around your very own BBQ pit.
Building a BBQ pit is more than just a project; it’s the start of countless delicious gatherings. Whether you’re grilling burgers, ribs, or veggies, your custom BBQ pit makes every meal special.
Enjoy the warmth of the fire, the aroma of your favorite BBQ recipes, and the joy of sharing good times outdoors. Your BBQ pit is ready—now it’s time to create tasty moments that last a lifetime!