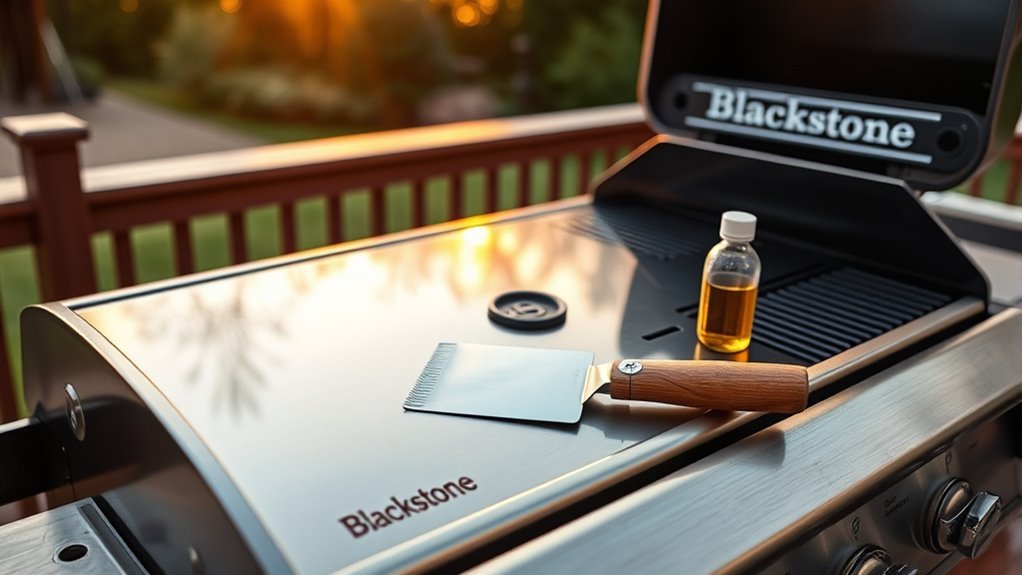
How to Clean Blackstone Grill in 10 Easy Steps
To clean your Blackstone grill in 10 easy steps, start by preheating it. This helps loosen up any stuck-on debris, making it easier to clean.
Next, grab a scraper and hold it at a 45-degree angle to push residue into the grease trap.
Add a little water to the surface to create steam, which softens any stubborn bits stuck on the grill.
Then, wipe the surface clean with a cloth or paper towel.
After that, apply a light coat of oil to protect the cooking surface.
Finally, re-season your grill to keep it in great shape.
Regular cleaning like this not only keeps your Blackstone grill efficient but also helps prevent rust.
Stick around to learn some tips for deep cleaning and conditioning your grill for long-lasting use!
Key Takeaways
- Preheat the Blackstone grill to 400°F for 10-15 minutes. This helps loosen stuck-on food and grease before you start cleaning.
- Use a sturdy, flat-edged scraper held at a 45-degree angle. Gently remove residue and push debris into the grease trap.
- Add some water to the hot grill surface to create steam. Then wipe it down with a paper towel or soft cloth to soften any stubborn buildup.
- Don’t forget to empty and clean the grease trap regularly. This keeps things hygienic and prevents grease from overflowing.
- After cleaning, apply a thin, even layer of oil or conditioner. Heat the grill again to preserve the seasoning and help prevent rust.
Preheat the Blackstone Grill
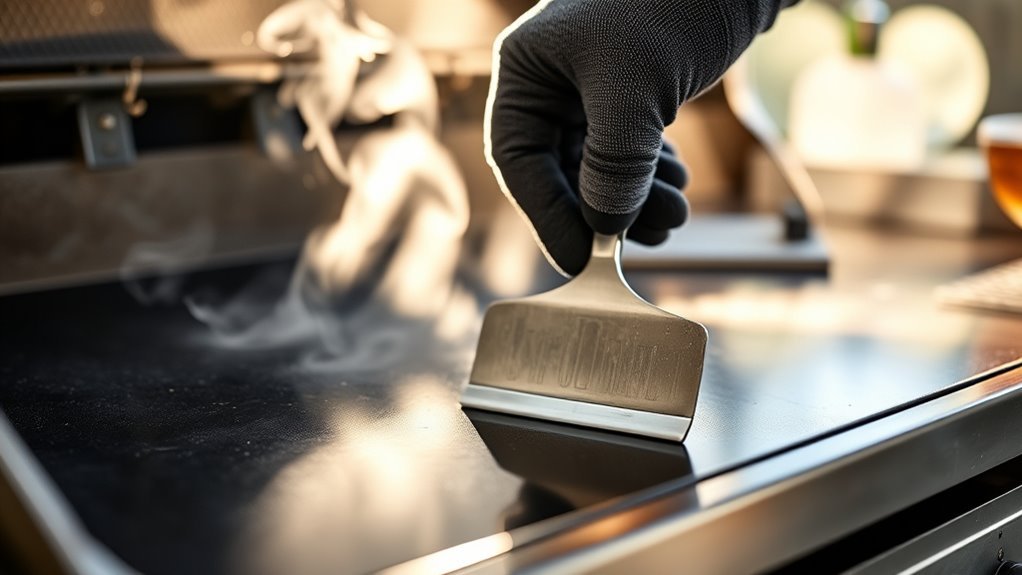
Wondering how to make cleaning your Blackstone grill easier? Start by preheating it to a high temperature. Turn on the burners and let the grill warm up for 10-15 minutes until it reaches about 400°F.
This preheat step is essential because the intense heat loosens food residue and softens built-up grease, making cleaning more effective. Use the grill’s temperature gauge to monitor when you’ve hit the right temperature before you begin.
Use a Scraper to Remove Debris
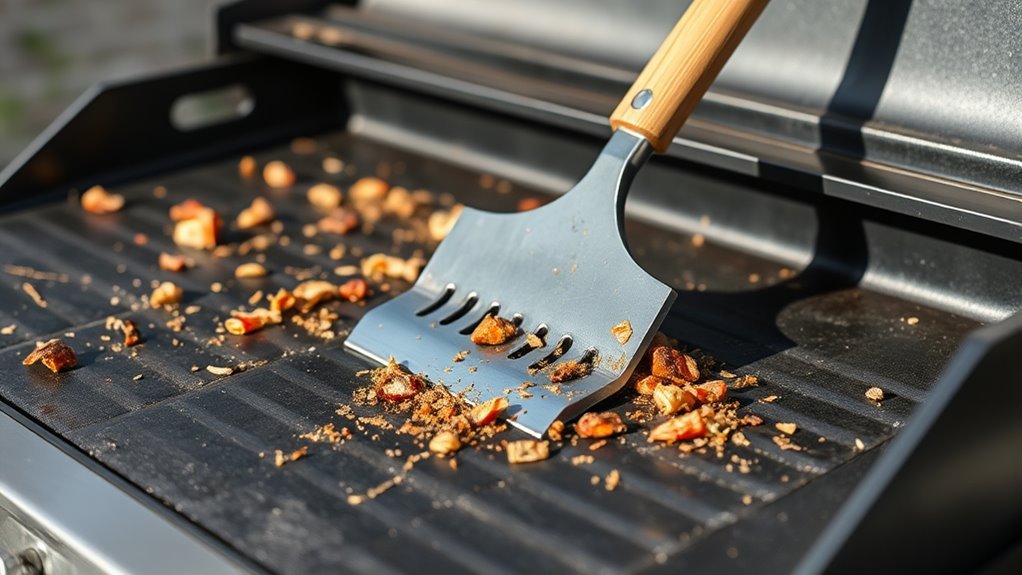
Once your Blackstone grill is preheated and the surface is hot, the next step is to tackle the stuck-on debris with a scraper. Use a sturdy, flat-edged scraper held at a 45-degree angle to make lifting residue super easy.
Apply gentle, consistent pressure to avoid damaging the seasoned surface while you focus on areas with visible gunk. Make sure to clean the scraper regularly during use to keep it effective and prevent spreading debris.
If you notice the surface feels dry, lightly rub some olive oil on it before scraping to help loosen stubborn bits. This method ensures your grill stays in great shape and ready for your next cookout.
Following these simple steps makes cleaning your Blackstone grill straightforward and efficient.
Push Residue Into the Grease Trap
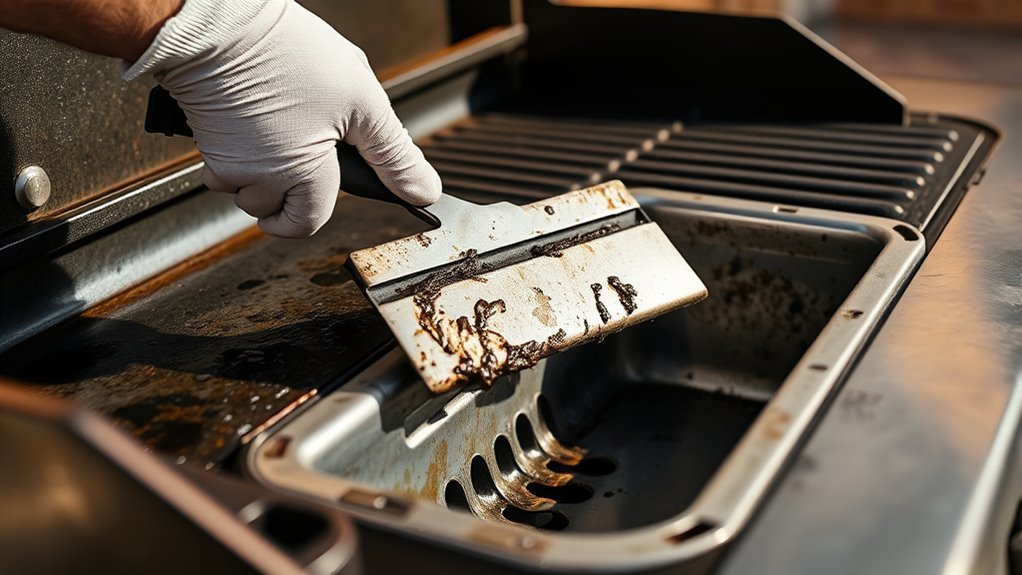
Once you’ve loosened the residue, use a metal scraper to push it toward the grease trap at the back of your Blackstone grill. This helps keep the surface clean and prevents build-up that can affect cooking.
Make sure to empty the grease trap regularly to maintain efficient grease collection. Trust me, staying on top of this makes your grill last longer and work better!
Efficient Debris Removal
To keep your Blackstone grill clean and functional, push all debris toward the rear grease trap using a flat-edged scraper or spatula. It’s best to maintain a moderate cooking temperature to soften residue. This makes it easier to slide food particles into the trap.
Using the right grill accessories and cleaning tools is key. You don’t want to damage the griddle surface while managing grease and debris efficiently.
Always clear the grease trap regularly to avoid overflow. This helps maintain ideal cleanliness.
| Step | Tip |
|---|---|
| Use flat-edged scraper | Prevent scratches on cooking surface |
| Keep grill slightly warm | Easier debris removal |
| Push debris gently | Avoid damaging griddle surface |
| Regular grease trap empty | Prevents grease buildup |
Grease Trap Utilization
After you’ve pushed debris toward the rear of your Blackstone grill, focus on the grease trap to collect all the residue effectively. Use a scraper to guide grease and leftover food directly into the trap, which acts as the key part of your grill’s drainage system.
Proper grease disposal starts here, so don’t let the trap overfill—empty it regularly to avoid overflow and maintain smooth grill operation. Before cleaning, check the trap for hardened gunk and wipe the surrounding area with a paper towel or cloth to keep everything spotless.
Consistent trap maintenance ensures your grease trap works efficiently, preventing residue buildup and making future cleanings easier. Taking these steps protects your grill and keeps your cooking surface safe and ready to use.
Preventing Surface Build-up
While cooking, you should regularly push residue into the grease trap to prevent buildup on your Blackstone grill’s surface. This practice not only maintains grill safety by reducing flare-ups but also keeps your cooking area efficient and clean.
Use a scraper as your primary cleaning tool to gently guide debris toward the rear without damaging the surface. Keeping the griddle warm during cooking helps loosen residue naturally, making it easier to move.
To prevent surface buildup effectively, remember to:
- Scrape consistently during cooking sessions to avoid stubborn gunk.
- Use proper cooking techniques to minimize excessive residue formation.
- Clear debris into the grease trap after each use for easier cleanup.
Add Water to Generate Steam
How can a small amount of water help clean your Blackstone grill more effectively? Adding water directly onto the hot griddle surface creates steam, which is key to steam cleaning. The water vapor quickly softens stuck-on residues, making them easier to remove.
Make sure the griddle is hot enough to produce steam without causing splattering or burns. Once you add the water, let the steam work for a few minutes to loosen built-up gunk. Then, use a spatula or scraper to gently lift stubborn debris as the steam softens it.
This method reduces the effort needed to clean tough spots and prevents scratching. Remember, steam cleaning with water vapor is a simple step that enhances residue softening for a cleaner, well-maintained grill surface.
Wipe the Surface Clean
A paper towel or soft cloth works best to wipe your Blackstone grill’s surface once steam has loosened the residue. Make sure the griddle is still warm, which helps oils and debris lift easily without harsh scrubbing.
Use gentle wiping motions to protect the seasoned surface and avoid damage to the surface materials. If you encounter stubborn residue types, carefully use a scraper before wiping again.
Select your cleaning tools thoughtfully to match the grill’s finish and residue nature. Choose non-abrasive cleaning tools to maintain seasoning.
Target different residue types with appropriate wiping techniques. Handle surface materials gently to preserve the grill’s lifespan.
Finishing with a light oil coat helps protect the surface and keeps it ready for your next cookout.
Inspect for Remaining Residue
Once you’ve wiped the surface clean and applied a light coat of oil, take a close look at your Blackstone grill for any leftover residue. Focus on corners and edges where debris tends to hide.
Use cleaning brushes or a scraper to gently feel for sticky or uneven patches. Residue testing isn’t just visual—run your fingers over the surface to detect any greasy or sugary buildup that could cause future problems.
If you find stubborn spots, give them another quick scrub to guarantee a smooth finish. After the surface dries, perform a final inspection to confirm thorough cleanliness.
This step is vital before moving on to surface polishing and seasoning, ensuring your grill stays in top shape and ready for cooking.
Apply a Light Coat of Oil
Although your Blackstone grill looks clean, you’ll want to apply a light coat of oil to protect the surface from rust and corrosion. Using a high-smoke-point seasoning oil like vegetable, canola, or Blackstone’s own will guarantee your oil application is effective.
Spread the oil evenly with a paper towel or cloth to avoid uneven coverage. This thin layer enhances the non-stick surface and adds a glossy finish.
Keep these tips in mind for proper oil application:
- Use only a small amount to prevent buildup
- Cover the entire griddle surface uniformly
- Choose oils designed for seasoning to withstand heat
This simple step really helps maintain your grill’s durability and cooking performance. It’s a quick and easy way to keep things running smoothly.
Reapply Blackstone Seasoning
When you’ve finished cleaning your Blackstone grill, reapplying Blackstone seasoning restores its non-stick surface and keeps rust at bay. While the griddle is still warm, apply a thin, even layer of seasoning using a paper towel or cloth. This guarantees proper seasoning thickness, which is key to durability.
After spreading, heat the griddle again to bond the oil, creating a glossy finish. Pay attention to seasoning flavors if you use flavored oils, and store your seasoning properly to maintain quality.
| Step | Tip |
|---|---|
| Apply Thin Layer | Ensures proper seasoning thickness |
| Spread Evenly | Covers entire griddle surface |
| Heat After Apply | Bonds oil for durability |
| Store Seasoning | Maintain seasoning flavors and quality |
Use Conditioner for Surface Protection
After cleaning your Blackstone grill, you’ll want to apply a thin, even coat of conditioner to protect the surface from rust and keep it non-stick. Using conditioner regularly enhances the seasoning and maintains that glossy finish you want.
Let’s cover the benefits, how to apply it correctly, and how often you should use it. It’s easier than you might think, and your grill will thank you!
Benefits of Conditioner
Why should you use a conditioner on your Blackstone grill? Conditioner offers essential seasoning benefits that protect your grill’s surface. It forms a protective layer that prevents rust and corrosion, ensuring long-lasting rust prevention.
This protection enhances surface durability, making your grill resistant to wear and tear. By applying conditioner regularly, you’ll enjoy improved seasoning benefits that keep the surface seasoned and ready for cooking.
You also get effective rust prevention through a moisture-resistant barrier. Plus, increased surface durability maintains a glossy, non-stick finish for better cooking performance.
Using conditioner also simplifies cleaning by reducing sticky residue buildup, so your grill stays in prime condition. Adding this step into your maintenance routine helps ensure your Blackstone grill performs well for years.
Application Techniques
Since proper application guarantees maximum protection, you should spread Blackstone conditioner evenly across the hot grill surface using a clean cloth or paper towel. This step is essential in your surface preparation to build a durable, seasoned layer that prevents rust and corrosion.
Employing effective oil application methods means applying a thin, uniform coat right after cleaning and allowing it to soak for at least 15 minutes. This soak time helps the conditioner penetrate the metal, enhancing the griddle’s non-stick properties and providing a glossy finish.
Incorporate these seasoning techniques regularly, especially after deep cleans or heavy use, to maintain protection and extend your grill’s lifespan. Proper application ensures your Blackstone grill stays in top shape for every cookout.
Frequency of Use
Although the frequency varies with how often you grill, applying Blackstone conditioner regularly keeps your surface protected from rust and corrosion.
If you use your grill often, especially at high cooking temperatures, maintaining the seasoned layer is essential for food safety and peak performance.
You should apply conditioner after each cleaning to prevent gunk buildup and maintain a non-stick surface.
For heavy use, weekly re-seasoning helps preserve the griddle’s quality.
Consider these tips for frequency of use:
- Apply conditioner daily if you grill every day to maintain surface protection.
- Re-season weekly when cooking at very high temperatures for extended sessions.
- Adjust conditioning based on cooking temperature and frequency to guarantee food safety and grill longevity.
Maintain Regular Cleaning Schedule
To keep your Blackstone grill performing at its best, you should clean it after every use to prevent gunk and sugars from building up. Use the right cleaning tools like scrapers and brushes to make this easier.
Always heat the griddle before cleaning—that loosens residue and preserves your surface seasoning. After cooking, scrape debris into the grease trap to keep the surface ready for your next meal.
Incorporate proper cooking techniques to minimize mess, and follow storage tips like applying a light coat of oil after cleaning to prevent rust.
Don’t forget to schedule deep cleaning sessions weekly or after heavy use to remove stubborn buildup and maintain hygiene. Staying consistent with this routine extends your grill’s lifespan and keeps it cooking smoothly.
Conclusion
Keeping your Blackstone grill in tip-top shape doesn’t have to be a chore. With these simple steps, you’ll gently whisper away any leftover memories from your last cookout, leaving a surface that’s ready and enthusiastic for your next delicious adventure.
Treating your grill with a little TLC not only extends its life but also ensures every meal tastes just right. Stick to this easy routine, and your Blackstone will always be your trusty, flavorful companion.
Regular cleaning of your Blackstone grill helps prevent rust and buildup, making each cooking session smoother and more enjoyable. Plus, a clean grill means better-tasting food and safer grilling. By following these 10 easy steps, you’ll keep your Blackstone looking great and performing at its best for years to come. So, roll up your sleeves and enjoy the satisfaction of a spotless grill ready for your next delicious meal!