10 Steps to Cook and Grill London Broil Perfectly
To cook and grill London broil perfectly, start by selecting a thick, lean flank steak and pat it dry. This cut is ideal for grilling because it’s flavorful and benefits from marinating.
Marinate it for 2–24 hours in a balanced mixture of olive oil, vinegar, garlic, and rosemary to infuse those delicious flavors.
Bring the meat to room temperature before preheating your grill to high heat. This helps it cook evenly.
Grill with frequent flips and use a thermometer to hit your desired doneness. Don’t rush this part—checking the temperature ensures you get that perfect level of juicy, tender meat.
Rest the steak for 10 minutes after grilling. This step lets the juices redistribute for maximum tenderness.
Finally, slice thinly against the grain. This ensures each bite is tender and easy to chew.
Keep going, and you’ll master every step for tender, flavorful results.
Key Takeaways
- Select a thick, lean flank steak and tenderize by pounding to an even 1½-inch thickness before cooking.
- Marinate the steak for 2–24 hours in a mix of olive oil, vinegar, garlic, brown sugar, and rosemary for flavor and tenderization.
- Remove steak from the fridge 1–2 hours before grilling to reach room temperature and pat dry for better searing.
- Preheat grill to 450°F, grill steak with 45-degree angle sear marks, flipping every 1–2 minutes for even cooking.
- Rest steak covered loosely for 10 minutes post-grilling, then slice thinly against the grain for maximum tenderness.
Selecting the Best Cut for London Broil
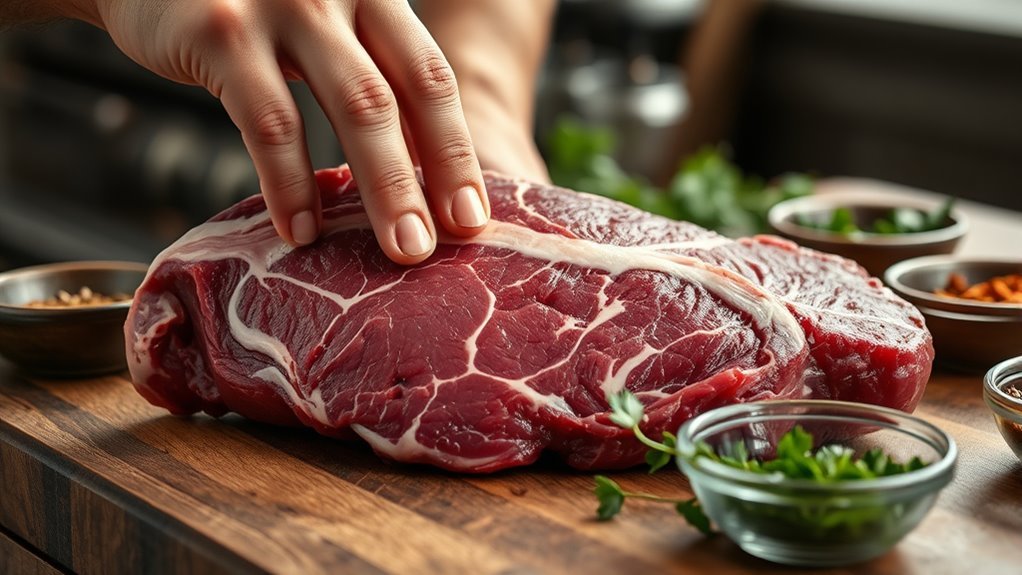
When selecting the best cut for London Broil, you’ll want to focus on flank steak, the traditional choice known for its lean texture and rich flavor. This cut of meat comes from the cow’s abdominal muscles and is best cooked quickly over high heat.
When selecting your flank steak, look for a thick piece—at least an inch—to guarantee even cooking and tenderness. You’ll notice its deep red color and minimal fat, which are signs of quality.
Although top round can work, flank steak remains the preferred cut for its flavor and texture. Remember, marinate your thick cut well to enhance tenderness and taste. Choosing the right cut is essential before moving on to the marination process.
Preparing the Meat for Marination
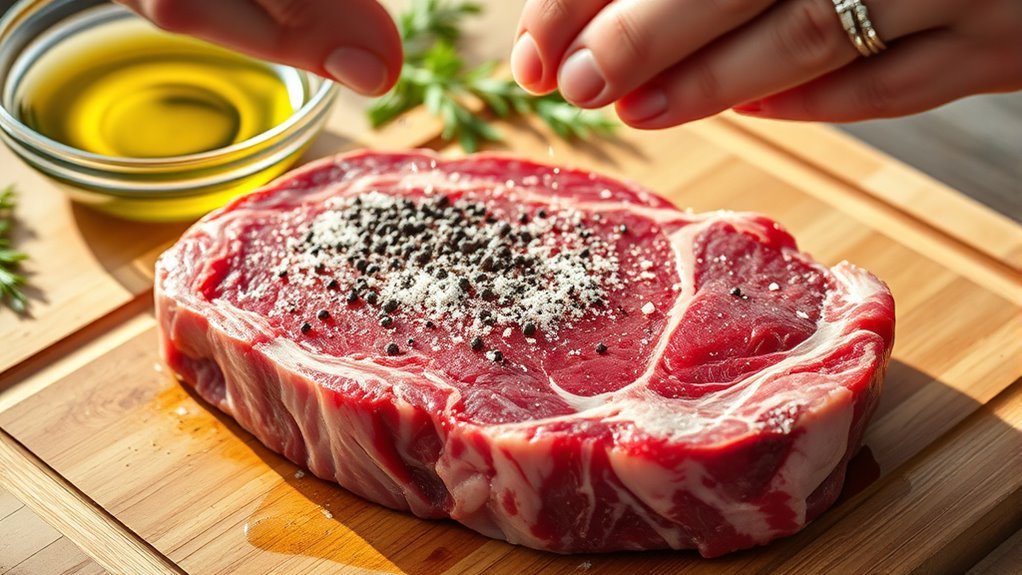
Although selecting the right cut is essential, properly preparing the meat for marination guarantees your London Broil absorbs maximum flavor and tenderness. Start your meat preparation by choosing a lean, tough cut like flank steak.
Then, tenderize the meat by pounding it with a mallet to achieve an even thickness of about 1½ inches. Before you marinate, pat the steak dry with paper towels to help the marinade cling better.
Lightly score the surface with shallow cuts to let the flavors penetrate deeper. To infuse taste and break down fibers, marinate the steak in a sealed bag or container for at least 2 hours, ideally up to 24 hours.
Follow these steps to set your London Broil up for success:
- Select lean flank steak
- Tenderize to even thickness
- Pat dry thoroughly
- Score surface lightly
- Marinate in sealed container
Crafting the Perfect Marinade
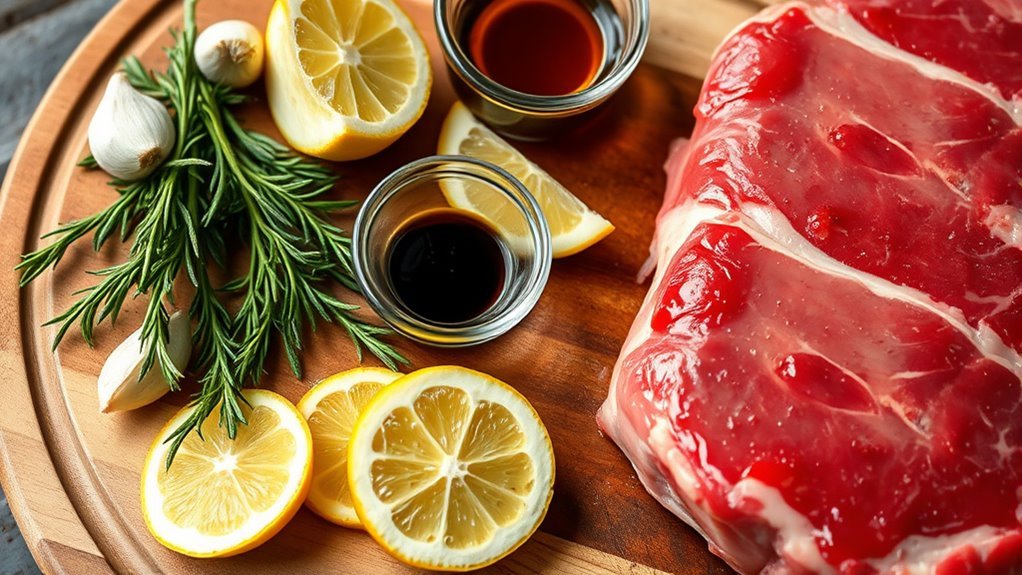
To craft the perfect marinade, you’ll want to combine ingredients like olive oil, red wine vinegar, brown sugar, garlic, and fresh rosemary for rich flavor. Make sure the marinade coats every surface of the meat evenly to maximize absorption.
Let it sit in the fridge for at least 2 hours, but no longer than 24, to tenderize the beef without breaking it down. This way, your meat stays juicy and flavorful.
Marinade Ingredients Selection
Crafting the perfect marinade is key to revealing the rich flavors and tenderness of London Broil. When selecting your marinade ingredients, focus on balancing acidity, sweetness, and spice to enhance the beef’s natural taste.
A classic combination includes olive oil for moisture and richness, red wine vinegar to tenderize and add tang, and garlic for aromatic depth. Black pepper brings subtle heat, while dark brown sugar balances acidity with sweetness.
You can customize by adding Worcestershire sauce or fresh rosemary for complexity. Using a resealable bag ensures the marinade coats the meat evenly.
Remember to keep your mixture refrigerated during marination to safely infuse flavor. These simple yet essential ingredients set the stage for a perfectly grilled London Broil with juicy, bold flavor.
Optimal Marinating Time
Once you’ve selected the right marinade ingredients, the next step is deciding how long to let your London Broil soak up those flavors. For tougher cuts like top round or flank steak, marinate for at least 2 hours to tenderize and start flavor absorption.
For ideal results, marinating time should extend up to 24 hours, but avoid exceeding it to prevent meat breakdown. Using a sealed plastic bag or non-reactive container ensures even marination.
| Marinating Time | Effect on Meat |
|---|---|
| 2 hours minimum | Begins tenderizing and flavor absorption |
| 8-12 hours | Enhanced tenderness and flavor depth |
| Up to 24 hours | Perfect tenderize and full flavor penetration |
Stick to these times for perfectly marinated London Broil every time. You’ll love how much juicier and tastier it turns out!
Ideal Marinating Times for Flavor and Tenderness
While marinating times can vary, allowing your London Broil to soak for at least 2 hours gives the marinade enough time to tenderize the meat and boost its flavor. To get the best results, marinate tougher cuts in the refrigerator, guaranteeing safe and effective flavor infusion.
For maximum tenderness, 4 to 8 hours works great, especially with lean cuts like flank steak. Just be sure to avoid marinating longer than 24 hours to prevent a mushy texture.
Keep these marinating tips in mind:
- Marinate in the refrigerator to keep meat fresh
- Use acidic ingredients to break down fibers
Aim for 4-8 hours for ideal tenderizing, and overnight marination maximizes flavor infusion. Avoid under 2 hours for tougher cuts to prevent blandness.
This balance ensures your London Broil stays juicy and flavorful.
Bringing the Meat to Room Temperature
Before you start grilling, take your London Broil out of the fridge and let it sit at room temperature for about 20-30 minutes per inch of thickness. This step guarantees even cooking and helps prevent the outside from overcooking while the inside reaches the perfect temperature.
Don’t forget to pat the meat dry to get that ideal sear. It really makes a difference!
Importance of Temperature
Since temperature plays an essential role in cooking London Broil, you should let the meat sit at room temperature for at least 30 minutes before grilling. This step is critical to ensure even cooking and proper heat distribution.
When you allow resting meat to warm up to roughly 70°F, you reduce the internal temperature gap. This prevents the outside from burning while the inside remains undercooked. It helps you achieve the desired doneness perfectly.
Key benefits of bringing the meat to room temperature include consistent internal temperature throughout and reduced risk of overcooking the edges. Plus, your steak will be juicier and more tender.
You’ll also notice improved heat distribution on the grill and better control over the final doneness. Always prioritize this step for a flawlessly grilled London Broil.
Timing Before Grilling
Getting the temperature right sets the stage for perfect grilling, but timing how long you let your London Broil sit at room temperature can make all the difference.
Remove the meat from the refrigerator 1 to 2 hours before cooking, allowing it to reach a consistent internal temperature around 70°F (21°C). This resting time helps guarantee even cooking, especially for thinner cuts about 1-inch thick.
When the meat sits at room temperature, you reduce the risk of overcooking the exterior while the inside remains underdone. Use a meat thermometer to check the internal temperature before grilling.
Proper timing and temperature balance based on the steak’s thickness set you up for a tender, evenly cooked London Broil every time.
Effects on Cooking
Though it might seem like a small step, letting your London Broil come to room temperature for at least 30 minutes dramatically improves how it cooks. This simple practice promotes even heat distribution, ensuring the meat cooks uniformly from edge to center.
When you start with meat warmed to room temperature, you avoid uneven searing and charring, which can happen if it’s cold. The result is a juicier, more tender London Broil with better texture and flavor.
By bringing your meat to room temperature, you’ll notice:
- Uniform cooking throughout the steak
- Even searing on the surface
- Reduced cooking time by about 20%
- Juicier, more tender bites
- Less risk of overcooked edges and underdone center
This step is key for perfect grilling. Trust me, it makes all the difference!
Preheating the Grill for Optimal Searing
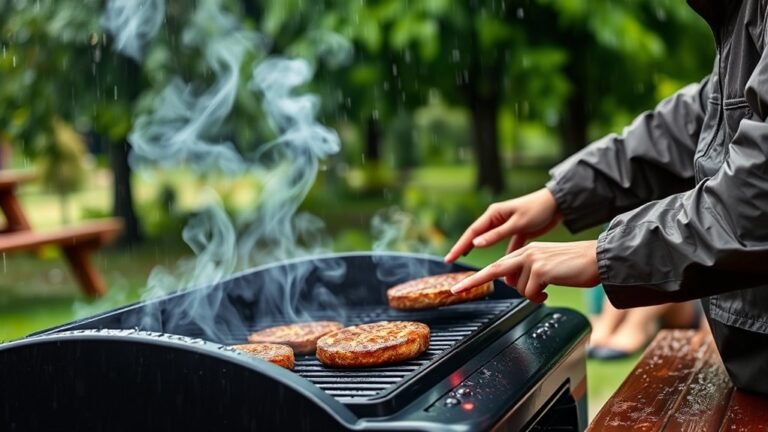
Before you place your London Broil on the grill, make sure you preheat it to a high temperature between 450°F and 600°F. This high grill temperature is essential for proper searing, which locks in juices and creates a flavorful crust.
You should preheat the grill for at least 10 to 15 minutes, allowing both the grill grates and the grill lid to reach the desired heat. Using a grill thermometer helps confirm when the surface temperature is right.
Avoid putting your meat on before heat stabilization, as inconsistent grill heat can prevent that perfect sear. Preheating thoroughly guarantees even heat distribution and allows your London Broil to sear quickly and deliciously once it hits the grates.
Grilling Techniques for Even Cooking
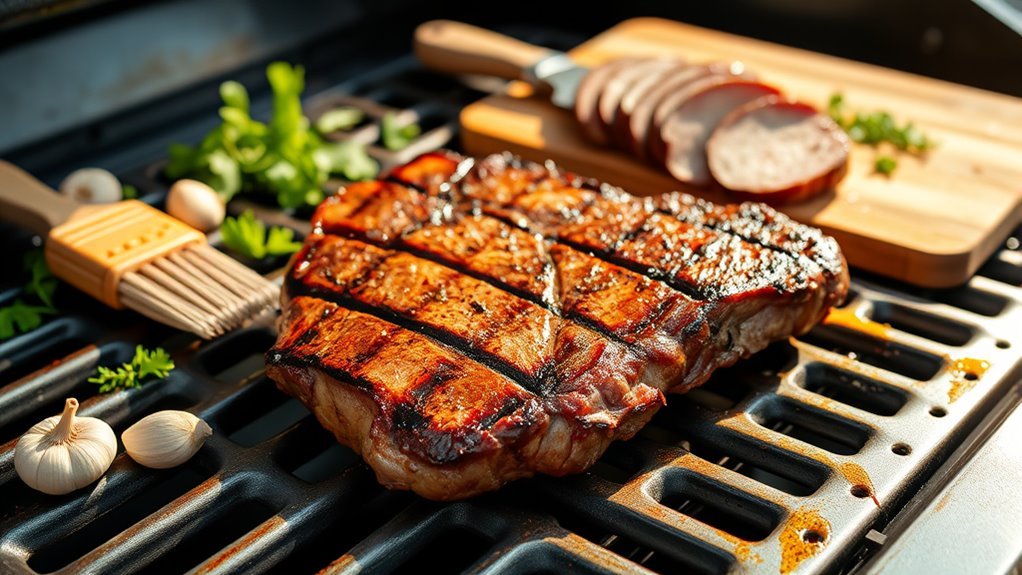
Once your grill reaches the right temperature, it’s time to focus on techniques that guarantee your London Broil cooks evenly. Proper grilling ensures consistent heat and perfect sear marks that enhance flavor and presentation.
Follow these tips for even cooking:
- Place the steak at a 45-degree angle on the grill grates to create beautiful sear marks.
- Rotate the steak 90 degrees halfway through each side’s cooking to develop cross-hatch grill marks.
- Flip the steak every 1-2 minutes to avoid hot spots and ensure uniform browning.
- Maintain high heat around 450°F for effective searing.
- Use an instant-read thermometer to check internal temperature, removing the steak as it nears your desired doneness.
Master these steps for perfectly grilled London Broil with even cooking throughout.
Monitoring Internal Temperature for Doneness
To get your London Broil cooked just right, use an instant-read thermometer to check the internal temperature. Aim for 130-135°F for medium rare, 140-145°F for medium, and 160°F for well done.
But remember to take it off the heat about 5°F early since it will keep cooking while resting. Insert the thermometer into the thickest part of the meat to get an accurate reading and avoid overcooking.
Target Temperature Guide
Monitoring the internal temperature is key to grilling a perfect London Broil, and using a digital meat thermometer will help you nail the doneness every time. For medium-rare, aim for a target temperature of 130-135°F.
Remember to pull the steak about 5°F below that to allow for carryover cooking during resting time. Here’s what to keep in mind:
- Use an instant-read thermometer in the thickest part of the meat
- Target 125-130°F for rare, 130-135°F for medium-rare
- Remove steak 5°F below your desired doneness
Expect temperature to rise ~5°F during 10-minute resting time. Adjust target temperature for medium (145°F) and well done (160°F).
This method guarantees perfectly cooked London Broil every time.
Using Instant-Read Thermometers
Although grilling can be an art, using an instant-read thermometer takes the guesswork out of cooking your London Broil to perfection. This tool provides a quick, accurate measurement of the internal temperature, usually within 2-3 seconds.
To achieve a perfect medium-rare doneness, aim for an internal temperature of 130-135°F, pulling the meat from the grill around 125-130°F. Insert the thermometer into the thickest part of the steak, avoiding bone or fat, for the most accurate reading.
Regularly checking the internal temperature helps you avoid overcooking and ensures consistent results. Remember to let your London Broil rest for about 10 minutes after grilling; resting meat allows the temperature to stabilize and juices to redistribute, enhancing flavor and tenderness.
Temperature Resting Effects
Once you pull your London Broil off the grill, don’t rush to slice it. Resting is essential because the internal temperature continues to rise about 5°F due to carryover cooking. This guarantees even doneness and preserves juiciness.
Use a meat thermometer to monitor the internal temperature closely, aiming for medium rare at 130–135°F before resting. Avoid cutting early to keep those flavorful juices locked in.
During the 10-minute rest, you’ll notice the temperature stabilizing evenly and the juices redistributing throughout the meat. This step really makes a difference.
You’ll also get increased tenderness, enhanced flavor retention, and a reduced risk of overcooking. So, give it a little patience—it’s totally worth it!
Resting the Meat Before Slicing
After you finish grilling your London Broil, let it rest for about 10 minutes before slicing. This gives the juices time to redistribute and helps keep the meat tender and juicy.
During resting, the internal temperature usually rises about 5°F, reaching the perfect doneness. This pause lets the muscle fibers relax, which makes the meat more tender and stops the juices from spilling out when you slice.
To keep the heat without making the meat soggy, cover it loosely with foil while it rests. Remember, slicing right after resting locks in maximum flavor and moisture.
That resting period is the secret to getting a juicy slice that melts in your mouth. Taking this simple step really makes all the difference when enjoying a perfectly cooked London Broil with great tenderness and juicy texture.
Proper Slicing for Maximum Tenderness
Letting your London Broil rest sets you up for the next important step: slicing it properly. To maximize tenderness, you need to slice the meat against the grain, which shortens the muscle fibers and makes each bite easier to chew.
Here’s how to do it right:
- Place the meat on a sturdy cutting board.
- Identify the muscle fibers by looking at the natural lines on the meat.
- Use a sharp knife to ensure clean, precise cuts.
- Slice thinly at a 45-degree angle against the grain.
- Maintain steady pressure for smooth, even slices.
Following these steps helps preserve the meat’s texture and juices. This way, your London Broil turns out tender and flavorful every time.
Conclusion
Now that you’ve mastered these 10 steps, your London broil will be so perfectly grilled it might just make chefs everywhere jealous! Imagine slicing into juicy, tender meat that melts in your mouth like a dream. Your taste buds will throw a party, and your grill will become your best friend.
Keep these tips close, and every cookout will be legendary. Whether you’re a beginner or a seasoned griller, these London broil cooking and grilling techniques will boost your confidence. Get ready to impress your friends and family, because your London broil game just went from zero to hero!