How to Clean Your Weber Grill in 5 Easy Steps
To clean your Weber grill, first make sure it’s completely cool and gather your supplies. Cleaning your Weber grill regularly not only keeps it looking great but also ensures your food tastes fantastic every time. Removing grease buildup and food residue is key to maintaining a safe and efficient grill.
Remove and soak the grates, Flavorizer bars, and grease trays in warm, soapy water.
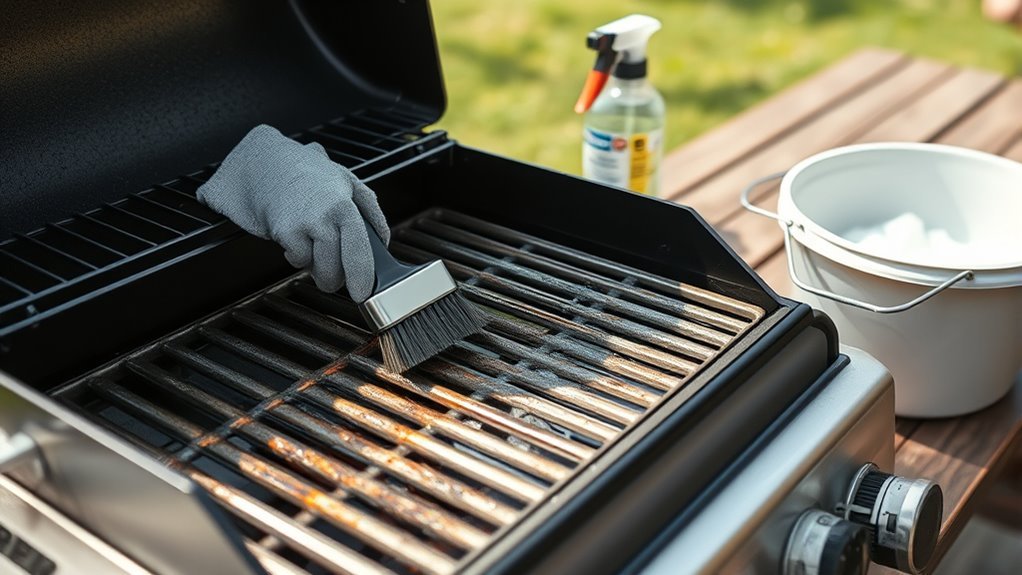
Scrub the inside with a stainless steel brush, wipe down the interior, then clean the exterior with mild soap and a soft cloth.
Dry everything thoroughly, reassemble the grill, and run all burners on high for 15 minutes to burn off residue. Keep going to uncover more tips for a spotless grill.
Key Takeaways
- Ensure grill is completely cooled and gather all cleaning supplies before starting.
- Remove cooking grates and trays, soak in warm soapy water, then scrub and rinse thoroughly.
- Scrub interior surfaces with a grill brush, empty the bottom tray, and wipe down with a damp towel.
- Clean the exterior with mild soap and water, rinse, dry completely, and buff stainless steel parts.
- Reassemble grill, heat burners on high for 15 minutes, then brush off ash from cooking grates.
Prepare Your Grill for Cleaning
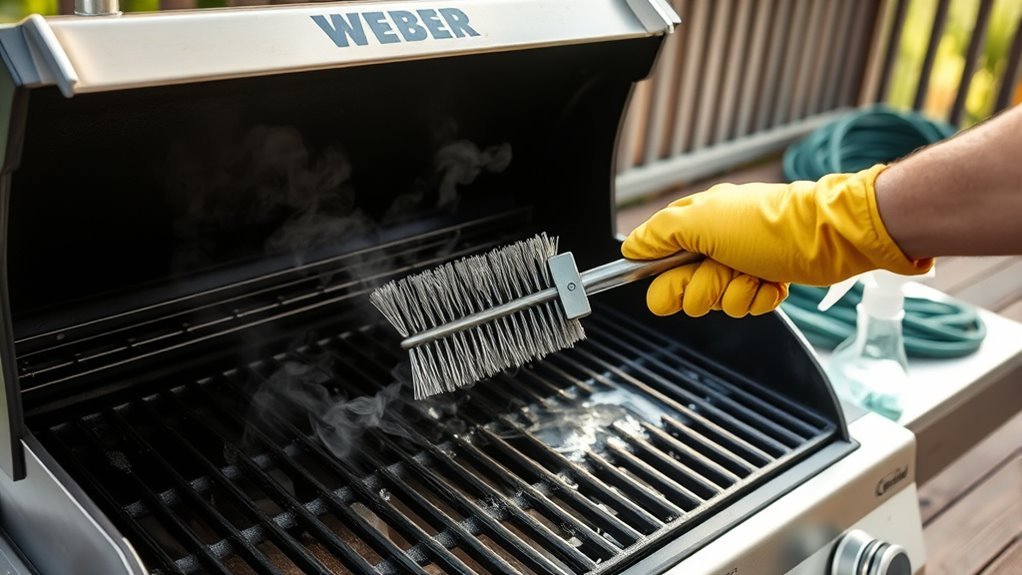
Before you begin cleaning, make sure your Weber grill has completely cooled down to avoid burns. Cooling the grill fully is essential for your safety and guarantees that the cleaning process is effective.
Once cooled, gather all your cleaning supplies such as a grill brush, microfiber towels, degreaser, and non-abrasive cleaners to have everything ready.
Inspect the exterior carefully for any rust spots or damage and address these issues before you start cleaning to prolong the grill’s life.
If you’re not cleaning immediately or storing the grill outdoors, cover it to protect against dust and debris.
Taking these preparation steps will make the cleaning process smoother and help maintain your Weber grill in top condition.
Remove and Soak Removable Parts
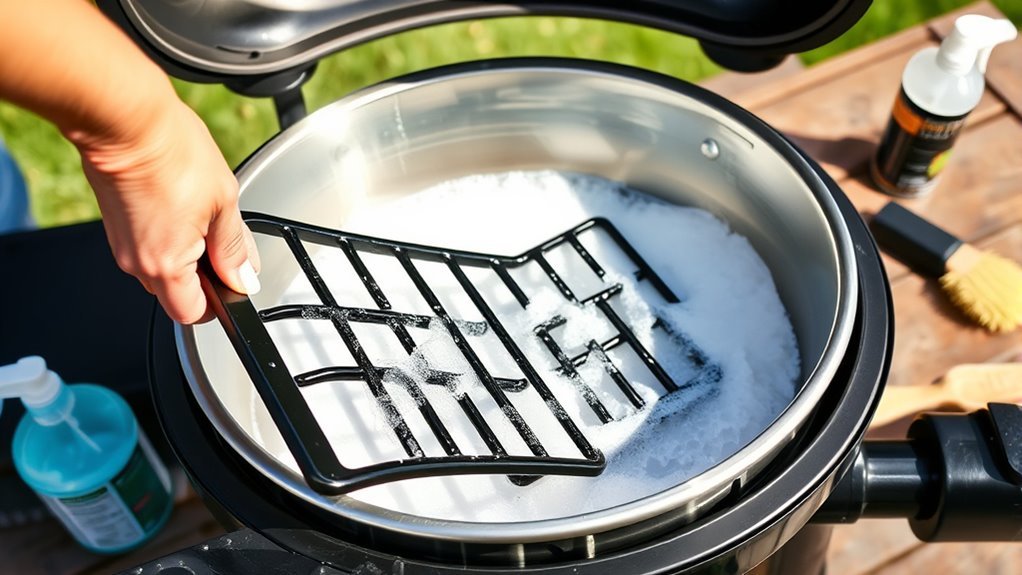
Once your grill is cooled and prepped, start by carefully removing all the detachable parts like cooking grates, Flavorizer bars, and grease trays. These removable parts tend to collect a lot of grime, so soak them in warm, soapy water or a degreaser solution.
Let them soak for 15-30 minutes to loosen stubborn grease and food residue. After soaking, scrub gently with a brush or sponge, rinse well, and dry completely to avoid rust.
| Removable Parts | Soaking Time |
|---|---|
| Cooking Grates | 15-30 minutes |
| Flavorizer Bars | 15-30 minutes |
| Grease Trays | 15-30 minutes |
This process guarantees your parts are clean and ready for reassembly. Easy, right? Just a little patience, and your grill parts will be sparkling clean in no time!
Scrub and Clean Interior Surfaces
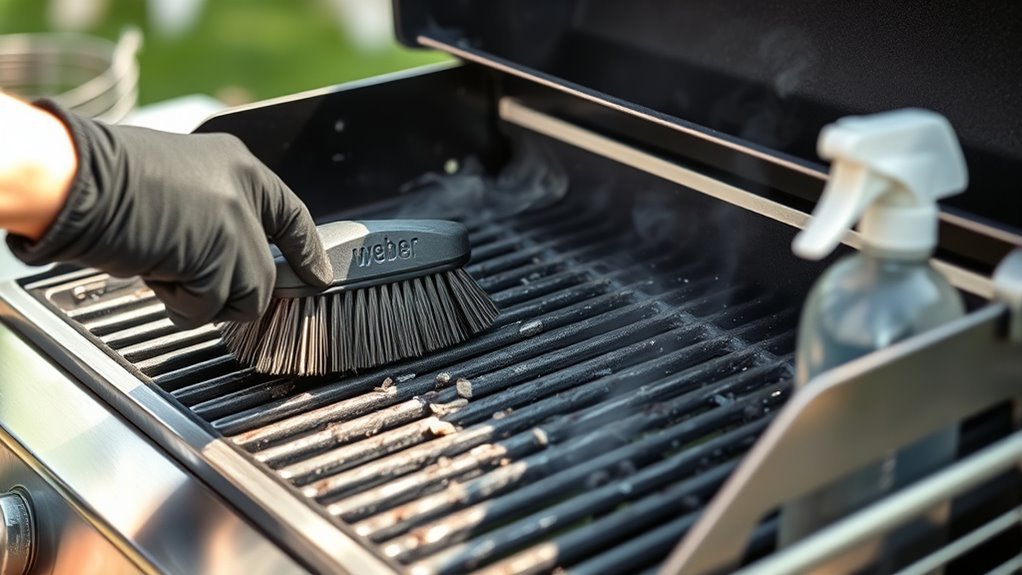
While the cooking grates and Flavorizer bars are removed, you can easily access the grill’s interior surfaces to give them a thorough cleaning. Here’s how to tackle it:
Use a stainless steel grill brush to sweep away debris and grease, pushing all residue left into the bottom tray. Then, empty the tray to prevent buildup and reduce flare-up risks.
Sweep debris with a stainless steel brush, push residue into the tray, then empty it to avoid flare-ups.
For stubborn grime, soak removable parts in a degreaser solution before scrubbing. Finally, wipe down all interior surfaces with a damp microfiber towel to remove dust and any leftover grease, then dry thoroughly.
Following these steps ensures your grill’s interior stays clean, prolongs its lifespan, and keeps your cooking safe and flavorful. Easy, right?
Wash and Dry the Exterior
Because dirt and grease can build up quickly, you should wipe down your Weber grill’s exterior with a microfiber towel dampened in mild dish soap and warm water to keep it clean and looking great. Use a non-scratch sponge or soft cloth to gently clean the lid, side tables, and control knobs, avoiding abrasive materials that might scratch the finish.
After washing, rinse the exterior with a damp microfiber towel or a light spray of water to remove any soap residue. Then dry thoroughly using a clean microfiber towel to prevent water spots.
For stainless steel parts, buff along the grain with a microfiber towel to restore shine and remove fingerprints. Regularly cleaning the exterior helps maintain your grill’s appearance and prevents rust over time.
Reassemble and Perform a Burn-Off
After you’ve cleaned all the parts, reassemble your Weber grill securely to guarantee even heat distribution during the burn-off. This step is vital to ensure your grill functions properly and safely.
Next, follow these steps:
- Turn all burners to high to start the burn-off process.
- Let the grill run for at least 15 minutes to burn off any remaining food residue and grease.
- The high heat converts leftover debris into ash, making it easier to clean.
- Once the grill cools slightly, use a stainless steel bristle brush to remove the ash from the cooking grates.
Performing regular burn-offs helps maintain grill performance, prevents flare-ups, and prolongs your grill’s lifespan. It’s a simple step that really pays off in the long run!
Conclusion
Cleaning your Weber grill regularly not only keeps it looking great but also improves its performance.
Did you know that a clean grill can reduce flare-ups by up to 70%? That makes your cooking safer and way more enjoyable.
By following these five easy steps, you’ll extend your grill’s life and get tastier results every time. So, take a little time to clean your grill—you’ll thank yourself at your next barbecue!
Keeping your Weber grill clean is key to great grilling. It helps maintain the grill’s efficiency, prevents flare-ups, and keeps your food tasting delicious. Plus, regular cleaning protects your investment by extending the life of your grill. So, don’t skip these simple cleaning steps if you want to enjoy safe, flavorful barbecues with your Weber grill for years to come.