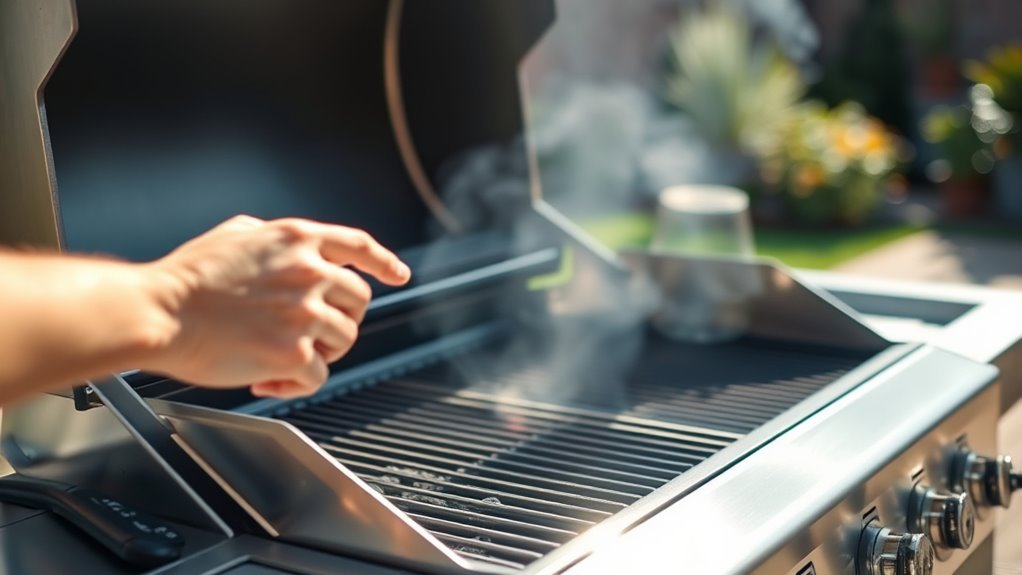
How to Turn on a Grill in 7 Easy Steps
First, identify your grill type and gather supplies like a lighter and gloves. Knowing whether you have a gas or charcoal grill is key to getting started right. Make sure you have everything handy before you begin.
Next, make certain your grill is clean and on a stable surface. Safety first, right? A clean grill heats better and keeps your food tasting great.
For gas grills, open the propane valve, turn burner knobs to high, and ignite. It’s pretty straightforward, but always keep an eye and follow the safety tips.
For charcoal grills, light the charcoal in a chimney starter. This method gets your coals evenly hot and ready to cook.
Adjust heat with vents or burners, monitor temperature with a thermometer, and preheat before cooking. Preheating ensures even cooking and those perfect grill marks.
After use, turn off burners and propane, then clean the grill to keep it ready for next time.
Keep going to uncover more tips for expert grilling. You’re on your way to becoming a grill master!
Key Takeaways
- Open the grill lid fully to prevent gas buildup before ignition.
- For gas grills, turn on the propane tank valve by turning it counter-clockwise.
- Turn burner knobs to the high or “light” position to prepare for ignition.
- Use an electric igniter or long-handled lighter to ignite the burners safely.
- If ignition fails, turn off gas, wait five minutes, then retry safely.
Identify Your Grill Type and Gather Supplies
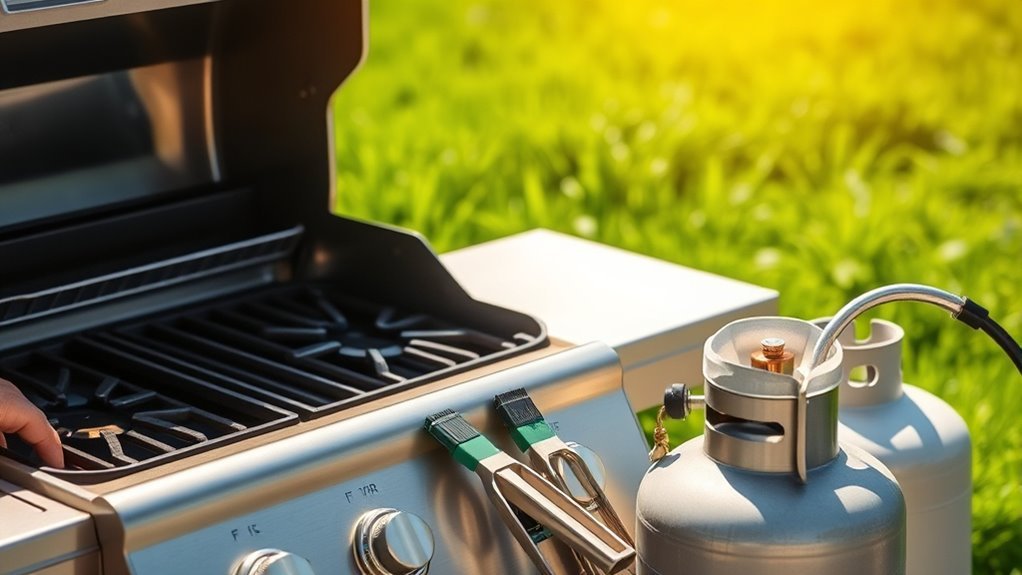
Before you light your grill, identify whether you have a gas or charcoal model, since each requires different steps to start safely. If you own a gas grill, check that the propane tank is securely connected and the valve is closed before proceeding.
It’s essential to inspect for gas leaks by applying soapy water to the hoses and connections—bubbles mean you’ve got leaks that need fixing immediately. Gather all necessary supplies based on your grill type, including long-handled lighters, tongs, grill brushes, and safety gloves.
Having your supplies and tools ready nearby will make the grilling process smoother and safer. Knowing your grill type and preparing properly sets the foundation for a successful and worry-free grilling experience.
Prepare Your Grill for Lighting
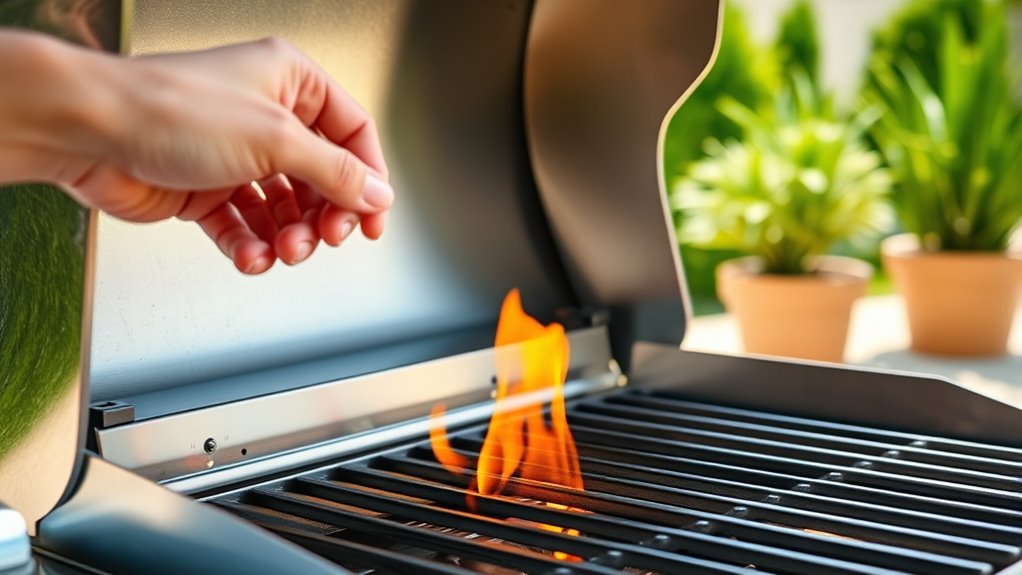
While you prepare your grill for lighting, make sure it’s on a stable, flat surface away from any structures or overhangs to keep things safe. Check that the propane tank is securely connected, and don’t forget to check for leaks by applying soapy water to the hose and fittings.
Keep the lid open to prevent gas buildup before you ignite the grill. Make sure all burner knobs are turned off before you connect or open the gas supply. Have your ignition tools ready within reach for a smooth start.
| Task | Action |
|---|---|
| Surface | Stable, flat, away from structures |
| Propane Tank | Securely connected, check for leaks |
| Lid | Open fully to avoid gas buildup |
| Burner Knobs | Turn off before connecting gas |
| Ignition Tools | Keep ready within easy reach |
Start the Gas Grill Safely
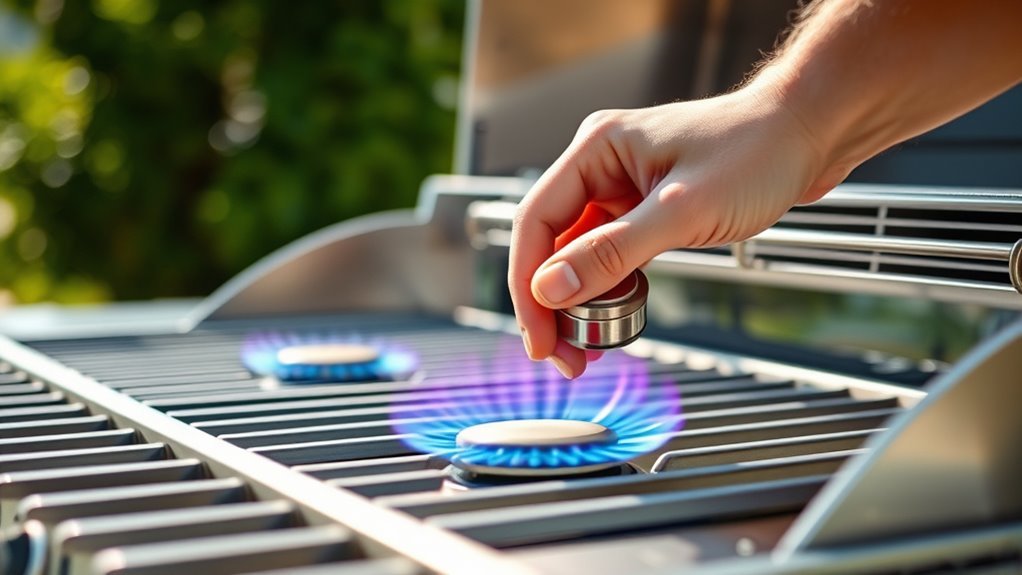
A safe start to your gas grill begins with opening the lid to prevent pressure buildup and flare-ups. First, verify the propane tank is securely connected and its valve is fully closed.
Then, open the lid before turning on the gas. Slowly turn the propane tank valve counter-clockwise to allow gas flow.
Next, turn the burner knobs to the high or “light” position to release gas into the grill. Use an electric igniter or a long-handled lighter to ignite the gas safely.
If your grill doesn’t ignite immediately, turn off all gas, wait five minutes for any gas to dissipate, then try again. Following these steps ensures safe ignition and prevents dangerous flare-ups when starting your gas grill.
Light the Charcoal Grill Properly
How do you get charcoal ready for grilling? Start by filling your chimney with charcoal briquettes. Place crumpled newspaper or lighter cubes under the chimney to light the fire. Use a long-handled lighter to ignite them safely.
Here’s how to light the charcoal grill properly:
- Open the bottom air vent fully to allow airflow.
- Light the lighter cubes or newspaper under the chimney.
- Wait 10-20 minutes until the charcoal turns gray and ashy.
- Use tongs to carefully pour hot charcoal onto the grill grate.
- Clean the grill grate with a grill brush before arranging the charcoal.
This method guarantees your charcoal is evenly lit and ready for cooking. Don’t rush it; a little patience really pays off for a better grilling experience.
Adjust Heat and Manage Flames
Once your charcoal is glowing and ready, you’ll need to adjust the heat and manage the flames to suit your cooking. Start by adjusting the burner knobs to control flame size and intensity—set them to low, medium, or high depending on your needs.
Use the grill’s ventilation system, like vents or dampers, to regulate airflow; this affects flame control and temperature regulation. For even cooking, create heat zones by turning off or lowering individual burners.
Watch the flame color closely: a steady blue flame means proper combustion, while yellow or orange flames signal issues like dirt buildup or incomplete combustion. Regularly clean burner tubes and check for blockages to maintain steady flames and avoid flare-ups.
This way, you’ll ensure your grill performs safely and efficiently every time you fire it up.
Monitor and Maintain Grill Temperature
You’ll want to keep a close eye on your grill’s temperature using a thermometer to stay within your recipe’s ideal range. Adjust vents or burner knobs to regulate heat, and create different heat zones for cooking versatility.
Regularly monitoring and maintaining these settings ensures your food cooks evenly every time. It’s all about keeping things consistent so your meal turns out just right!
Temperature Control Techniques
Although managing grill temperature might seem tricky at first, using a grill thermometer can help you monitor and maintain the ideal heat between 350°F and 450°F for most grilling tasks. To keep your grill at the right temperature, preheat it for 10-15 minutes, allowing the heat to stabilize evenly across the grates.
You can adjust the airflow by opening or closing vents, which controls oxygen flow and directly impacts the temperature. Managing burner knobs or charcoal placement also helps fine-tune the heat. Remember, consistent monitoring is key.
- Use a reliable grill thermometer to track temperature accurately
- Preheat the grill to stabilize heat before cooking
- Adjust airflow vents to increase or decrease temperature
- Control burners or charcoal to manage heat output precisely
- Monitor temperature regularly to maintain desired cooking conditions
Heat Zone Management
When managing heat zones on your grill, adjusting vents and burner settings lets you create distinct temperature areas for versatile cooking. You can modify airflow by opening or closing vents to increase or decrease heat.
Use a grill thermometer to monitor temperature control and ensure consistent heat. Arrange charcoal or burners to form hot and cooler areas, perfect for cooking different foods simultaneously.
Keep an eye on flame color; steady blue flames mean proper airflow, while yellow or orange flames suggest adjustments are needed. It’s a simple way to know if your grill’s working right.
| Action | Effect on Heat Zone |
|---|---|
| Open vents | Increases heat |
| Close vents | Lowers heat |
| Adjust burner knobs | Controls flame size |
Effective heat zone management guarantees precise cooking results. You’ll be able to cook everything just the way you like it!
Turn Off and Clean Your Grill After Use
Once you’re done cooking, make sure to turn off all burner knobs. Also, don’t forget to close the propane tank valve if you’re using a gas grill.
Let the grill cool completely before you start cleaning. This helps keep things safe.
Next, remove any food debris and grease. Scrub the grates while they’re still warm.
Finally, cover your grill to keep it protected. This will help maintain it for next time.
Shutting Down Procedures
Before you shut down your grill, make sure to turn off all burner knobs and close the propane tank valve to stop the gas supply completely. This guarantees the grill is safely shut off and prevents gas leaks.
Next, allow your grill to cool before you start cleaning to avoid burns. When the grill is cool, follow these steps to keep it in top shape:
- Turn off all burners before closing the valve on the propane tank.
- Allow to cool completely to prevent accidents.
- Use a grill brush to clean grates while still warm for easier residue removal.
- Remove and clean the grease tray regularly to avoid flare-ups.
- Store the propane tank in a ventilated, shaded spot away from heat sources.
These steps help maintain safety and prolong your grill’s life. Just take your time and follow them, and your grill will thank you!
Cooling and Safety
How do you safely cool down your grill after cooking? First, always turn off the burners or close the charcoal vents to stop the heat source. For gas grills, make sure to turn off the propane tank valve to prevent gas leaks.
Never leave your grill unattended during the cooling process to avoid burns or fires. Use heat-resistant gloves and proper tools when handling the grates or removing ash, ensuring your safety.
Allow the grill to cool completely before moving or cleaning it. Once cooled, store your grill and propane tank in a well-ventilated, dry area away from direct sunlight and flammable materials.
Following these cooling and safety steps helps keep your grill ready for the next use and prevents accidents. It’s a simple way to stay safe and enjoy grilling without worries!
Cleaning and Maintenance
After safely cooling your grill, the next step is to turn off all burners and the propane valve before starting the cleaning process. Proper cleaning and maintenance are key to keeping your grill in top shape and ready for future use.
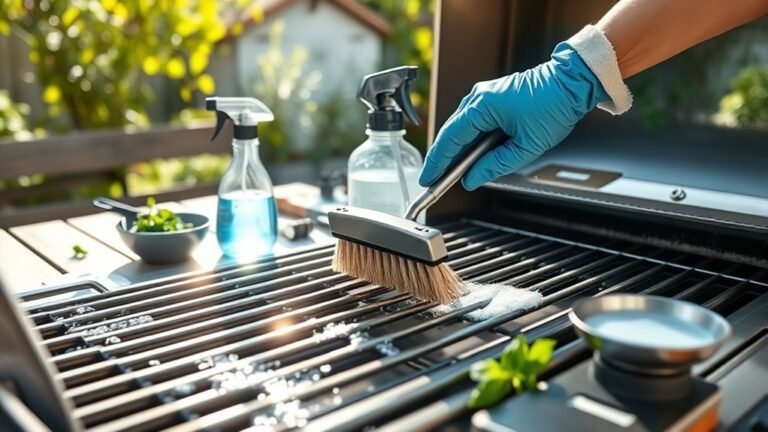
Use a grill brush to scrub the grates while they’re still warm to remove grease and food residue effectively. Don’t forget to empty the grease tray regularly to avoid buildup that can cause smoke or fires.
Here’s a quick checklist for grill cleaning and preparation:
- Turn off burners and close the propane valve
- Scrub grates with a grill brush while warm
- Empty the grease tray after each use
- Wipe exterior surfaces with a damp cloth and mild soap
- Let the grill cool completely before covering or storing
Following these steps ensures safety and prolongs your grill’s lifespan. It really helps keep things running smoothly!
Conclusion
Now that you know how to turn on your grill with ease, you’re set to savor sizzling, smoky sensations. By safely starting your setup and skillfully managing the flames, you’ll master mouthwatering meals in no time.
Remember to monitor the heat and maintain your masterpiece, then turn off and tidy your trusty tool. With these steps, grilling becomes a gratifying, glowing gathering of great food and good friends every time!
Grilling isn’t just about cooking—it’s about creating memories. By following these simple steps to turn on your grill safely and efficiently, you ensure every barbecue is a success. Keep an eye on your grill’s heat for perfect results, and don’t forget to clean up afterward to keep your grill in top shape.
So fire up your grill confidently, enjoy the delicious flavors, and share the joy of great food and good company. Happy grilling!