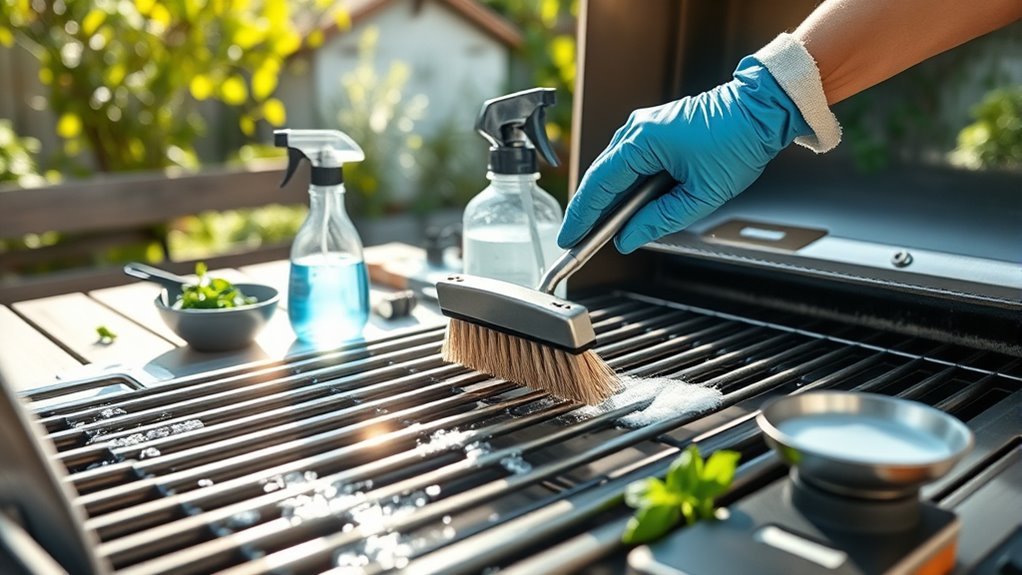
How to Clean a Grill in 7 Easy Steps
To clean your grill in 7 easy steps, start by turning off the gas and preheating it to burn off residue, then let it cool. Removing built-up grease and grime is key to keeping your grill in top shape, so this first step helps loosen stubborn debris.
Next, remove the grates and soak them in soapy water. This makes scrubbing easier and ensures you get rid of all those stuck-on bits.
Scrape and degrease the interior surfaces carefully. Don’t forget to clean the burners by clearing any blockages – this keeps the flame steady and cooking safe.
After scrubbing the grates thoroughly, dry everything completely before putting it all back together.
Finally, do a quick burn-off to incinerate any leftover debris.
Keep going to discover more tips for a spotless grill and enjoy better-tasting meals every time you fire it up!
Key Takeaways
- Preheat the grill on high for 10-15 minutes to burn off food residue. Then, let it cool completely before cleaning.
- Remove the grates and soak them in warm, soapy water for at least 30 minutes. This helps loosen grease and grime.
- Scrape and scrub the interior surfaces and grates thoroughly using a grill brush, degreaser, and nonmetallic scrubbers.
- Clean and inspect the burners by removing any blockages with a wire or paperclip. If they’re heavily greasy, go ahead and soak them.
- Dry all parts completely, then reassemble the grill. Finally, perform a last burn-off on high for 10-15 minutes with the lid closed.
Prepare the Grill for Cleaning
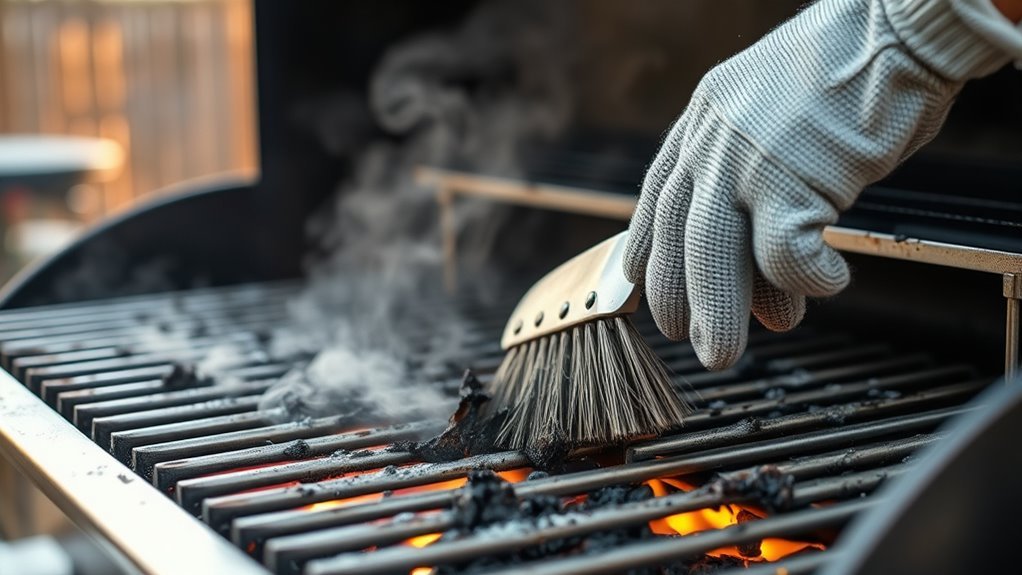
Before you start cleaning your grill, make sure to turn off the gas supply and disconnect the propane tank if you have one.
Next, preheat the grill on high for 10 to 15 minutes to burn off any leftover grease and food residue. This step makes cleaning much easier and safer.
Preheating your grill on high for 10-15 minutes helps burn off grease, making cleaning easier and safer.
Once the grill has cooled completely, remove all removable parts like the grates, flavorizer bars, and drip trays. These pieces can be soaked in warm water later for a thorough clean.
Use a grill brush or scraper to loosen stuck-on grease and debris from the grill’s interior. Wrapping foil around the brush can help tackle stubborn spots.
Preparing your grill this way guarantees a smoother, more effective clean without damaging any components.
Remove and Soak the Grates
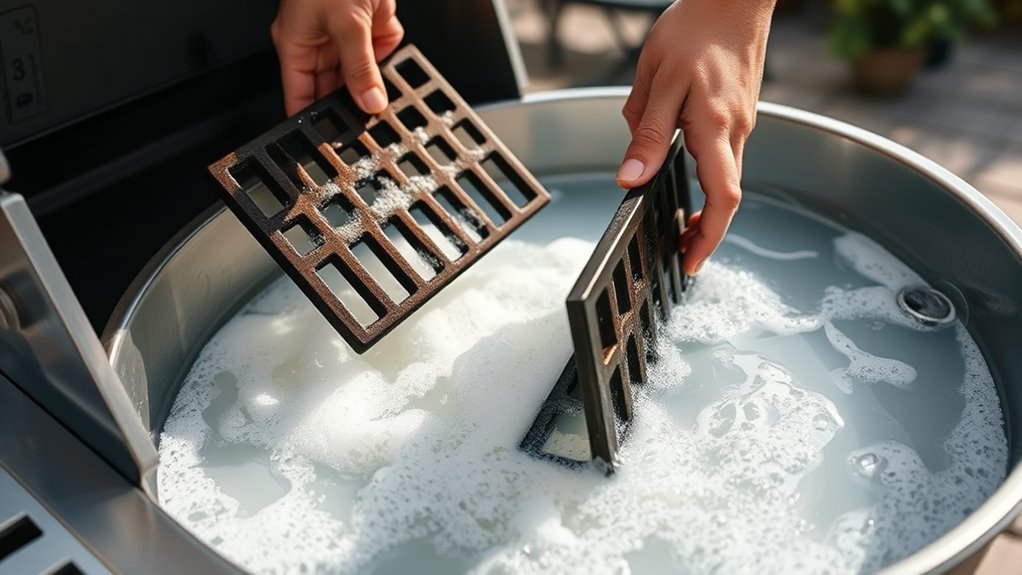
Once you’ve cooled the grill completely, remove the grates carefully using tongs or heat-resistant gloves to avoid injury. Place the grates in a large basin or trash bag filled with warm soapy water, adding a few drops of dish soap or degreaser.
Let them soak for at least 30 minutes to loosen stubborn grease, burnt-on food, and carbon buildup. If your grates have a porcelain or enamel coating, be gentle during soaking and avoid abrasive scrubbing to prevent damage.
After soaking, use a grill brush or a nonmetallic scrubber to thoroughly clean the grates, removing any remaining residue. Finally, rinse them well and dry before placing the grates back on your grill.
This soaking step makes cleaning much easier and protects your grill’s surface. It’s definitely worth taking the time to do it right!
Clean the Interior Surfaces
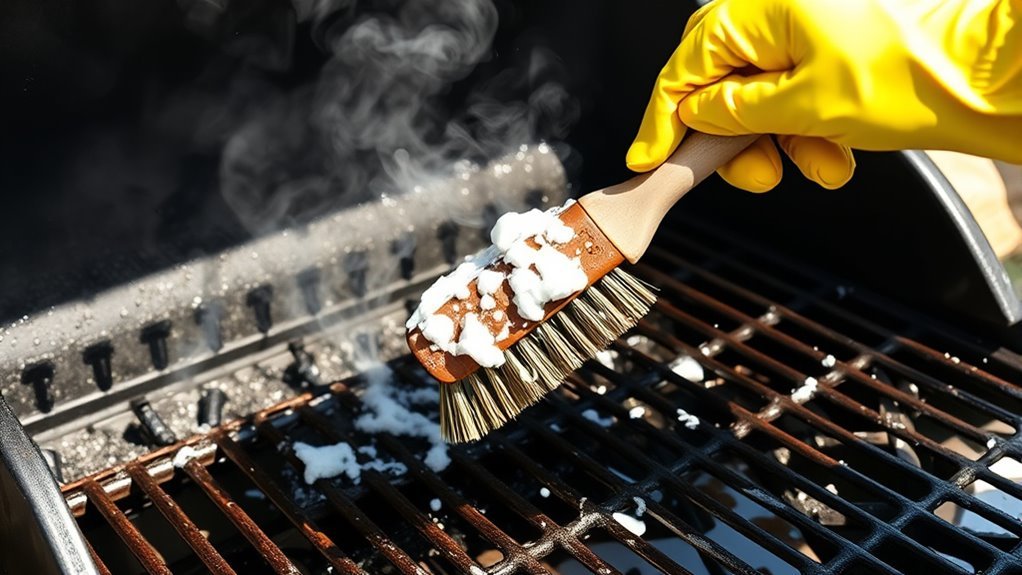
Start by scraping all the built-up residue from the interior surfaces to loosen grease and food particles.
Next, apply a degreaser carefully and let it work before wiping everything down.
Finally, make sure to thoroughly wipe and dry the interior to prevent rust and keep your grill in top shape.
Scrape Residue Thoroughly
Although it’s tempting to rush, you should always scrape the grill’s interior surfaces when they’re cool to avoid burns and damage. To effectively remove residue and debris, follow these steps:
- Use a plastic scraper or grill-specific tool to gently scrape built-up residue from the sides, bottom, and corners of the grill surface.
- Focus around firebox edges and beneath flavorizer bars where grime often accumulates.
- Loosen stubborn grime by pre-treating with a degreaser or oven cleaner, letting it sit briefly before scraping.
- After scraping, wipe the interior surfaces with a damp cloth to remove loosened residue and prepare for further cleaning.
This thorough scraping ensures residue removal without harming your grill surface or scraper. It keeps your grill ready for the next cookout.
Use Degreaser Safely
Before wiping down your grill’s interior, spray a degreaser evenly over all surfaces to tackle built-up grease and grime. Make sure you achieve full coverage on the interior surfaces, including the lid and firebox corners.
Let the degreaser sit for at least 30 seconds to loosen stubborn residue. If needed, scrape any remaining debris before wiping. Use a clean cloth or sponge to thoroughly wipe the surfaces, breaking down the grease effectively.
Afterward, rinse the cloth with clean water and wipe again to remove any residual degreaser and loosened grime. Always follow the manufacturer instructions for your degreaser to ensure safety and effectiveness.
Proper use of degreaser keeps your grill’s interior surfaces clean without damage or harmful residue. It’s a simple step that really makes a difference!
Wipe and Dry
Once you’ve scrubbed the grates and internal parts, wipe down all interior surfaces with a damp cloth to remove any leftover grease and debris. To guarantee your grill stays in top shape, follow these steps:
- Use a damp cloth to wipe residual grease from corners, firebox sides, and lid interiors. For stubborn grease spots, apply a mild degreaser, wait 30 seconds, then wipe clean.
- Dry all interior surfaces thoroughly using a clean cloth or paper towels. Double-check that every area is completely dry to prevent rust and moisture buildup.
Scrub the Grates Thoroughly
When the grates are still warm, grab a wire brush or a ball of aluminum foil to scrub away any stuck-on food effectively. Use the grill brush to target all sides of the grates, breaking up debris and grease buildup.
For stubborn grime, apply a paste made of baking soda and water directly onto the grates, then continue scrubbing. If your grates are porcelain or enamel-coated, opt for a damp scour sponge with baking soda instead to avoid scratching.
After scrubbing, rinse the grates thoroughly with water to wash away loosened debris and any cleaning residue. Finally, dry the grates completely with a towel or let them air dry in the sun to prevent rust and keep your grill clean and ready for the next use.
Clean Burners and Gas Ports
How do you keep your grill burning efficiently and safely? Start by cleaning the burners and gas ports to prevent blockages and uneven flames. Here’s what you should do:
- Remove the burners and inspect for grease buildup or debris blocking the gas ports.
- Use a stiff wire or paperclip to clear any blockages from the small holes in the burners.
- If burners are heavily greasy, soak them in warm, soapy water, then rinse and dry completely.
- Clean the flame tamers with a wire brush to ensure proper gas flow.
Regularly inspecting and cleaning these parts keeps your grill working safely and efficiently. This prevents gas leaks and ensures even heat distribution every time you cook.
Dry and Reassemble the Grill
After thoroughly cleaning the burners and gas ports, make certain every part is completely dry to prevent rust before putting your grill back together. Use a towel or let the parts air dry in the sun until they’re completely dry.
Before you reassemble the grill, wipe down the exterior surfaces with a damp cloth and grill-safe cleaner to remove any leftover residue. When reassembling, carefully reattach grates, flavorizer bars, heat shields, and other removable parts securely in their original spots.
Double-check that all screws, clips, and fasteners are tight to ensure your grill is stable and safe. Only reconnect the gas supply or propane tank after confirming all internal parts are dry and properly installed.
Proper drying and secure reassembly keep your grill in top shape for your next cookout. So, take your time to do it right!
Perform a Final Burn-Off and Inspection
Although you’ve already cleaned and reassembled your grill, performing a final burn-off helps incinerate any lingering grease and food residue. To complete this step effectively:
- Turn the grill on high and close the grill lid, letting it burn off grease and food residues for 10-15 minutes.
- After the burn-off, turn off burners and disconnect the gas supply if you have one, allowing the grill to cool completely.
- Open the lid carefully and visually check all interior surfaces for stubborn residue or grease buildup.
- Use a wire brush or scraper to remove any remaining debris and inspect key components like burners and flame tamers for wear or blockages.
This final burn-off and inspection ensure your grill stays clean and ready for your next cookout. Easy, right? Just a little extra step to keep things in top shape!
Conclusion
Cleaning your grill is like tending a garden: with a little care and attention, you nurture something that brings warmth and joy. By following these steps, you’re not just removing grime—you’re preparing a space where good times and great meals can grow.
Keep your grill cared for, and it’ll reward you with countless moments of flavor and connection. Just like a garden, a well-loved grill flourishes with every thoughtful effort you put in.
Regular grill cleaning not only enhances the taste of your food but also extends the life of your equipment. So, take the time to clean your grill properly, and enjoy delicious, safe barbecues every time. With these easy steps, maintaining your grill becomes simple and satisfying—making your outdoor cooking experience even better.