How to Grill Corn on the Cob With Husk in 7 Simple Steps
To grill corn on the cob with husks, start by selecting fresh ears with bright green husks and tight kernels. This ensures your corn will be juicy and flavorful once cooked.
Next, peel back the husks just enough to remove all the silk strands—don’t remove the husks completely, as they protect the corn during grilling.
After that, soak the corn in cold, salted water for about 30 minutes. This step keeps the husks moist and prevents them from burning too quickly on the grill.
Meanwhile, preheat your grill to medium heat, roughly 400°F. Once heated, place the soaked corn directly on the grill grates.
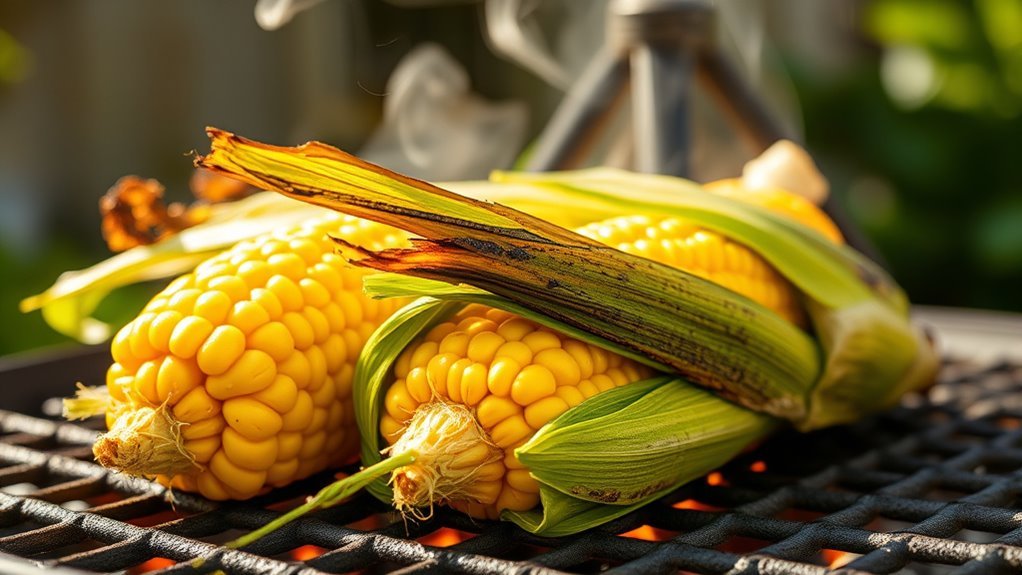
Turn the corn every few minutes to ensure even cooking. Grill the corn until the husks are nicely charred and the kernels are tender, which usually takes around 15 minutes.
Let the corn rest briefly before peeling back the husks to reveal perfectly smoky, juicy corn on the cob.
Ready for some extra tips to make your grilling flawless? Keep reading!
Key Takeaways
- Select fresh corn with bright green husks, moist brown silk, and plump kernels for the best grilling flavor.
- Peel back husks, remove all silk threads, and leave 2-3 husk layers attached for grilling.
- Soak corn in cold salted water for 30 minutes to 8 hours to keep husks moist and prevent burning.
- Preheat grill to medium heat (around 400°F) and clean grates before placing the corn.
- Grill corn with husks on for about 15 minutes, turning every 2-3 minutes until husks are blackened and kernels tender.
That’s pretty much it! Simple steps, but they make your grilled corn taste amazing.
Selecting Fresh Corn for Grilling
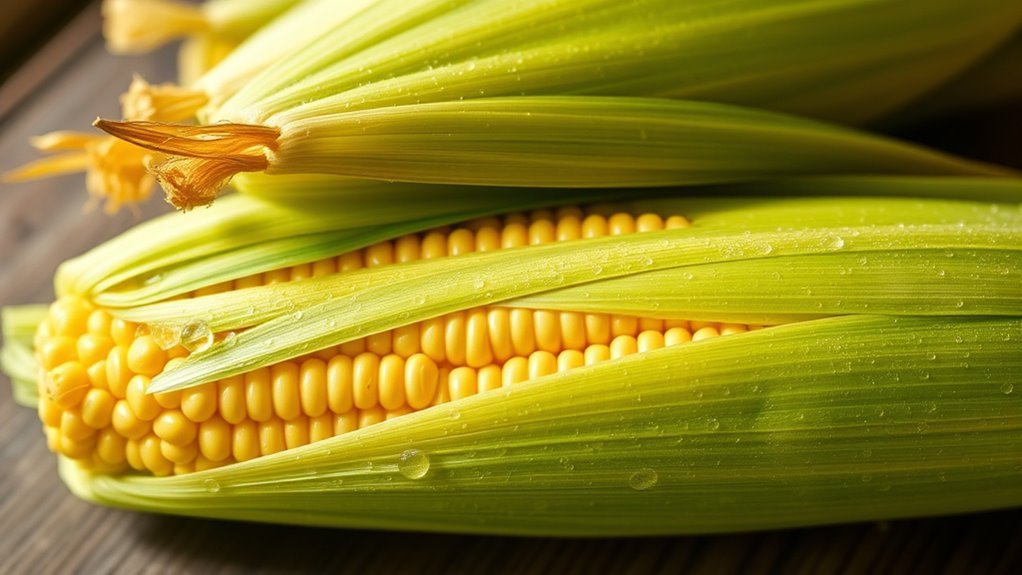
Before you fire up the grill, make sure you pick fresh corn that will deliver the best flavor and texture. Look for ears wrapped in bright green husks with moist silk that’s brown but not black or slimy. These signs show the corn is fresh and ready for grilling.
Feel the ear’s weight; heavier ears usually have plump kernels inside, which means juicy, tender bites once cooked. Peek through the husk to check if the kernels are full, tightly packed, and creamy white or yellow without gaps.
The best time to buy fresh corn is during peak summer, and your local farmers or markets are the perfect places to find it. Choosing fresh corn this way ensures your grilled corn on the cob turns out delicious every time.
Preparing the Corn and Removing Silk
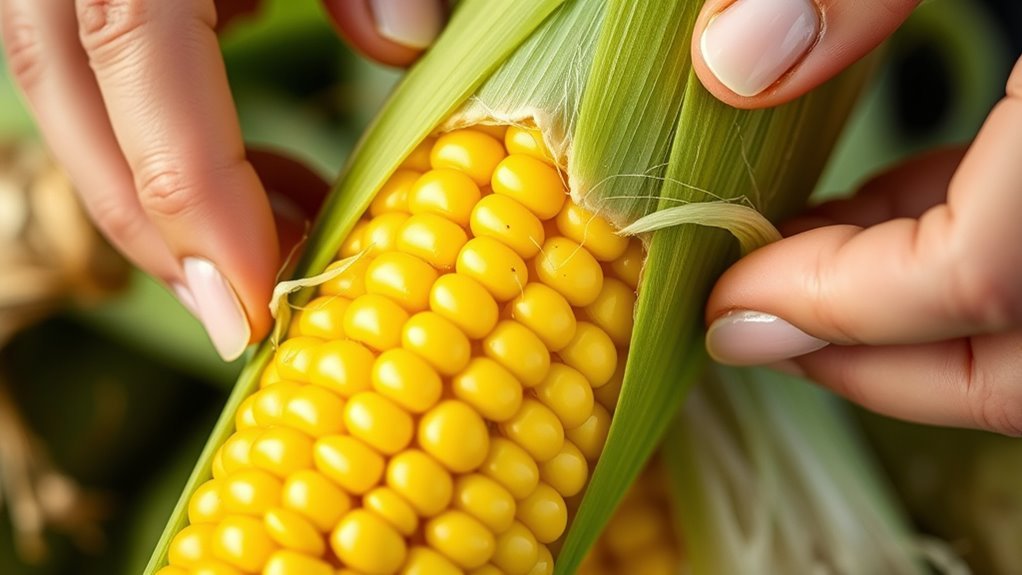
Once you’ve selected fresh corn, it’s time to prepare it for grilling by carefully removing the silk. Start by peeling back the husks without detaching them completely, exposing the kernels beneath.
Begin grilling prep by gently peeling back husks to reveal kernels and remove the silk carefully.
Then, gently pull away the silk to avoid leaving any fine threads on the corn. To make sure the corn is clean and ready for grilling:
- Remove the outermost husk layers, leaving 2-3 layers intact to protect the kernels.
- Peel back the husks carefully to reveal and access the silk.
- Use your hands or scissors to remove all silk strands thoroughly.
- Run your fingers over the kernels to check for and remove any stubborn silk.
Keeping the husk attached at the bottom helps you fold it back later during grilling. It’s a handy trick to keep the corn tidy and protected while cooking.
Soaking the Corn Husk Before Grilling
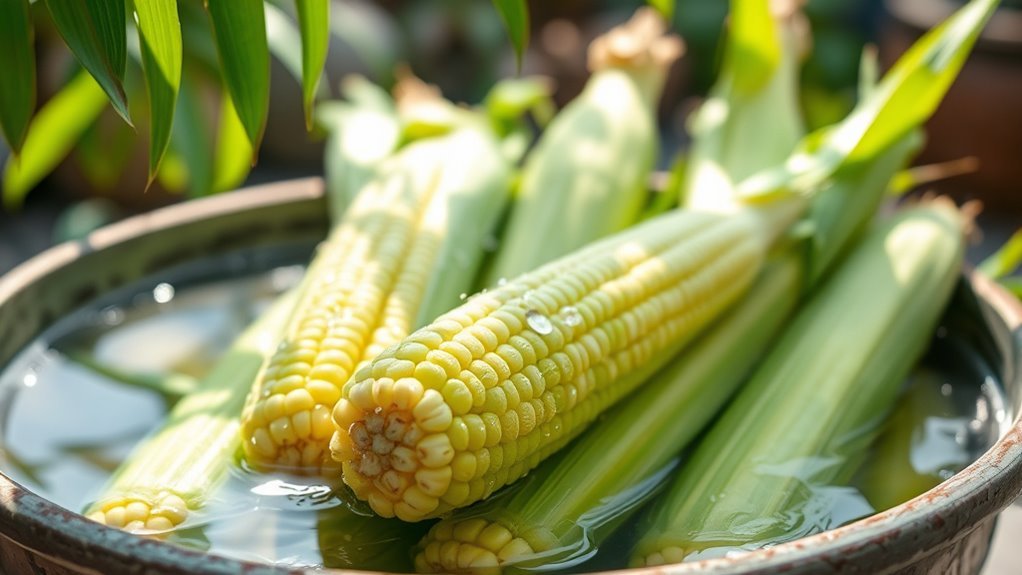
Although you’ve prepped the corn by removing the silk, soaking the husks in cold salted water for at least 30 minutes will prevent them from catching fire and help steam the kernels as they grill.
Make sure to fully submerge the corn husks so they absorb enough moisture. This softens them and also brings out more flavor. Just don’t soak them for more than 8 hours, or you risk mold forming.
After soaking, give the husks a good shake to get rid of excess water. This helps cut down on flare-ups when you put the corn on the grill.
| Step | Action | Purpose |
|---|---|---|
| 1 | Fill container with cold salted water | Adds flavor, softens husks |
| 2 | Submerge corn husks fully | Ensures moisture absorption |
| 3 | Soak for 30 min to 8 hrs | Prevents fire, steams kernels |
| 4 | Remove husks | Ready for grilling |
| 5 | Shake off excess water | Reduces excess steam |
Preheating the Grill to Medium Heat
Before you start grilling, preheat your grill to about 400°F. That’s the perfect medium heat for corn.
If you don’t have a thermometer, try this: hold your hand about 5 inches above the grate. If you can keep it there comfortably for 5 seconds, you’re good to go.
Also, make sure to adjust the vents or flame controls. This helps keep the temperature steady while you’re grilling.
Optimal Temperature Range
When you preheat your grill to medium heat, aim for a temperature between 400°F and 500°F. This range helps cook corn on the cob evenly without burning the husks.
Grilling at this temperature allows the corn in the husk to steam properly. You get sweet, tender kernels and nice grill marks. Just avoid going above 500°F because the husks can char too fast.
If the heat is too low, cooking takes too long, and the kernels might end up undercooked.
To check medium heat without a thermometer, try this: hold your hand 5 inches above the grill grate and count to 5 seconds before feeling discomfort.
Keep the husks slightly damp to protect them from burning. Also, rotate the corn regularly to ensure even grill marks.
This way, you’ll get perfectly cooked corn with husks intact every time.
Preparing the Grill
Since achieving even cooking depends on consistent heat, you should preheat your grill to around 400°F and let it warm for 5 to 10 minutes before placing the corn on the grates. Start by cleaning the grill grates thoroughly with a brush to prevent sticking and help create those perfect grill marks on your husks.
Aim for medium heat to cook the corn evenly without burning the silks or husks. You can test the temperature by holding your hand about 5 inches above the grate—if you can keep it there comfortably for 5 seconds, the grill is ready.
Keep an eye on the grill’s temperature throughout grilling and adjust vents or burners to maintain medium heat. Proper preparation ensures beautifully grilled corn with husks intact.
Placing the Corn on the Grill and Turning
Although the grill is already hot, you’ll want to place the soaked corn directly over medium-high heat, around 400°F. This guarantees your grilled corn cooks evenly while the husk steams gently.
To get perfect results, keep these tips in mind:
- Place the corn on the grill and turn it every 2 to 3 minutes to promote even charring.
- Use tongs for safe handling, as the husks can flare up unexpectedly.
- Rotate the corn until all sides are nicely blackened and the kernels feel tender, about 15 minutes total.
- The steam inside the husk helps cook the corn evenly while the turning prevents burning.
Checking for Doneness and Removing From Grill
After turning the corn for about 15 minutes and achieving an even char, you’ll want to check if it’s fully cooked before removing it from the grill. Insert a skewer into a kernel; it should slide in easily if the corn is done. The husk will be blackened and soft, showing that the corn has steamed inside.
Avoid removing corn with burnt husks but firm kernels—this means it needs more time to cook. Once done, remove the corn and let it rest 2-3 minutes before you peel back the husks to avoid steam burns.
| Indicator | What to Do |
|---|---|
| Husk color | Blackened, soft – ready to remove |
| Skewer test | Slides in easily – doneness achieved |
| Husk texture | Soft, squishy – cooked through |
| Husk burnt crisp | Corn not cooked – cook longer |
| Rest time | 2-3 minutes before peeling back |
Peeling the Husk and Serving the Corn
Once the corn has cooled for about five minutes, you can gently peel back the husk from the top, leaving it attached at the bottom to create a natural handle. This makes handling easier and adds a rustic touch when you serve.
Here’s what to do next:
- Carefully peel back the husk without tearing it.
- Remove the silk threads using your hands or a paper towel.
Then, brush with butter or your favorite seasoning to enhance flavor. Serve with the husk intact as a natural handle or fully peeled, depending on your preference.
Conclusion
Now that you’ve mastered these simple steps, grilling corn on the cob with the husk becomes almost effortless. But here’s the twist—don’t rush to peel it the moment you take it off the grill.
Let the heat work its magic for just a bit longer; that’s when the flavors truly deepen, and the sweetness intensifies. Once you finally reveal that golden, smoky treasure, you’ll realize why this method is worth every second.
Grilling corn on the cob with the husk locks in moisture and infuses a delicious smoky flavor. This simple technique makes your corn juicy and tender, perfect for any barbecue or summer meal. So next time you fire up the grill, keep the husks on and enjoy that rich, sweet taste that only grilling corn this way can deliver.