How to Turn On a Gas Grill in 10 Easy Steps
To turn on your gas grill safely and efficiently, start by gathering your tools and checking the propane tank for any leaks. This is a crucial step to ensure safety before you begin grilling.
Next, open the grill lid and make sure all burner knobs are turned off.
Then, slowly open the propane valve to allow gas flow.
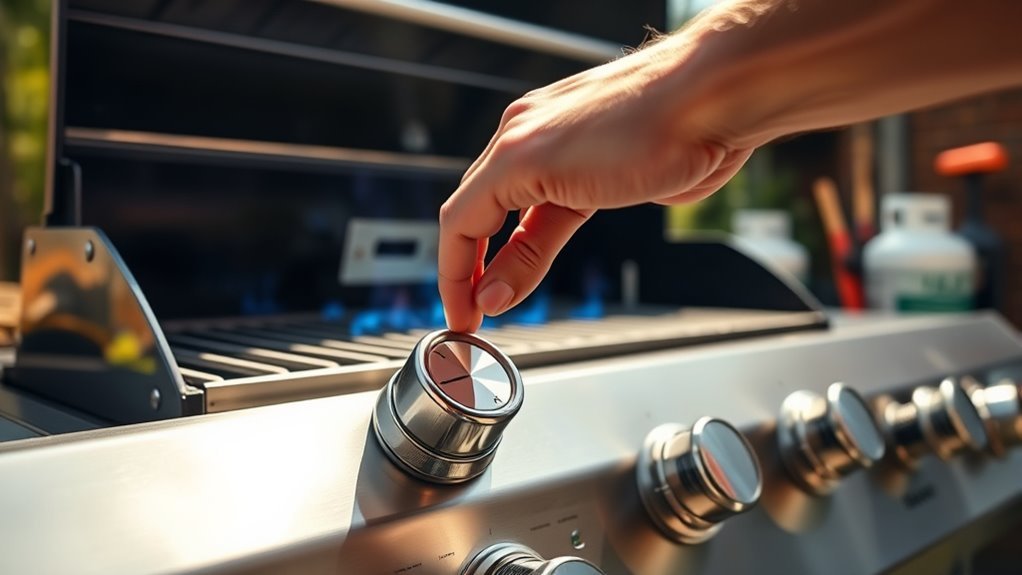
After that, ignite the first burner using the ignition button or a long lighter—whichever your grill requires.
If you need more heat, light additional burners as necessary.
Once your burners are lit, close the lid and preheat the grill for 10 to 15 minutes.
This helps get the grill to the right temperature for cooking.
Finally, adjust the burner settings to suit your recipe and start grilling your favorite foods.
Keep these steps in mind to master grilling safely and efficiently every time!
Key Takeaways
- Ensure propane tank is full and properly connected. Check all hoses and fittings for leaks using soapy water.
- Open the grill lid fully before turning on the propane tank valve. This helps prevent any gas buildup.
- Ignite the first burner by turning its knob to high. Use the ignition button or a long lighter to get it going.
- Light additional burners one at a time, starting with the one closest to the first lit burner. Keep the lid open while you do this.
- Close the lid and preheat the grill for 10-15 minutes. Wait until it reaches the cooking temperature before placing your food on it.
Gather Necessary Tools and Supplies
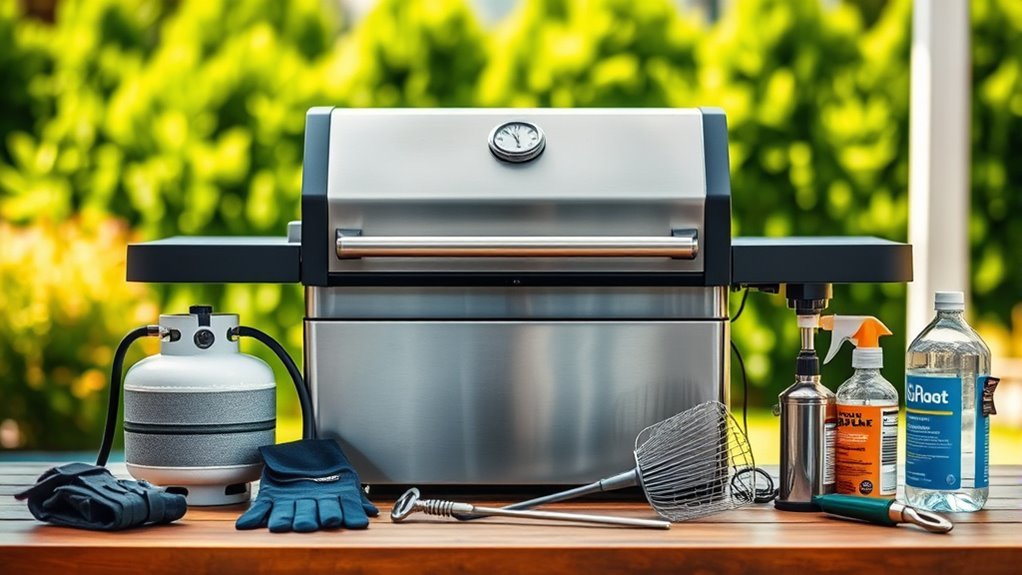
Before you fire up your gas grill, gather all the essential tools and supplies to guarantee a smooth grilling experience. Make sure you have a grill brush, long-handled lighter or matches, tongs, and heat-resistant gloves within reach.
Check that your propane tank is full and properly connected to avoid interruptions. Although you won’t inspect the propane tank and connections in detail just yet, ensure the basic connection feels secure.
Prepare seasonings and food nearby so you won’t scramble once the grill’s hot. Keep a fire extinguisher close and confirm the area has good ventilation to prevent dangerous gas buildup or flare-ups.
Also, be ready to detect a leak by having soapy water on hand for a quick check after you start connecting everything.
Inspect the Propane Tank and Connections
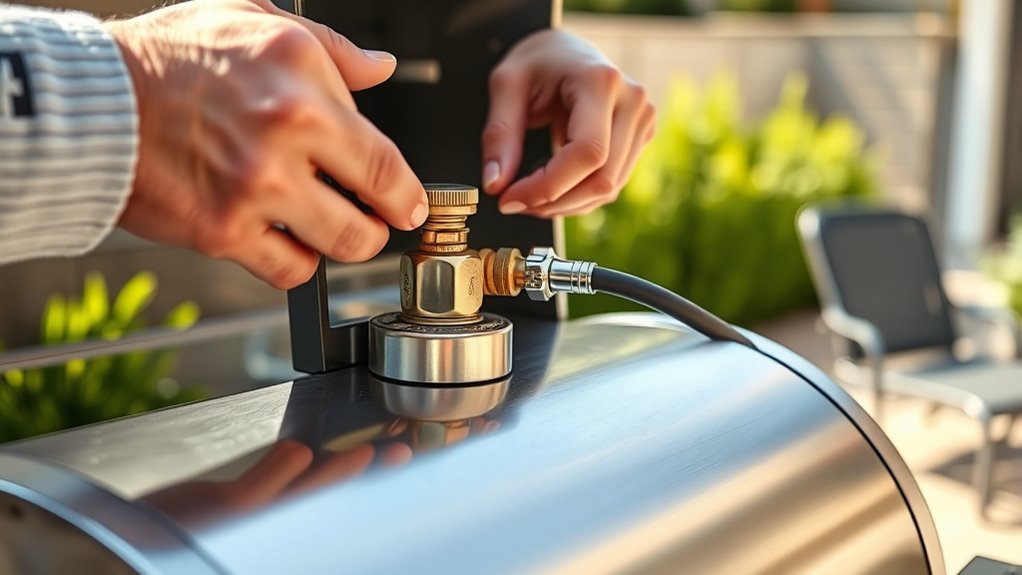
Before you ignite your gas grill, take a moment to inspect the propane tank for any damage. Also, make sure it has enough fuel to get your grilling session started.
Securely connect the hose to the regulator valve by threading it clockwise until it’s tight. This step is super important to avoid any gas leaks.
Finally, perform a leak test by spraying a soap and water solution on all connections. If you see bubbles forming, it means there’s a leak that needs fixing before you proceed.
Check Tank Condition
While preparing your gas grill, you should carefully inspect the propane tank and its connections to guarantee safety and proper function.
To check the tank condition effectively, follow these steps:
- Examine the propane tank for dents, rust, or damage during your safety inspection. It’s important to catch any issues early.
- Verify the tank connection is secure, making sure there are no loose fittings between the tank and regulator. A tight connection keeps everything running smoothly.
- Perform leak detection by applying soapy water on connections and watching for bubbles. If you see bubbles, that means there’s a leak.
- Use a pressure gauge or weigh the tank to confirm there’s enough fuel for grilling. You don’t want to run out of propane mid-cook!
Secure Hose Connections
When you secure the hose connections, make sure the propane tank is tightly attached to the grill’s hose with no leaks or loose fittings. Start by screwing the regulator onto the propane tank valve clockwise until it’s snug and secure.
Next, check the hose carefully for any cracks, cuts, or damage that could cause a leak or failure during use. Confirm that the connection between the hose, regulator, and tank is tight to prevent gas from escaping.
Before turning on the gas supply, double-check every connection to ensure safety. Properly securing the hose and connections is essential to avoid leaks and keep your grill running smoothly without any danger.
Leak Test Procedures
To guarantee your gas grill operates safely, you’ll need to perform a leak test on the propane tank and connections. This ensures no gas escapes, protecting you from hazards.
Follow these steps:
- Close the propane tank valve completely before beginning.
- Apply soapy water generously to all fittings, hoses, and the regulator.
- Slowly open the tank valve and watch for bubbles forming, indicating leaks.
- If you see bubbles, immediately close the valve, tighten fittings, or replace faulty parts, then retest.
Always conduct the leak test in a well-ventilated area away from flames or sparks. This simple procedure using soapy water helps you identify leaks quickly.
It keeps your grill safe and ready for the next cookout.
Open the Grill Lid
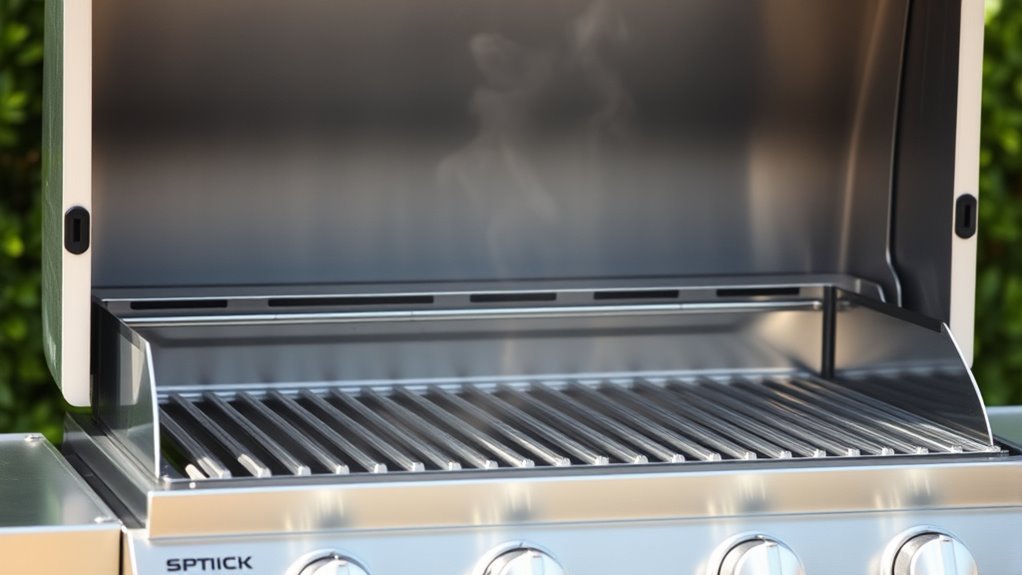
Before you ignite your gas grill, always open the lid fully to keep things safe. This step prevents gas buildup that could cause flare-ups or explosions.
Keeping the lid open also helps the grill light properly and evenly every time. It’s a simple step that makes a big difference!
Safety First Step
Since gas can accumulate inside the grill, you should always open the lid fully before turning on the gas. Keeping the lid open assures safe gas flow and prevents dangerous flare-ups when you ignite the grill.
Follow these safety steps before lighting your gas grill:
- Open the lid completely to release any trapped gas inside.
- Turn on the gas valve only after the lid is open to allow proper ventilation.
- Use the ignition system with the lid open to safely ignite the burner.
- Never ignite the grill with the lid closed to avoid sudden flare-ups.
Prevent Gas Buildup
Although it might seem like a small step, opening the grill lid fully before turning on the gas is essential to prevent dangerous gas buildup inside. When the lid stays closed, gas can accumulate, creating pressure that risks flare-ups or even explosions once you ignite the grill.
By opening the lid, you ensure proper ventilation, allowing any trapped fumes to escape safely. This simple action reduces pressure and greatly improves safety during startup. Always wait a few seconds after lifting the lid before turning on the gas and igniting.
This precaution gives residual gas time to dissipate, preventing uncontrolled ignition. So, make it a habit to open that lid first. Prioritizing this step keeps your grilling experience safe and smooth, avoiding hazards caused by gas buildup under the lid.
Turn Off All Burner Knobs
When you finish cooking, make sure you turn all burner knobs to the “off” position to stop any gas flow. This step is vital for your safety and to prevent gas buildup.
Follow these steps to properly shut off your grill:
Ensure safety by following these essential steps to properly shut off your grill every time.
- Wait until the grill cools down to avoid burns or accidental ignition.
- Turn each burner knob clockwise until it stops, ensuring it’s fully closed.
- Double-check that all burner knobs are in the off position before leaving the grill unattended.
- If your grill has a separate control valve, turn it clockwise to cut off the gas supply entirely.
Open the Propane Tank Valve
Before you open the propane tank valve, make sure all burner knobs are turned off. Then, gently turn the valve handle counterclockwise until it stops to allow gas flow.
This careful step guarantees your grill gets the right amount of propane safely. Just take it slow and steady!
Valve Opening Procedure
Since the propane tank supplies gas to your grill, you need to open its valve carefully to start the flow. Follow this valve opening procedure to guarantee safety and proper gas flow:
First, verify the propane tank is securely connected to the grill’s regulator. Then, find the propane tank valve and turn it counterclockwise slowly to avoid pressure surges.
Keep turning until the valve is fully open, allowing gas flow to your grill. If the valve feels hard to turn, don’t force it. Instead, inspect for leaks or damage before proceeding.
Opening the propane tank valve gradually helps prevent any sudden bursts of gas. It also gets your grill ready for ignition safely.
Ensuring Proper Gas Flow
Although opening the propane tank valve may seem simple, doing it correctly is essential to guarantee proper gas flow and prevent hazards. Before you open the valve, make sure the propane tank is securely connected to the regulator.
Then, turn the valve counterclockwise slowly to open it fully. Opening the valve gradually helps avoid sudden pressure surges that could cause gas leaks.
Always open the valve before igniting your grill to prevent dangerous gas buildup. Additionally, check that the propane tank’s pressure relief valve is functioning properly to ensure safe operation.
Check for Gas Leaks
To guarantee your safety, you should check for gas leaks by spraying a soapy water solution onto the grill’s hose, connections, and regulator. Detecting leaks early prevents dangerous situations. Follow these steps:
- Apply the soapy water evenly on all hose areas, connections, and the regulator.
- Watch closely for bubbles or listen for hissing sounds, which signal escaping gas leaks.
- If you spot any leaks, turn off the gas immediately to avoid hazards.
- Tighten loose connections and replace any damaged hoses or regulators before trying again.
Always perform this test outdoors in a well-ventilated area, away from flames or sparks. Never ignite the grill if you smell gas or suspect leaks.
Fix the issue and re-test to ensure safety before proceeding.
Ignite the First Burner
How do you safely ignite the first burner on your gas grill? First, open the grill lid fully to prevent gas buildup and reduce flare-up risks.
Then, turn the burner knob to the “High” or “Light” setting to allow gas to flow to the first burner. Use the ignition button to ignite the gas; if your grill lacks one, carefully use a long-handled lighter or match near the burner opening.
Once ignited, check that the flame is steady and blue, signaling proper combustion. If the burner doesn’t light immediately, turn off the gas, wait five minutes to let any gas dissipate, then try again.
Only after confirming a safe, consistent flame should you proceed with cooking or adjusting heat.
Light Additional Burners
Where should you start when lighting additional burners on your gas grill? After you ignite the first burner, follow these steps to safely turn on and light the rest:
First, open the grill lid to prevent any gas buildup. Safety first, right?
Next, turn on the next burner’s knob to high. Start with the one closest to the first burner you lit.
Now, use the crossover method to ignite the additional burners. You can do this by using the first burner’s flame or the built-in igniter.
After turning each burner on, wait a few seconds. This lets you confirm it lights properly before moving on to the next one. Easy and safe!
Preheat the Grill
Why should you preheat your gas grill before cooking? Preheating ensures your grill reaches the right temperature, typically between 350°F and 500°F, depending on your recipe. After you ignite the burners, close the grill lid to trap heat, allowing the grill to warm evenly.
Preheating for 10 to 15 minutes not only helps burn off residue but also creates a non-stick surface for your food. To gauge the temperature during preheating, use the built-in thermometer or hold your hand about 5 inches above the grate.
Proper preheating guarantees consistent cooking results and reduces flare-ups caused by trapped grease or food debris. So, don’t skip this step—it’s essential for a successful grilling experience.
Adjust Burner Settings for Cooking
Once your grill is preheated, you’ll want to modify the burner settings to match your cooking needs. Properly controlling the flame and temperature ensures perfectly cooked food.
Adjust your burners after preheating to control flame and temperature for perfectly cooked meals.
Here’s how to adjust your burners effectively:
- Turn all control knobs off before igniting for safety.
- Light the first burner, then adjust its control knob to your desired temperature, from low to high.
- Use multiple burners to create heat zones—direct heat on one side, indirect on the other—adjusting each knob accordingly.
- Monitor the flame color; a steady blue flame means proper adjustment, while yellow or orange indicates you need to fine-tune the burner settings.
Just keep an eye on those flames, and you’ll get the hang of it in no time!
Conclusion
Now that you know how to turn on your gas grill safely and easily, you might wonder if quick lighting risks safety. The truth is, following these steps carefully actually reduces hazards and ensures a smooth start every time.
By taking your time to check connections and ignite burners properly, you’re not just cooking—you’re safeguarding yourself and your grill. So fire it up confidently and enjoy those delicious meals ahead!
Remember, turning on a gas grill isn’t just about convenience; it’s about safety and efficiency. When you follow these simple steps, you avoid accidents and make sure your grill works perfectly every time. So next time you want to fire up your gas grill, do it right and enjoy a safe, tasty grilling experience!