How to Turn on a Gas Grill in 7 Easy Steps
To turn on your gas grill safely and get that perfect cook going, start by identifying your grill type and inspecting all equipment for any damage. It’s super important to make sure everything is in good shape before you fire it up.
Next, make sure the propane tank valve is fully closed before you connect it securely. After that, check for leaks by applying soapy water to the connections — bubbles mean you’ve got a problem to fix.
Always open the grill lid before you ignite the burners. This lets any built-up gas escape safely and keeps things from getting dangerous.
Now, open the propane valve and use the control knobs to ignite the burners. Once they’re lit, close the lid and preheat the grill.
Finally, adjust the flame to your preferred heat level, and you’re all set. Follow these simple steps closely, and you’ll be grilling like a pro in no time!
Key Takeaways
- Identify your grill’s fuel type and inspect hoses and burners for damage or blockages before starting.
- Ensure the propane tank valve is fully closed, then securely connect the tank to the regulator.
- Open the grill lid completely to allow gas to dissipate safely before ignition.
- Slowly open the propane tank valve and ignite burners using the control knobs and igniter.
- Preheat the grill with the lid closed for 10-15 minutes, adjusting flame settings as needed.
Identify Your Gas Grill Type and Inspect Equipment
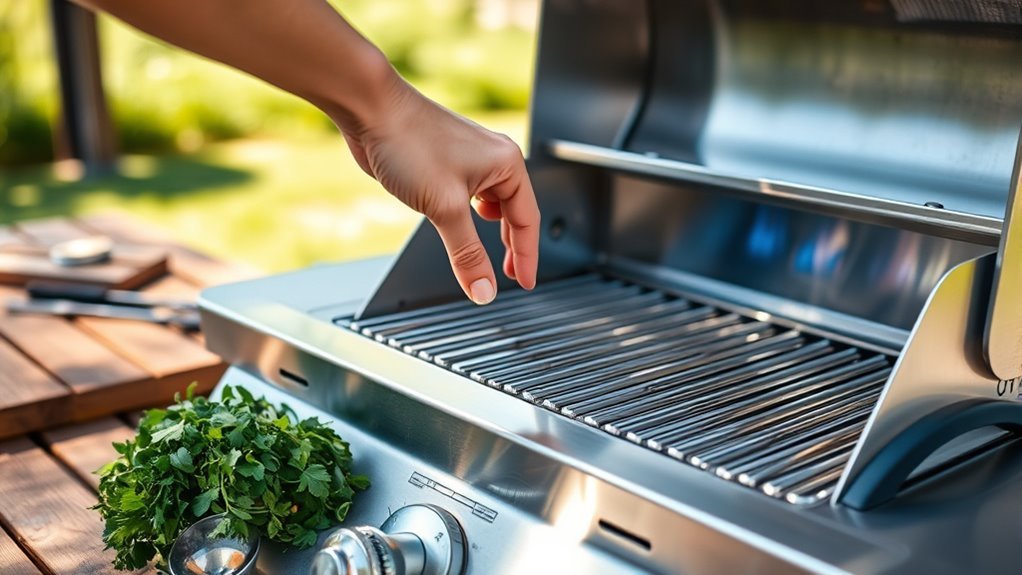
Before you turn on your gas grill, make sure you know whether it uses propane or natural gas, as each requires a different ignition approach. If your grill uses propane, inspect the propane tank and ensure the valve is fully closed before proceeding.
Check the connection between the propane tank and the grill carefully. Also, inspect all gas hoses for cracks or damage.
Verify the ignition system is clean and working properly to avoid safety hazards. Look over the burners for debris or blockages that might affect flame quality.
Paying attention to these details helps you prevent leaks and guarantees your grill operates safely and efficiently. Regularly inspecting your propane gas grill before use is key to a smooth, safe grilling experience.
Ensure Propane Tank Connection and Check for Leaks
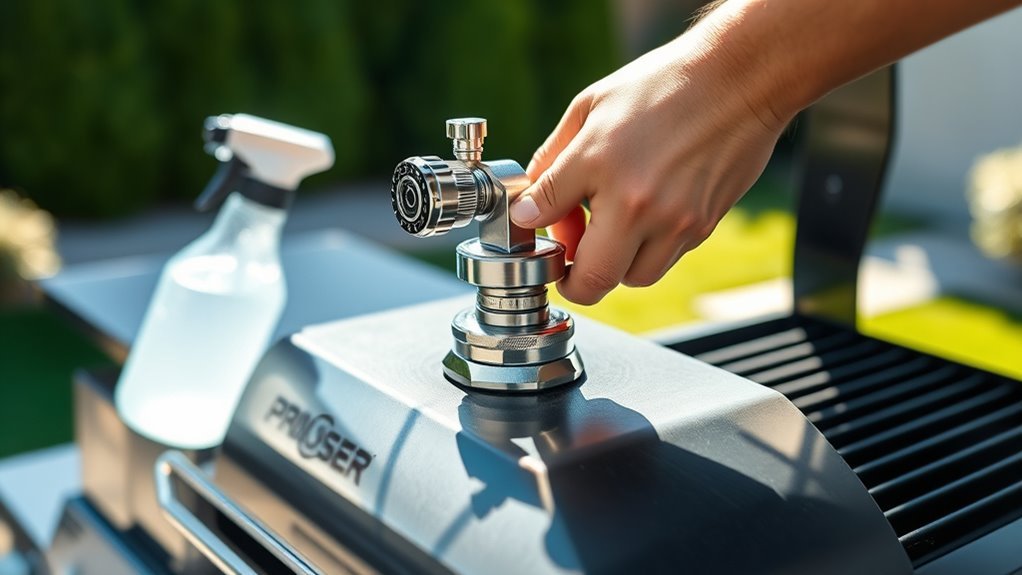
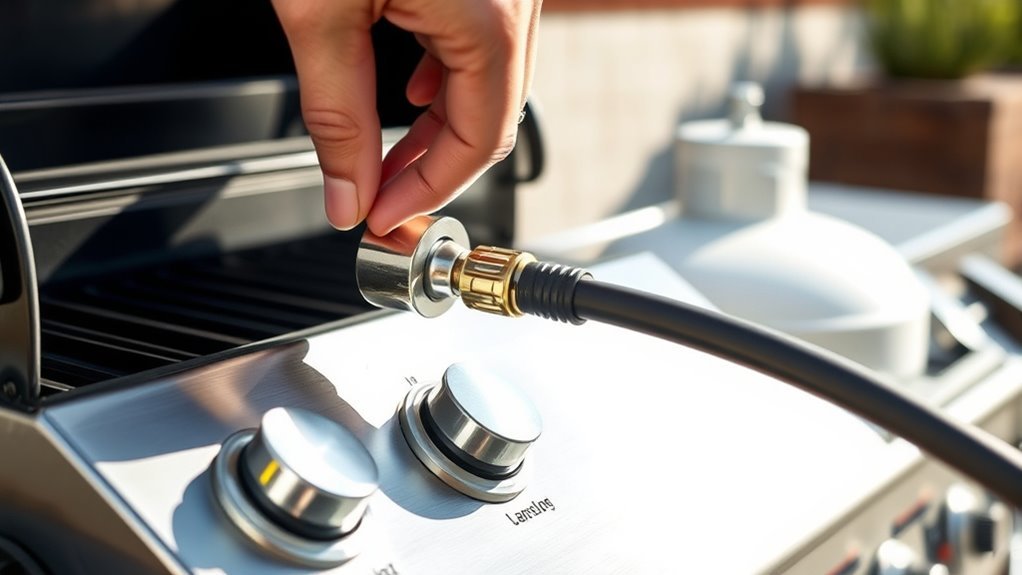
How can you be sure your propane tank is connected safely? Start by making sure the propane tank valve is fully closed before attaching it to the regulator. Connect the tank securely to avoid any loose fittings.
Always close the propane tank valve before attaching it securely to the regulator to ensure safe connections.
Slowly open the valve to prevent sudden pressure build-up, which can damage the system. Next, perform a hose inspection to check for cracks or damage that might cause gas leaks.
To confirm safe operation, apply a soap and water solution to all connection points; if you see bubbles forming, that indicates a leak. Always do this leak check each time you connect or reconnect the propane tank.
Addressing these steps ensures your grill’s regulator, hose, and connections work properly, keeping your grilling experience safe and worry-free.
Open the Grill Lid Before Ignition
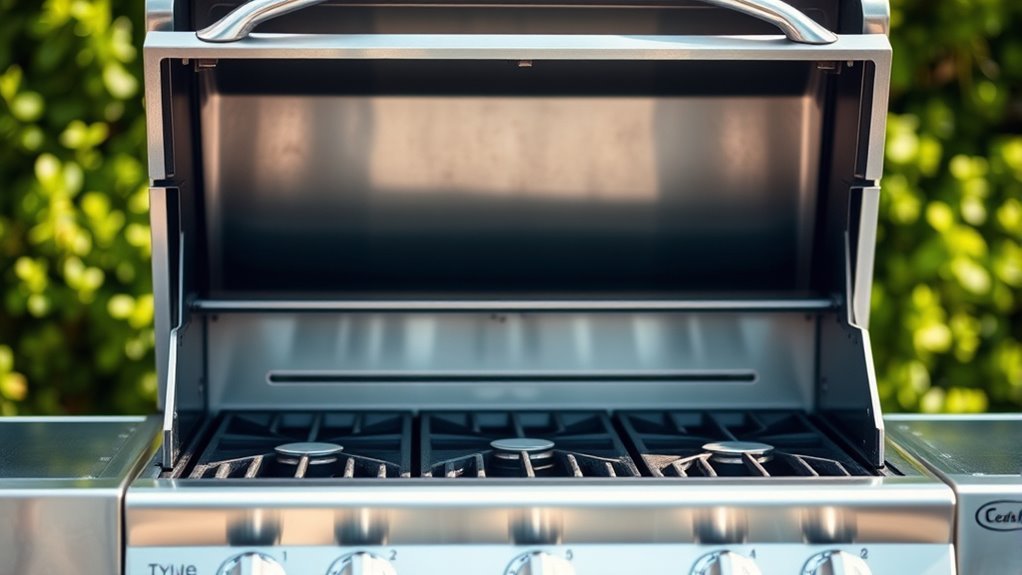
Since gas can accumulate inside the grill, you should always open the grill lid fully before turning on the gas. Opening the lid prevents pressure buildup and reduces the risk of flare-ups or explosions when you ignite the gas grill.
When you open the lid, any trapped gas dissipates, ensuring safe gas flow before you press the ignition button. This step also lets you see the flame immediately, so you can spot gas leaks or other issues right away.
For your safety, never turn on the gas supply or try to ignite the burners with the lid closed. Following this simple step keeps you in control and helps avoid dangerous situations, making lighting your gas grill safer and more efficient every time.
Turn on the Propane Tank Valve
After making sure your propane tank is securely connected and leak-free, turn the valve counter-clockwise until it stops to fully open the gas flow. This step is vital for safe grilling and ensures a steady gas supply.
Here’s what to keep in mind:
- Check the propane tank valve connection for any leaks before turning it on.
- Turn the valve smoothly; don’t force it past resistance.
- Fully open the valve to allow proper gas flow to the grill.
- Listen for a hissing sound or smell gas to confirm the flow.
- Always open the valve before ignition to avoid gas buildup.
Ignite the Grill Burners Safely
Before you ignite the grill burners, make certain the grill lid is fully open to prevent dangerous pressure buildup and flare-ups.
Next, turn on the gas by opening the propane tank valve counter-clockwise, allowing gas to flow through the gas line. Set the burner control knobs to the “light” or “high” position to prepare for ignition.
To ignite the burners safely, press the electric igniter button or use a long-handled lighter to create a flame. If the burners don’t light immediately, turn off the gas, wait five minutes to let any accumulated gas dissipate, then check for leaks before trying again.
Always prioritize safety when lighting the grill to avoid unexpected fires and ensure a smooth start to your grilling. Just take your time, and you’ll be good to go!
Preheat the Grill to Desired Temperature
Once your burners are safely lit, set all the control knobs to the ‘high’ or ‘light’ position to start preheating the grill. To guarantee even heat distribution, close the lid and let the grill reach your desired temperature.
During the preheating process, you’ll want to monitor temperature using the built-in thermometer or an external one. Allow about 10-15 minutes of preheat time.
Adjust airflow dampers to fine-tune the heat level and keep burner control knobs steady to maintain consistent heat. Try to avoid opening the lid frequently so you can trap heat efficiently.
Following these steps helps your grill reach the perfect cooking temperature. That way, your food cooks evenly and thoroughly every time.
Adjust Flame Settings and Prepare for Cooking
Although you’ve preheated your grill, you’ll want to adjust the burner control knobs to match your cooking style, setting them anywhere from low to high heat. Use the burner knobs to create zones of direct heat for searing and indirect heat for slow cooking.
Pay attention to the flame color; a steady blue flame signals proper combustion, while yellow or orange flames mean you should inspect your gas connections or clean the grill. If flames flicker or weaken, check your propane tank’s level and connections.
A steady blue flame shows good combustion; yellow or flickering flames indicate you should check connections or clean the grill.
Fine-tune your heat control through careful flame adjustment to reach the desired heat. Keep monitoring the temperature using your grill’s built-in thermometer or an external probe to ensure consistent cooking conditions.
This approach helps you prepare your grill perfectly for any recipe.
Conclusion
Turning on your gas grill is like lighting a beacon that invites flavors to dance and sizzle. Just as a lighthouse guides ships safely to shore, following these steps guarantees a safe, smooth start to your cooking adventure.
With your grill glowing and ready, you’re set to create meals that bring people together. So, ignite that flame confidently, and let your grill be the guiding light to delicious moments ahead.
By mastering how to turn on a gas grill in 7 easy steps, you’re not just starting a fire—you’re starting a tradition of great food and good company. Whether you’re a beginner or a seasoned griller, these simple steps ensure safety and perfect cooking every time. So, get ready to enjoy the smoky aromas and mouth-watering flavors that only a gas grill can offer. Your next unforgettable barbecue is just a spark away!