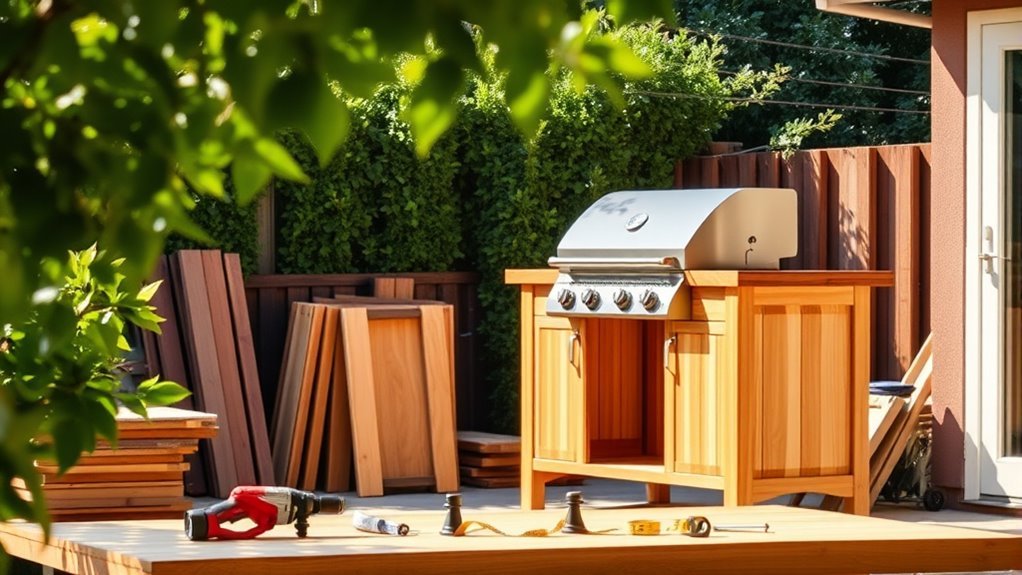
How to Build a Wood BBQ Island in 3 Easy Steps
Start by planning your wood BBQ island using pressure-treated or cedar wood, which are great choices for outdoor durability. Make sure you guarantee safety by allowing proper grill clearance and using sturdy joints that can hold up over time.
Next, focus on building heat-resistant walls with fireproof materials like stucco or concrete blocks.
Then, install a durable granite or concrete countertop that can withstand outdoor cooking conditions without damage.
Finally, seal all surfaces with an outdoor wood sealant to protect your island. Apply weatherproof finishes to guard against moisture and UV damage, keeping your BBQ island looking great for years.
Keep these basics in mind, and you’ll find it much easier to create a lasting, safe outdoor kitchen that you and your family will enjoy.
Key Takeaways
– Select pressure-treated or cedar wood for durability and use weather-resistant screws for secure assembly.
These materials will help your BBQ island stand up to the elements, so it lasts longer and stays sturdy.
– Construct heat-resistant walls with fireproof materials and install insulated jackets around the grill area.
This keeps things safe and helps manage the heat better while you cook.
– Choose and securely anchor heat-resistant countertops like granite or concrete with appropriate sealants.
Make sure they’re properly sealed so they don’t get damaged by weather or spills.
– Apply outdoor wood sealant and weatherproof finishes, reapplying regularly to protect against moisture and UV damage.
Keeping up with this maintenance is key to preserving your island’s look and durability over time.
– Incorporate safety features by reinforcing joints, maintaining grill clearance, and following fire safety guidelines.
Safety first — it’s important to build your BBQ island so it’s both functional and secure.
Plan Your Wood BBQ Island Frame With Safety and Materials in Mind
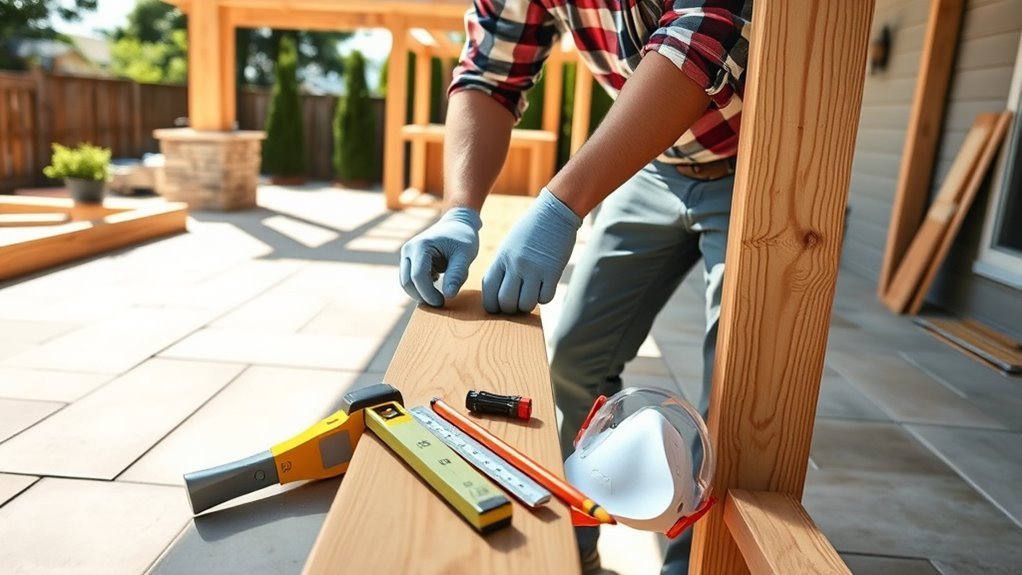
Before you begin building your wood BBQ island frame, choose pressure-treated or cedar wood to guarantee it withstands outdoor conditions. In your outdoor kitchen construction, this choice guarantees durable materials that resist weathering.
As you assemble the wood frame, use a level and square to maintain structural stability with precise angles. Incorporate insulated jackets around the grill area to enhance fire safety by containing heat and protecting the wood frame.
Secure all joints with weather-resistant screws and reinforce critical connections using metal brackets to withstand outdoor elements. Always design with safety considerations in mind, ensuring compliance with your grill’s clearance and weight specs.
These steps help you build a DIY outdoor space that’s both sturdy and safe for years to come.
Build Heat-Resistant Walls and Install a Durable Countertop
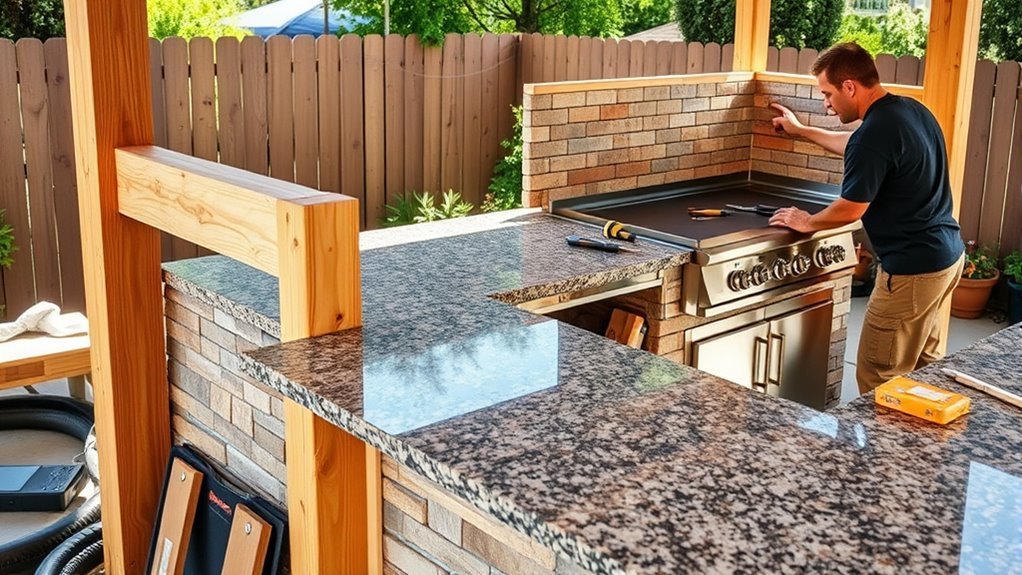
When you build heat-resistant walls for your BBQ island, using non-combustible materials like fire-resistant stucco or concrete blocks guarantees safety and durability. Construct these walls around the grill area, then apply a fireproof coating or high-temperature sealant to boost heat resistance.
Inside the walls, install an insulation jacket to contain heat and protect surrounding wood structures from damage.
For your countertop, choose durable countertops such as granite or concrete that can withstand intense heat without warping. Securely anchor the countertop and focus on proper sealing with heat-resistant caulk to prevent heat transfer and water infiltration.
Together, these steps guarantee your BBQ island’s structural integrity while maximizing safety around the grill area.
Seal, Weatherproof, and Finish Your Wood BBQ Island for Longevity
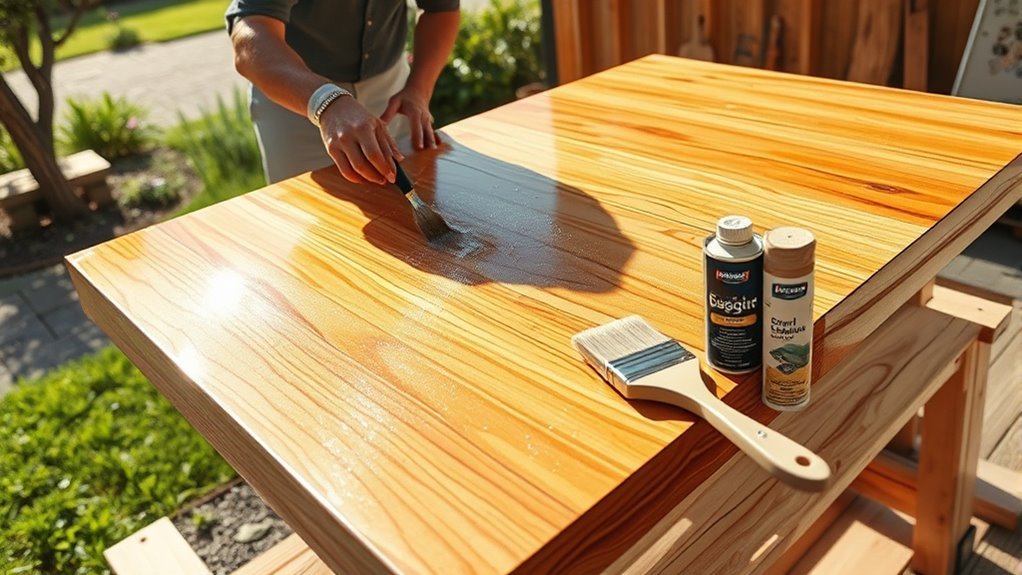
After securing heat-resistant walls and a sturdy countertop, you’ll want to protect your wood BBQ island from the elements to guarantee it lasts for years. Start by applying a high-quality outdoor wood sealant to all surfaces, including joints and edges. Do this at least twice a year to assure moisture resistance.
Use a weatherproof finish such as an exterior stain or weatherproof paint designed for UV protection and wood preservation. It really helps keep your island looking great and standing strong. Also, incorporate a waterproof barrier beneath the finish to create an added layer of protection against rain and humidity.
Make it a habit to regularly inspect your island for worn or chipped areas. When you spot them, just apply a fresh protective coating as needed. For maximum outdoor durability, consider adding a cover or roof to shield your island from direct sun and rain. This simple step can really extend its lifespan.
Frequently Asked Questions
How to Build a Barbecue Island?
You start by planning your island’s layout and dimensions, then build a sturdy frame with weather-resistant materials. Next, add insulation around the grill, attach a durable countertop, and finish with sealant and accessories for functionality.
How Tall Should a Barbecue Island Be?
You should set your barbecue island’s height between 36 and 42 inches. This range really suits your standing stance, supporting smooth slicing and sizzling, while seating comfort calls for the taller, bar-height 42-inch option.
What Materials Are Best for a Grill Island?
You’ll want pressure-treated lumber or cedar for the frame, non-combustible materials near the grill, and durable countertops like granite or concrete. Use rust-resistant metal fasteners and fire-resistant insulation to keep your grill island safe and long-lasting.
Do Barbecue Islands Need Vents?
Yes, you need vents in barbecue islands to guarantee proper airflow, prevent heat buildup, and reduce fire risks. Vents also help keep moisture away, protecting your wood structure from rot and extending its lifespan.
Conclusion
Building your wood BBQ island is like planting a tree—you start small, but with care, it grows strong and lasting. Just as one oak can shelter a whole picnic, your sturdy frame, heat-resistant walls, and weatherproof finish will stand up to countless cookouts.
Remember, every step you take adds to its strength and beauty. This process turns your backyard into a welcoming hub where memories—and great meals—flourish for years to come.
With a solid wood BBQ island, you’re creating more than just an outdoor kitchen. You’re building a space that’s both functional and inviting, perfect for family gatherings and weekend barbecues.
So, take your time, follow the steps, and enjoy the reward: a durable, attractive BBQ island that enhances your outdoor living experience.