5 Easy Steps to Build a Brick BBQ With Chimney
To build a brick BBQ with a chimney, start by picking a flat, level spot away from your house. This ensures safety and stability for your outdoor cooking area.
Next, prepare a sturdy foundation using concrete or gravel to support the weight of the bricks.
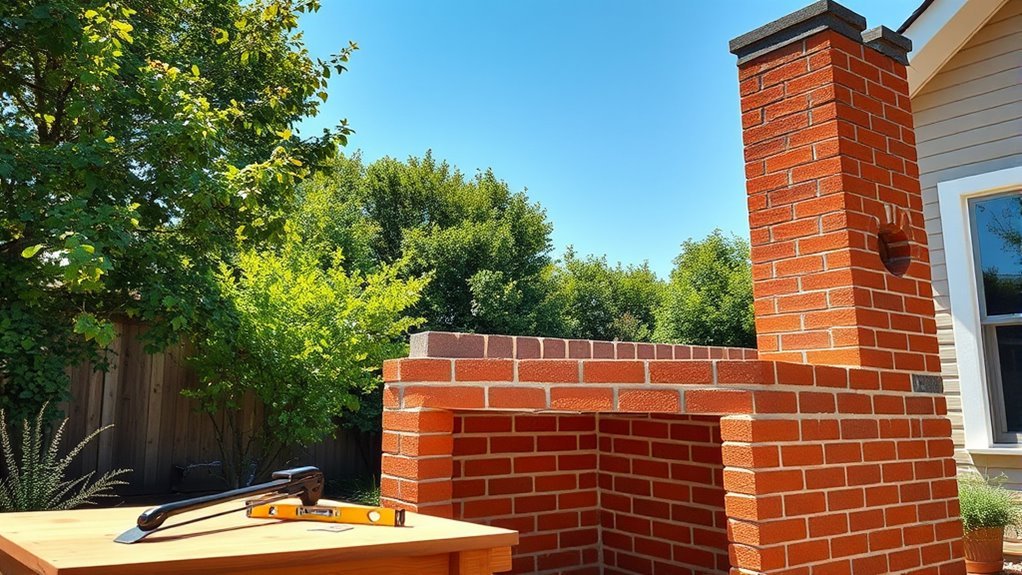
Lay your first brick layers evenly with mortar. Keep the joints staggered and level to create a strong structure. This step is key to making your BBQ last for years.
Then, construct the chimney using fire bricks. Add a flue and cap to ensure proper ventilation and smoke control. This helps keep your cooking area comfortable and smoke-free.
Next, install the grill grate and any accessories you want. Make sure there’s good airflow control to manage the heat effectively.
Finally, let the mortar cure properly before using your new brick BBQ. This prevents cracks and ensures durability.
Keep going to discover helpful tips on perfecting your build!
Key Takeaways
- Select a flat, stable site at least 10 feet from combustible materials. Then, prepare a solid concrete or gravel foundation.
- Lay the first brick courses with mortar. Make sure they’re level and the joints are staggered for better structural strength.
- Construct the chimney using fire bricks. Don’t forget to add a flue or damper and a chimney cap for proper ventilation.
- Install grill components like a grate, adjustable vents, and a charcoal tray. You can also add optional accessories like tool hooks if you want.
- Cure the mortar for 24-48 hours by keeping it moist. Avoid heat during this time and clean off any excess mortar for a neat finish.
Selecting the Location and Preparing the Foundation
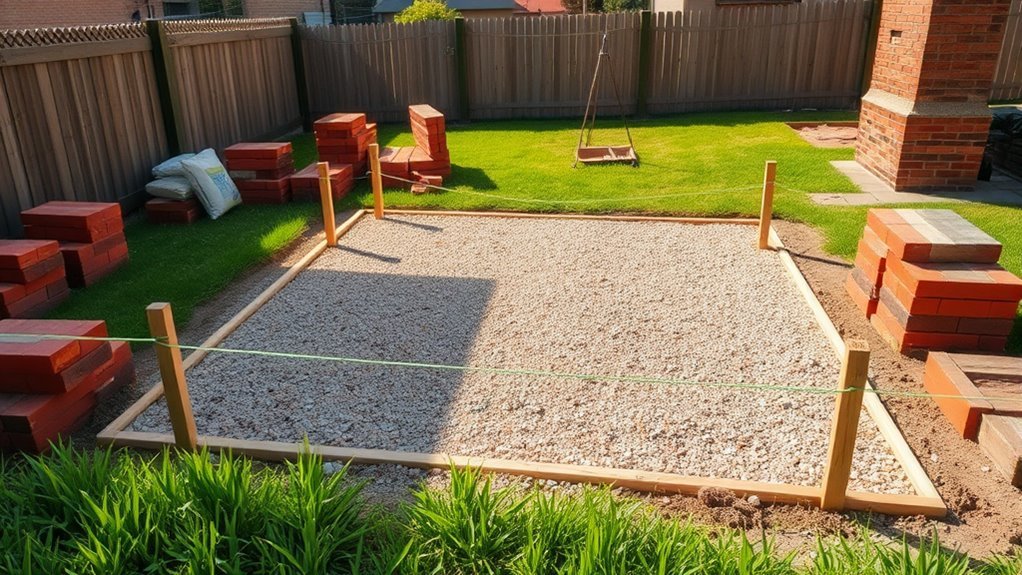
Before you start building your brick BBQ, pick a flat, level spot with stable soil that can support the structure’s weight. The location should be at least 10 feet from your house or any combustible materials for safety.
Choose a flat, stable spot at least 10 feet from your home to safely build your brick BBQ.
Choose a place with good ventilation, ideally upwind from where you’ll sit, so smoke doesn’t blow into your space. Once you’ve selected the spot, clear away debris, grass, and loose soil.
Next, you’ll need to excavate a trench about 4 to 6 inches deep to prepare the foundation. Within this trench, lay a concrete slab or compacted gravel base to create a solid, level foundation.
This step is essential to guarantee your brick BBQ stays stable and secure over time. Taking the time to do it right will pay off when you’re cooking up a storm!
Laying the First Courses of Bricks
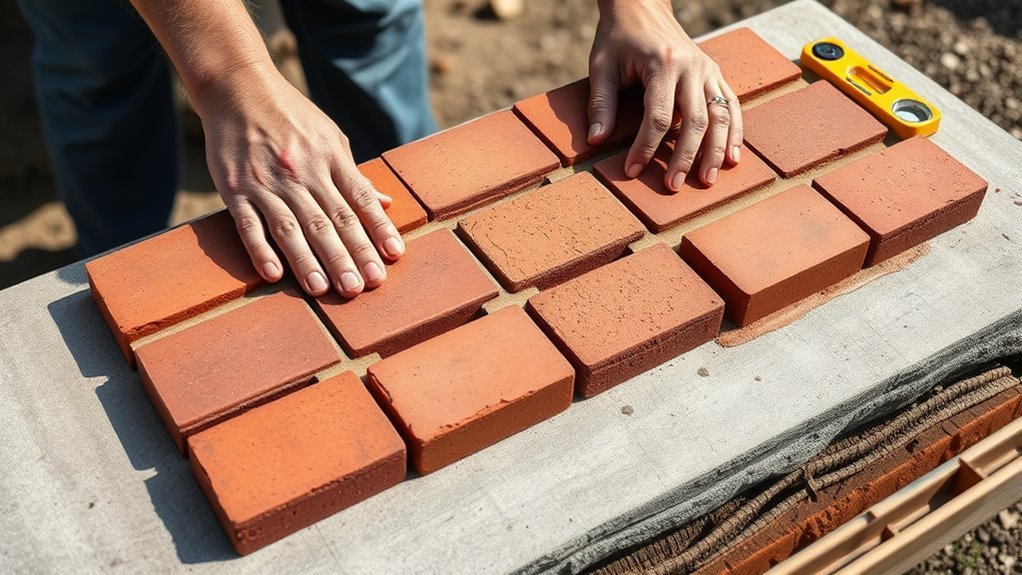
Once you’ve prepared the foundation, start by spreading a layer of mortar evenly and placing the first course of bricks carefully. To guarantee a solid base, follow these steps:
- Apply mortar on the foundation and place the first course, making sure each brick is level and aligned with a spirit level.
- Stagger the joints by half a brick length to boost strength and stability.
- Leave consistent gaps of 10-15mm for mortar joints and future expansion.
- Check horizontal and vertical alignment frequently, adjusting with a trowel and level.
Let the mortar set for about 1 to 2 hours before adding the next course. This way, you’ll ensure a stable and level start for your brick BBQ structure. It’s all about laying down a solid foundation to build upon!
Constructing the Chimney and Ventilation
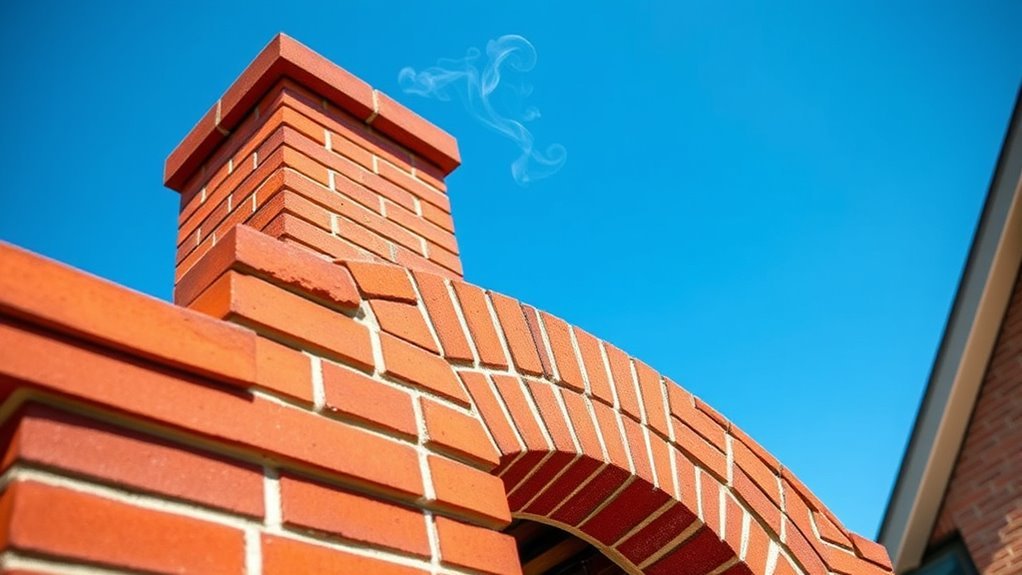
How do you guarantee your brick BBQ’s smoke escapes efficiently? Start by building the chimney with fire bricks stacked either circularly or rectangularly, extending 3 to 4 feet above the grill.
Incorporate a flue or damper inside to control airflow and enhance ventilation. Add a chimney cap to keep out rain and debris while letting smoke escape.
Ensure the chimney tilts slightly upward to avoid downdrafts. Use high-temperature mortar to bond bricks, preventing cracks and maintaining consistent ventilation.
| Component | Purpose |
|---|---|
| Fire Bricks | Withstand high heat and maintain structure |
| Flue/Damper | Control airflow, improve draft |
| Chimney Cap | Prevent debris entry, allow smoke exit |
| Upward Tilt | Facilitate smooth smoke evacuation |
Installing the Grill Components and Accessories
While building the brick structure sets the foundation, installing the grill components and accessories brings your BBQ to life. Here’s how to get started:
Place the grill grate on the support brackets inside the brick structure. Make sure it sits level and secure for even cooking.
Attach the adjustable damper or vent to the chimney to manage airflow and temperature efficiently.
Secure side accessories like tool hooks or prep shelves by anchoring their brackets into the brick with proper mortar or masonry anchors.
Insert the charcoal or wood tray into the firebox, allowing enough clearance for ash removal and airflow.
Don’t forget to add a thermometer to the chimney to monitor cooking temperatures accurately. These steps ensure your grill and chimney work perfectly together with your chosen accessories.
Finalizing the Structure and Curing the Mortar
Before you start using your brick BBQ, you need to let the mortar cure properly to guarantee the structure’s strength and durability. Allow the mortar joints to cure undisturbed for at least 24 to 48 hours. Keep the structure moist by lightly spraying water to prevent cracking.
Avoid applying heat or using the chimney during this curing phase. Check the manufacturer’s instructions because full strength often requires about 7 days.
During curing, use a damp cloth to wipe excess mortar off the bricks once it begins to set. This helps ensure a clean finish without staining.
Conclusion
Building your own brick BBQ with a chimney might seem challenging, but following these simple steps makes it totally doable. You don’t need to be a pro mason—just take your time with each phase, and you’ll have a sturdy, stylish grill ready for countless cookouts.
Remember, a well-built foundation and proper curing are key to long-lasting results. So, roll up your sleeves and enjoy the satisfaction of grilling on your very own custom BBQ!
By following these easy steps to build a brick BBQ with chimney, you’ll create a durable and functional outdoor cooking space. Not only does a brick BBQ add charm to your backyard, but the chimney ensures proper smoke ventilation for a better grilling experience. Take pride in your handiwork and get ready to host amazing cookouts with friends and family around your new brick BBQ setup!