How to Season a Flat Top Grill in 10 Easy Steps
To season your flat top grill, start by cleaning and drying the surface thoroughly. Make sure there’s no residue left that could interfere with seasoning.
Next, check that the grill is level to ensure even heating. Then, preheat it on high for 10-15 minutes until it’s nice and hot.
Apply a thin, even layer of high smoke point oil like vegetable or flaxseed oil. Heat the grill until you see smoke, which means the oil is bonding to the surface.
Repeat this oiling and heating cycle 2-3 times. This builds up a strong, non-stick finish that’ll make cooking easier and cleanup a breeze.
Finally, let the grill cool completely before you start cooking. Stick around for more tips to make seasoning your flat top grill easier and more effective!
Key Takeaways
- Clean the grill surface thoroughly with warm, soapy water and dry completely before seasoning.
- Level the grill surface using a bubble level to ensure even heat distribution.
- Preheat the grill to 400-450°F until it smokes and the surface darkens.
- Apply a thin, even layer of high smoke point oil like flaxseed or canola over the entire surface.
- Heat the grill to smoking point multiple times, applying thin oil coats and allowing it to cure between cycles.
Gather the Necessary Tools and Materials
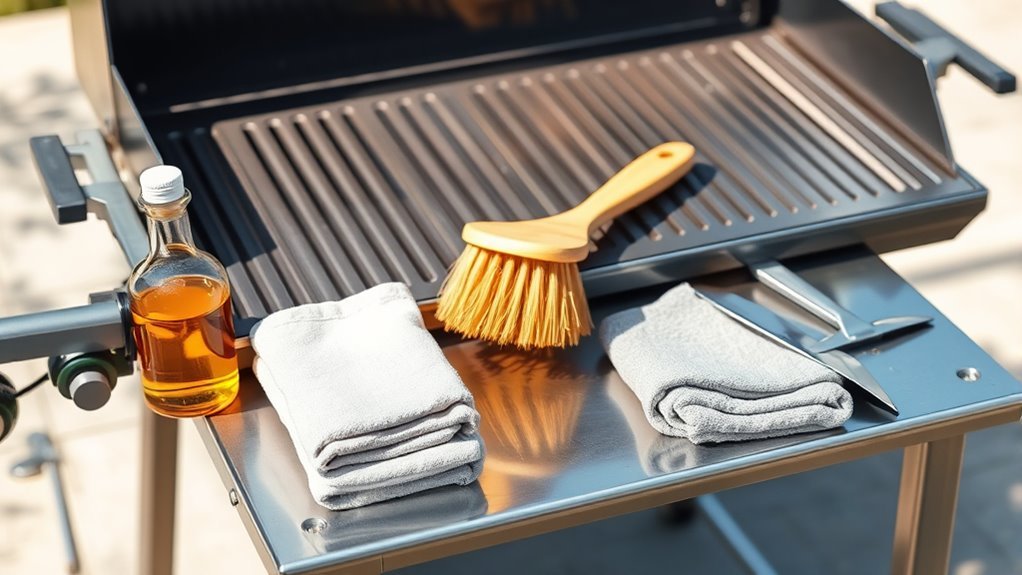
Before you begin seasoning your flat top grill, make sure you gather all the necessary tools and materials. Start by selecting a high smoke point oil like vegetable, canola, or flaxseed oil to protect and season the griddle surface effectively.
Grab clean, lint-free paper towels or cloths to spread the oil evenly. You’ll also need a sturdy grill brush or scrub pad for initial cleaning before applying oil.
Don’t forget heat-resistant gloves or tongs to handle hot oil and tools safely during the process. Having all these tools and materials within reach keeps your workflow smooth and prevents interruptions.
Being prepared guarantees your seasoning goes smoothly and your flat top grill gets the proper care it needs for long-lasting performance.
Clean the Grill Surface Thoroughly
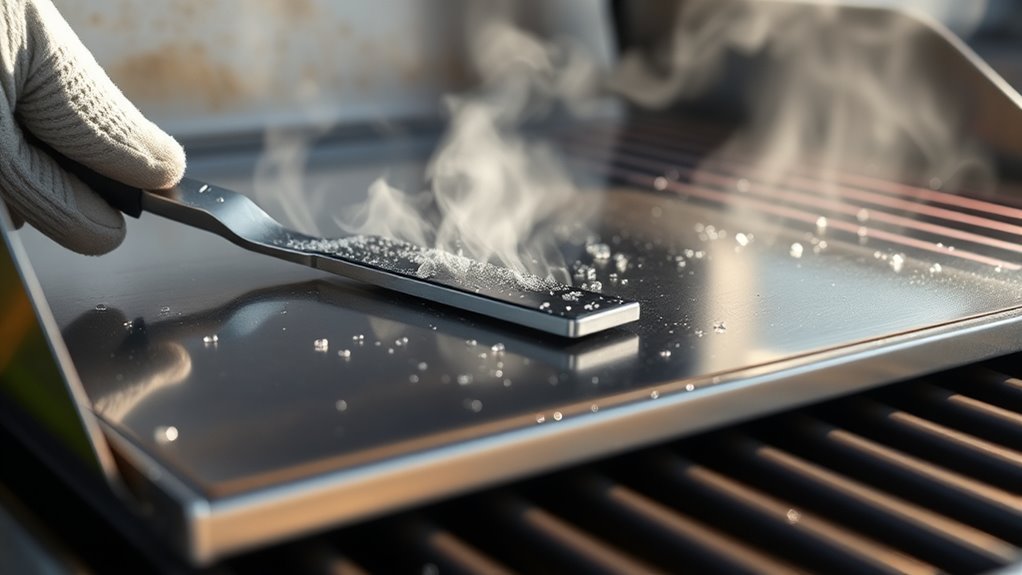
Once you’ve gathered your tools, start by wiping down the flat top grill with a damp cloth or sponge to remove loose debris, grease, and food residue. For stubborn residue, scrub the surface gently using a non-abrasive brush or pad combined with warm, soapy water. This guarantees effective residue removal without damaging the grill.
After scrubbing, rinse the surface thoroughly with clean water to wash away soap and loosened debris. Carefully inspect the grill surface to confirm all residue and buildup have been eliminated. Keeping the surface clean is essential before seasoning.
Dry the Grill Completely
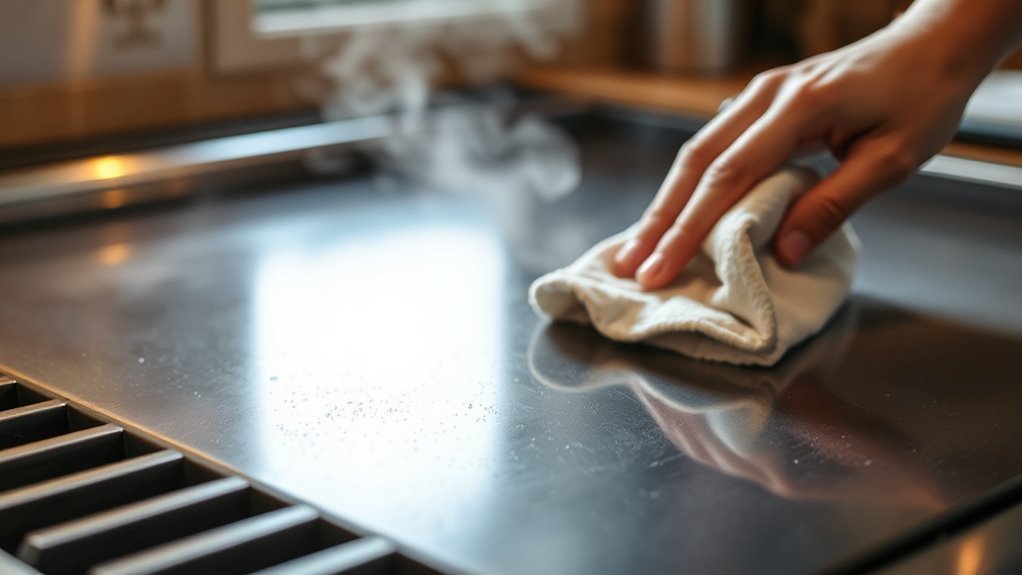
After thoroughly cleaning your flat top grill, you’ll want to make sure it’s completely dry before moving on. Use a clean, lint-free cloth or paper towel to dry thoroughly, wiping away any water droplets left on the surface.
Don’t leave any moisture behind, as even small amounts of residual dampness can cause rust and interfere with the seasoning process. After wiping, allow the grill to air dry for several minutes or turn it on low heat to speed up evaporation.
Before you apply oil, double-check that the grill surface feels dry to the touch, ensuring no damp spots remain. Taking these steps to dry your grill completely is essential to prevent rust and prepare the surface for a lasting seasoning.
Check and Level the Grill Surface
Before seasoning, make sure your grill surface is perfectly level by using a bubble or spirit level. Check multiple spots to spot any uneven areas and clear off any debris that might affect the reading.
If needed, adjust the leveling feet to create a flat, consistent cooking surface. This way, your grill will cook evenly and your food will come out just right every time.
Verify Surface Evenness
How can you be sure your flat top grill is properly leveled for even cooking? Verifying surface evenness is essential for consistent heat distribution.
Start by placing your grill on a stable, level surface. Then, use a spirit level or built-in level to check the flat surface. Position the spirit level across different sections to ensure the bubble is centered, confirming the grill is balanced.
Follow these steps for accurate leveling:
- Check multiple points with a spirit level to identify any uneven spots.
- Confirm the surface is stable to prevent shifting during cooking.
- Ensure the grill is parallel to the ground for proper balance.
Adjust Grill Leveling
Once you’ve confirmed the grill sits on a stable, level surface, the next step is to fine-tune its leveling. Use a built-in bubble level or a carpenter’s level to check the evenness across the edges and center of the griddle.
Place the level carefully to ensure the grill is perfectly horizontal in all directions. If the bubble isn’t centered, adjust the leveling feet or screws on the legs accordingly. Make small adjustments, then recheck with the bubble level until the bubble stays centered, confirming a true level surface.
This process is especially important on uneven ground or concrete slabs. Regularly verifying and adjusting the level before seasoning or cooking guarantees ideal heat distribution and prevents uneven seasoning on your flat top grill.
Preheat the Grill on High
Turn all burners to high and close the lid to preheat your flat top grill evenly for 10 to 15 minutes. Watch for a slight smoke and a darkening surface, which signifies it’s reached the ideal 400°F to 450°F range for seasoning.
Keep the lid closed to maintain consistent heat and ensure safety during this process. This way, your grill gets ready just right for cooking.
Optimal Temperature Range
Why is preheating your flat top grill on high essential? Reaching the ideal temperature range of 400-450°F ensures the seasoning process works effectively. This high heat promotes proper oil polymerization, creating a durable, non-stick layer without burning it.
Here’s why you should stick to this range: Preheating on high for 10-15 minutes evenly distributes heat across the grill surface. Maintaining 400-450°F encourages the seasoning layer to form correctly, avoiding patchy or sticky spots.
Using an infrared thermometer helps you verify the surface temperature stays within this perfect window. Avoid preheating on medium or low settings, because lower temperatures can lead to poor seasoning and uneven coating development, which compromises your grill’s performance.
Smoke and Discoloration
Preheating your flat top grill on high not only brings the surface to the ideal temperature but also triggers visible changes that signal it’s ready for seasoning.
As you preheat the grill at a high temperature for 10 to 15 minutes, you’ll notice the shiny surface gradually turning into a dull, dark surface.
Smoke will start to rise as any oil or factory coating begins to polymerize, indicating that the grill is heating properly.
This smoke and discoloration are key signs that the surface has reached the right heat level for seasoning.
Once the dark surface appears and smoke billows, you can confidently apply oil and build your seasoning layers.
This ensures a durable, non-stick finish for your flat top grill.
Timing and Safety
Although it’s tempting to rush, you should always preheat your flat top grill on high for 10 to 15 minutes to reach the ideal seasoning temperature. During this time, watch for discoloration and smoke—signs the surface is hot enough for oil polymerization.
To guarantee safety and effective seasoning, follow these steps:
- Use safety gloves when handling the hot surface or applying oil to avoid burns.
- Never leave the grill unattended during preheating to prevent overheating and flaring.
- Once preheated, reduce the temperature before adding oil to control smoke and avoid flare-ups.
Choose the Right Oil for Seasoning
When seasoning your flat top grill, choosing the right oil is essential to creating a durable, non-stick surface. You’ll want to pick a seasoning oil with a high smoke point that can withstand high-heat cooking without burning or leaving sticky residue.
Flaxseed oil is a top choice because it polymerizes well, forming a hard, protective coating on your flat top grill. Other good options include vegetable, canola, and avocado oils—all food-safe oils known for their stability at high temperatures.
Avoid oils like olive oil with low smoke points, as they can burn easily and ruin your seasoning. By using the right oil, you ensure the seasoning layers properly polymerize, giving you a long-lasting, non-stick surface that resists rust and keeps your grill performing at its best.
Apply a Thin Layer of Oil Evenly
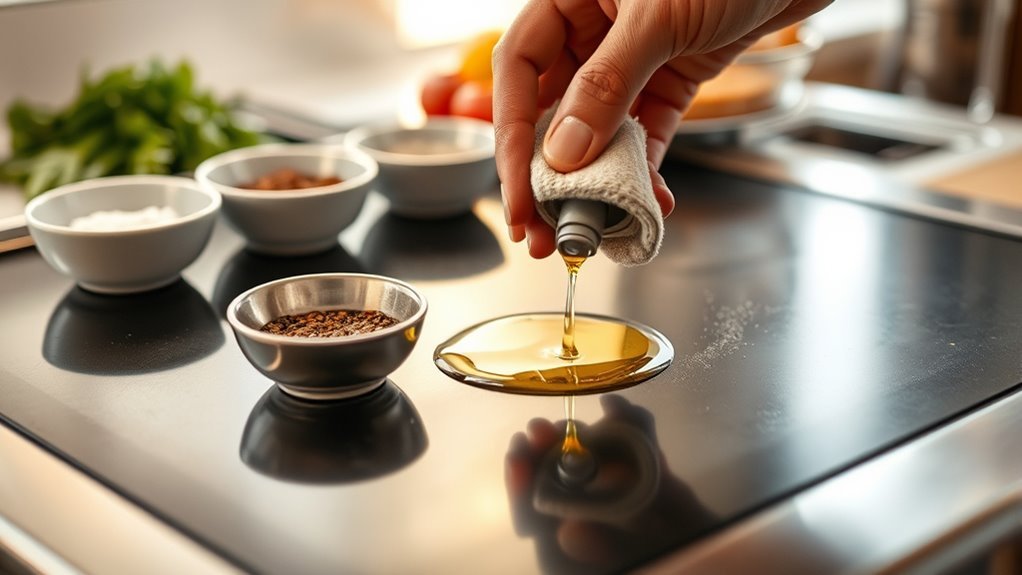
You’ll want to pick an oil with a high smoke point to handle the heat without burning. Pour it in a zigzag or circular pattern to cover the whole surface evenly.
Then, use a folded cloth or paper towel to spread a thin, uniform layer across the grill, wiping off any excess. That way, you get just the right amount without any drips or pools.
Choose High Smoke Point Oil
Since seasoning requires high heat, choosing an oil with a high smoke point is essential to prevent burning and achieve a durable coating. Oils like flaxseed, vegetable, or canola are ideal because they withstand high temperatures without smoking excessively.
When you apply oil, make sure to use a thin layer to ensure proper bonding and to prevent sticking.
Follow these steps to select and apply the right oil:
- Pick an oil with a high smoke point to avoid burning during seasoning.
- Apply just a thin layer of oil to the grill surface for an even coat.
- Spread the oil evenly using a cloth or paper towel to cover every inch.
This approach guarantees a smooth, non-stick surface that lasts. Easy, right? Just a little care goes a long way!
Spread Oil Uniformly
A thin, even layer of oil is key to seasoning your flat top grill effectively. Start by pouring a small amount of high smoke point oil onto the center of the hot griddle.
Use a clean, lint-free paper towel or cloth—holding it with tongs or heat-resistant gloves—to spread the oil evenly across the entire surface. Apply a thin coat with smooth, circular or zigzag motions, reaching every edge and corner without pooling.
Repeat multiple thin coats, letting each one heat and smoke before adding the next. This process builds a durable, uniform seasoning layer that protects your grill and enhances cooking.
| Step | Action |
|---|---|
| 1 | Pour small oil amount |
| 2 | Spread oil evenly using towel |
| 3 | Cover entire surface thinly |
| 4 | Apply multiple thin coats |
Heat the Grill Until the Oil Smokes
Once the grill is preheated on high for 10 to 15 minutes, you’ll notice the surface start to discolor—that’s your cue to keep heating until smoke appears. This smoke indicates the oil has reached its smoke point and begins to polymerize, creating a protective, non-stick layer.
To guarantee the seasoning bonds properly, follow these steps: Maintain high heat steadily without opening the lid prematurely. Watch for consistent smoke across the entire surface, signaling even heating.
If needed, move the heat source or adjust the grill to heat evenly. This way, you’ll ensure every part of the grill gets properly seasoned. Just keep an eye on it and be patient!
Repeat Oil Application and Heating
After the oil starts smoking and the surface has developed that initial protective layer, it’s time to apply another thin coat of oil. Use a paper towel or cloth to spread the oil evenly across the hot griddle, making sure the layer stays thin to avoid pooling.
Then, reheat the grill until the oil begins to smoke again, which means polymerization is underway. Keep the surface smoking for 5-7 minutes to let the oil bond and form a durable seasoning layer.
Once that’s done, turn off the heat and let the surface cool slightly before you apply more oil. Repeat this oil application and heating process 2-3 times. Each cycle builds up a smooth, darkened, non-stick layer that protects your flat top grill and makes cooking even better.
Allow the Grill to Cool Before Use
Although it might be tempting to start cooking right away, you should let your flat top grill cool completely before using it. Proper cooling guarantees the seasoning sets correctly, improving durability and preventing damage.
Using the grill too soon can cause burns, uneven cooking, and even warp the metal due to rapid temperature changes. For safety and best results, wait until the surface reaches room temperature before use.
Here’s why you should wait:
- It prevents burns and promotes safety.
- It allows the seasoning layer to set properly.
- It avoids warping from sudden temperature shifts.
Typically, waiting 30 minutes to an hour after turning off the heat gives you the ideal temperature for safe and effective grilling. So, just be patient—it’s worth it!
Conclusion
Seasoning your flat top grill transforms a cold, bare surface into a sizzling, non-stick masterpiece. Like painting a blank canvas with layers of rich oil, each step builds a protective shield that wards off rust and enhances flavor.
As the grill cools, imagine the contrast between its raw steel and the smooth, seasoned finish ready to cook your next meal perfectly. With a little care, your grill will shine and perform like new every time you fire it up.
Taking the time to season your flat top grill properly is key to maintaining its longevity and cooking efficiency. This process not only prevents rust but also creates a naturally non-stick surface that makes cooking and cleaning easier.
So, if you want to enjoy delicious meals and keep your equipment in top shape, seasoning your flat top grill is a must. Follow these easy steps regularly, and you’ll have a beautifully seasoned grill that’s ready for every cookout.