How to Smoke Ribs on a Pellet Grill in 5 Easy Steps
Start by choosing baby back or spare ribs and removing the silver membrane.
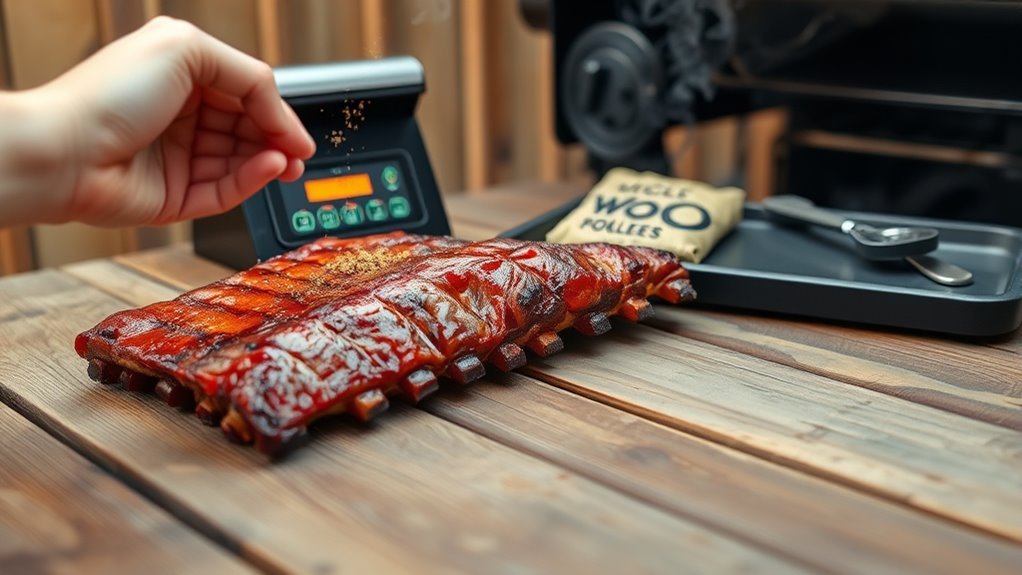
Preheat your pellet grill to 225°F and apply a dry rub evenly on both sides.
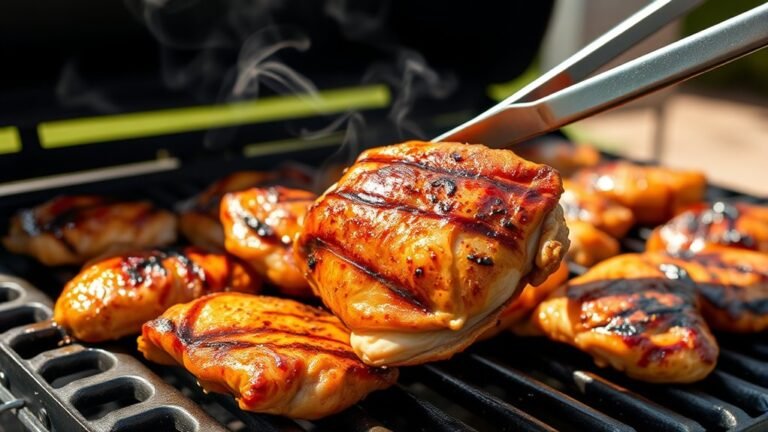
Smoking ribs on a pellet grill is a fantastic way to get that smoky flavor with minimal fuss. These grills maintain a steady temperature, so your ribs cook low and slow for the perfect tenderness.
Smoke the ribs low and slow for 4-7 hours, keeping the lid closed to trap heat and smoke.
Test tenderness by bending the ribs and brushing sauce during the last 30 minutes.
Let them rest briefly before slicing.
Follow these steps, and you’ll soon uncover extra tips for perfect ribs every time.
Key Takeaways
- Preheat your pellet grill to 225°F. Don’t forget to fill the hopper with your favorite wood pellets—hickory or apple work great for that smoky flavor.
- Next, remove the silver membrane from your ribs. Then, apply a nice, even dry rub made of brown sugar, paprika, and your preferred spices on both sides.
- Now it’s time to smoke those ribs low and slow at 225°F. This usually takes about 4-7 hours. Keep the grill lid closed to lock in the heat and smoke.
- To check if they’re done, try the bend test, or see if a toothpick slides in easily. You can also look for the bone starting to show. When you’re about 30 minutes out, brush on some BBQ sauce.
- After smoking, let your ribs rest for 10 minutes. Then slice between the bones and serve them up right away with your favorite sides or extra sauce. Enjoy!
Selecting the Right Ribs and Ingredients
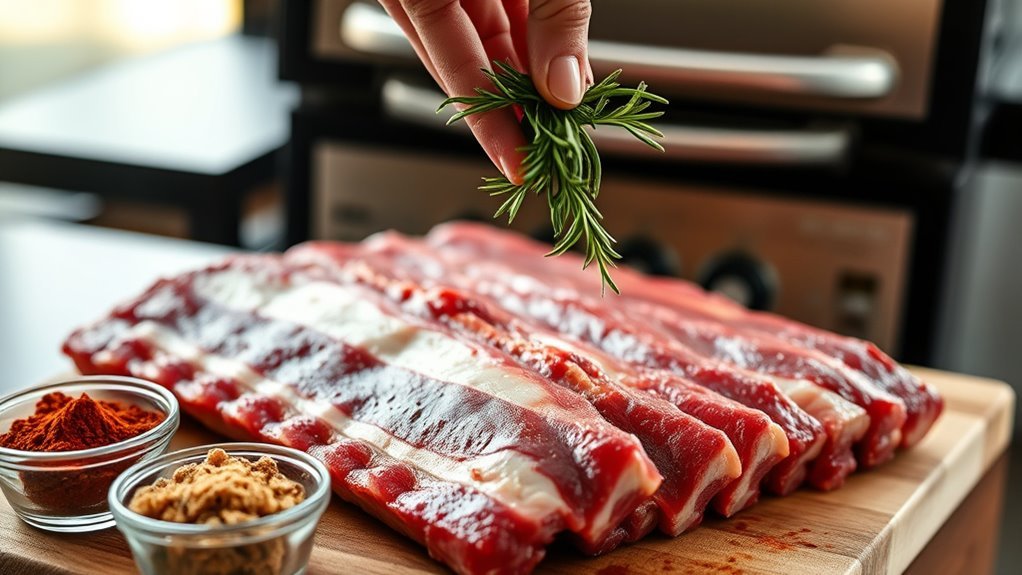
When selecting ribs for your pellet grill, consider baby back, spare, or St. Louis style ribs. Each offers different fat content and cooking time.
Baby back ribs are leaner and cook faster, making them a popular choice. Before seasoning, remove the silver membrane from the bone side. This helps the dry rub penetrate better and improves the texture.
Baby back ribs cook quickly and taste best when you remove the silver membrane for better seasoning.
Create a dry rub using brown sugar, paprika, garlic powder, chili powder, onion powder, and kosher salt. This blend builds flavor and creates a delicious bark on the ribs.
Choose wood pellets like hickory, apple, cherry, or pecan to infuse a smoky aroma that really enhances your ribs. And hey, if you like, brush on barbecue sauce during the last 30 minutes. It adds a nice caramelized sweetness and depth to your smoked ribs.
Preparing Your Pellet Grill and Ribs
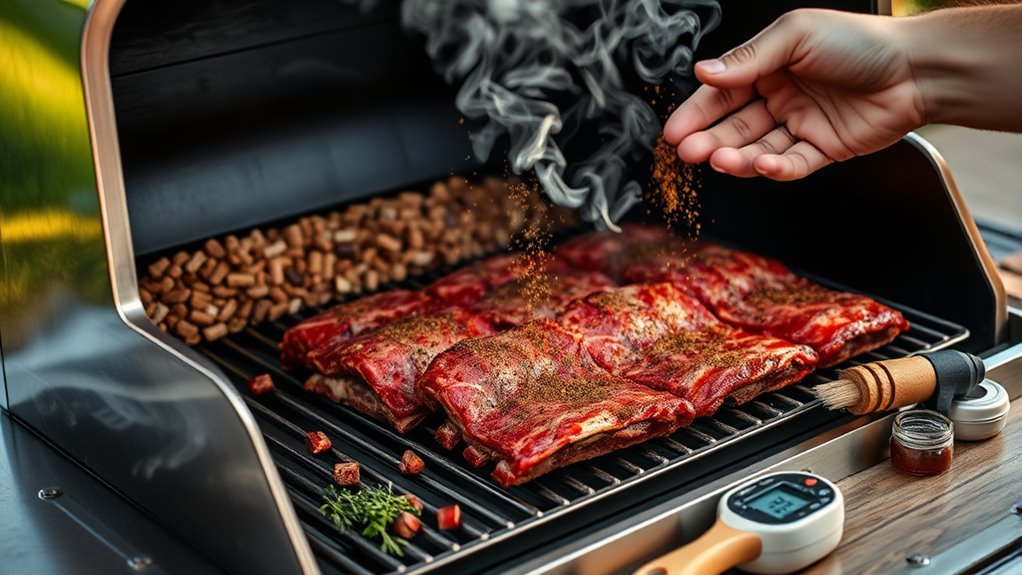
Getting your pellet grill and ribs ready sets the stage for a perfect smoke. Start by preheating your pellet grill to 225°F, filling the hopper with quality wood pellets like hickory or apple.
Meanwhile, prep your ribs by removing the silver skin from the bone side with a spoon and paper towel for better smoke penetration. Next, apply an even layer of dry rub on both sides to enhance flavor.
Follow these steps to prep efficiently:
- Preheat the pellet grill to 225°F and fill the hopper with your chosen pellets.
- Remove the membrane from ribs to ensure tenderness.
- Coat ribs evenly with a dry rub for rich, smoky taste.
With your grill and ribs prepped, you’re ready to move on to smoking.
Smoking the Ribs Low and Slow
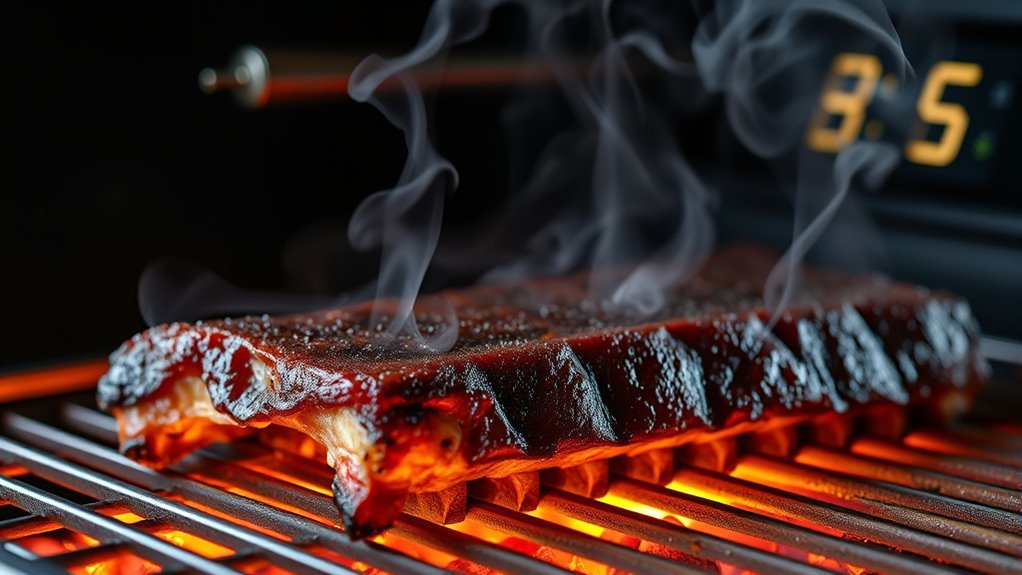
Although smoking ribs demands patience, maintaining a steady 225°F on your pellet grill guarantees they become tender and flavorful. This low-and-slow cooking method allows the connective tissues to break down gently, requiring a cook time of about 4-7 hours depending on the ribs you choose.
To smoke ribs right, use a pellet smoker loaded with wood pellets like hickory, apple, or cherry for a subtle smoky aroma. Keep the lid closed as much as possible to preserve heat and smoke, only opening it briefly when necessary.
This approach infuses the ribs with deep flavor without drying them out. Remember, don’t rush—trust visual cues over time alone, and hold off on applying BBQ sauce until later for the best results.
Checking for Doneness and Adding Sauce
Once your ribs have smoked low and slow for several hours, it’s time to check if they’re done. Use these three simple steps:
- Perform the bend test by lifting the ribs about one-third down with tongs. They should bend easily and crack the bark slightly.
- Look for ¼ to ½ inch of exposed bone at the ends—this signals they’re nearly perfect.
- Insert a toothpick between the bones; it should slide in with little resistance, proving tenderness.
While the internal temperature should hit 195°F to 205°F, rely more on these tactile checks. When done, your ribs will be juicy, tender, and have a cracking bark.
Trust the feel over the thermometer for juicy, tender ribs with a perfect bark.
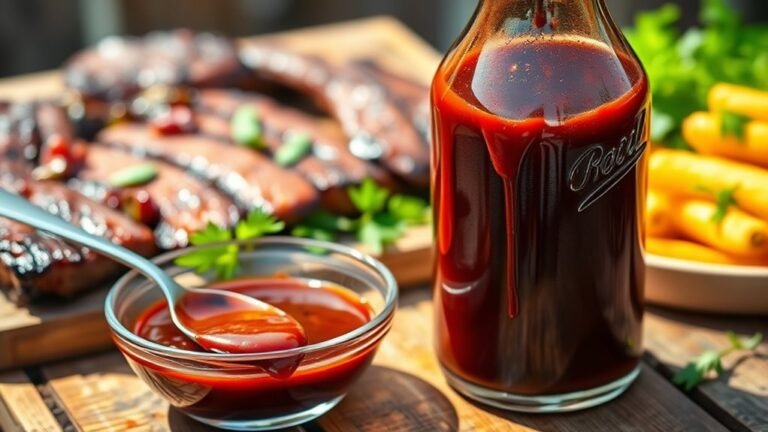
Now, brush on your favorite sauce during the last 30 minutes for a flavorful finish.
Serving and Enjoying Perfectly Smoked Ribs
To enjoy perfectly smoked ribs at their best, serve ribs immediately after cooking to lock in their tender texture and rich smoky aroma. Before slicing, rest the ribs for at least 10 minutes to preserve moisture, ensuring juicy, tender bites.
When ready, slice ribs between the bones or serve them whole, making it easy for guests to enjoy. Look for a beautiful crust on the outside—this flavorful bark signals perfectly cooked ribs.
Enhance presentation and taste by adding your favorite BBQ sauce or sides like coleslaw and baked beans. By following these simple steps, you’ll savor ribs that are juicy, tender, and bursting with smoky flavor every time you fire up your pellet grill.
Conclusion
Now that you’ve mastered these five easy steps, smoking ribs on your pellet grill will be as simple as breathing—and the flavor? Out of this world!
Just remember, patience is your best friend when smoking low and slow. With the right prep and a little love, you’ll impress everyone at your next cookout.
So fire up that pellet grill, follow these tips, and get ready to enjoy ribs that could make angels jealous! Smoking ribs on a pellet grill combines ease with incredible taste, making it a go-to method for backyard chefs everywhere.
Keep these steps handy, and you’ll be serving up tender, juicy ribs that everyone will rave about. Happy grilling!