How to Use a Propane Grill in 10 Easy Steps
Start by inspecting your propane tank for any damage and securely attach it to the grill. It’s important to make sure everything is tight and safe before you begin.
Place the grill on a flat, open outdoor surface, away from any structures. This helps keep things safe and ensures good ventilation.
Next, open the propane valve slowly with the grill lid open. Then, ignite the burners using the ignition button or a lighter.
Preheating the grill to your desired temperature is key—adjust the burners depending on whether you want to sear or cook slowly.
If you experience flare-ups, manage them by lowering the heat or moving the food to a cooler part of the grill.
When you’re done cooking, turn off all the burners and close the propane tank valve.
Following these basics will set you up for safe, successful grilling.
And remember, there’s plenty more to master beyond these simple steps!
Key Takeaways
- Inspect and securely connect the propane tank, making sure all valves are closed before setup. Don’t forget to remove the safety cap from the tank valve.
- Position the grill on a flat, stable surface outdoors. It should be at least 10 feet away from any structures, with good airflow and no debris nearby.
- Open the tank valve slowly. Ignite the burners with the lid open, then preheat the grill for 10-15 minutes to reach the desired temperature.
- Manage the heat by adjusting burner settings for searing, medium, or low heat. If flare-ups happen, just lower the heat and move your food away from the flames.
- After you’re done cooking, turn off all the burners and close the propane tank valve tightly. Let the grill cool down, and remember to check for leaks or damage regularly.
Inspect and Prepare Your Propane Tank
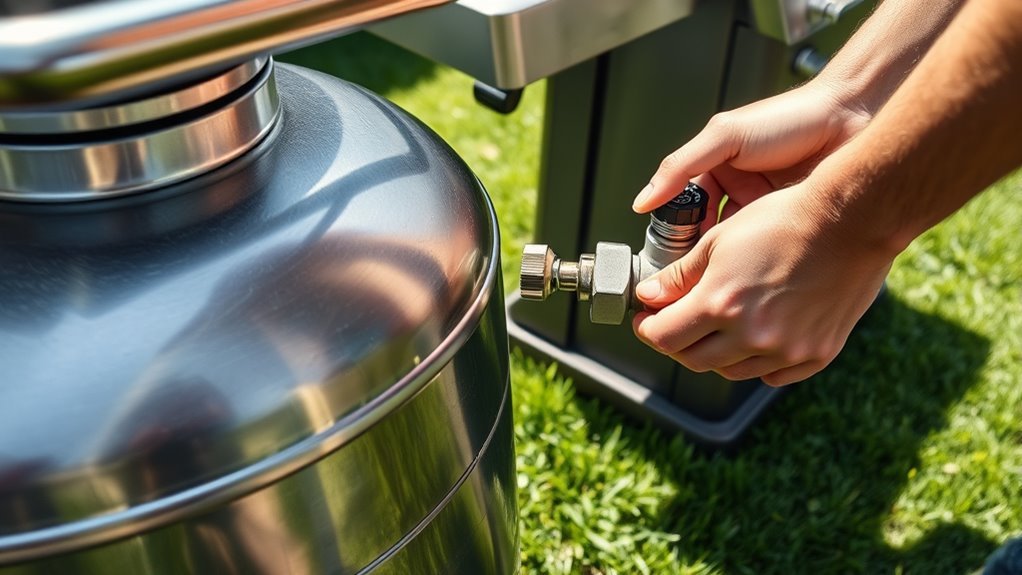
Before you connect your propane tank, inspect it carefully for dents, rust, or any damage. Replace it if it’s over 10 to 12 years old or shows signs of wear.
Check your propane tank for dents, rust, or damage, and replace if older than 10 to 12 years.
Store your propane tank upright in a well-ventilated outdoor area, away from flammable materials. Before you begin, make sure all burner valves and the main valve on the propane tank are fully closed to prevent leaks.
Just before connecting the regulator, remove the plastic safety cap from the tank’s valve outlet. When you’re ready to set up, place the tank securely in a stable holder with the valve facing the regulator hose.
Screw the regulator onto the valve clockwise until it’s hand-tight. This helps ensure a proper and safe connection for your grill.
Attach the Propane Tank to the Grill
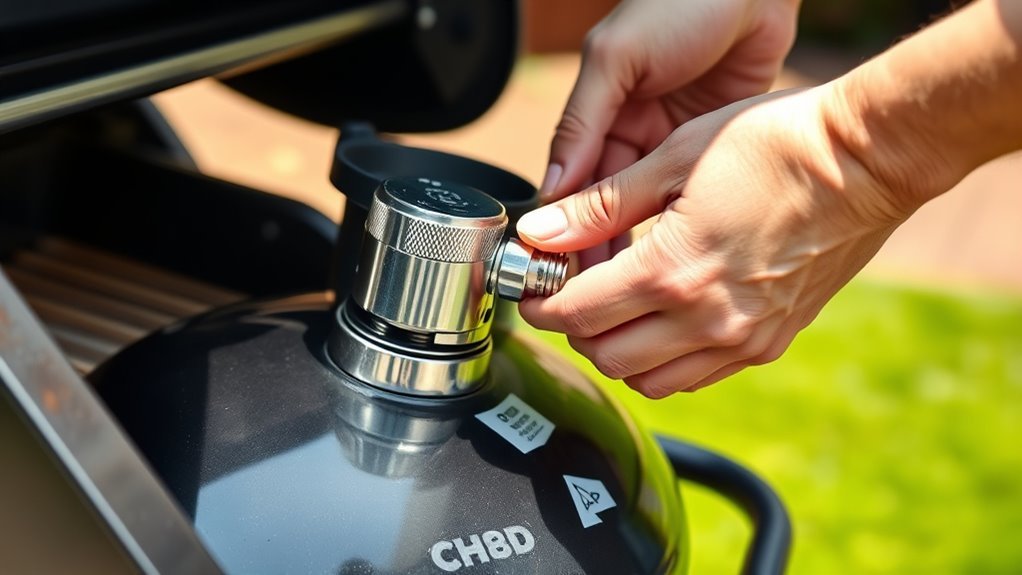
When you’re ready to attach the propane tank, make sure it stands upright and fits securely in the grill’s tank holder. Remove the plastic safety cap from the tank valve outlet, keeping the valve closed.
If you’re replacing a tank, turn the regulator coupling counter-clockwise to unscrew it first. Align the coupling with the valve nozzle and screw it clockwise until hand-tight. Then, slowly open the tank valve by turning it counter-clockwise a few turns, listening for gas flow before igniting your gas grill.
| Step | Action |
|---|---|
| 1 | Position tank upright |
| 2 | Remove safety cap |
| 3 | Unscrew old coupling (if any) |
| 4 | Attach coupling clockwise |
| 5 | Open valve slowly |
This ensures a safe, secure connection to your propane grill.
Position the Grill Safely Outdoors
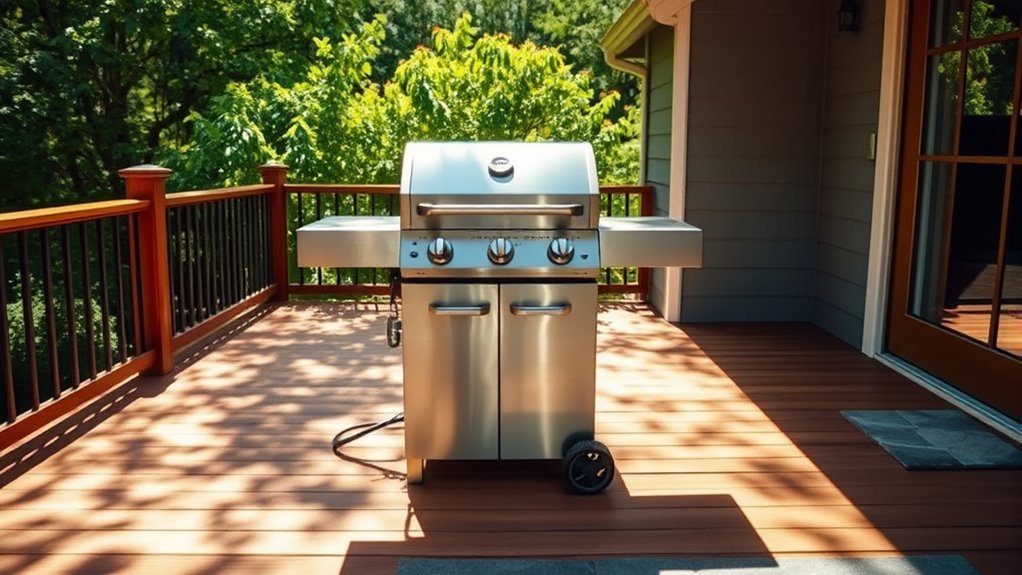
Set your propane grill on a flat, level surface to keep it stable and safe while cooking. This helps prevent any accidental tipping or wobbling.
Make sure you position it in a well-ventilated area to avoid gas buildup. Good airflow is key when grilling outdoors.
Keeping these points in mind will help you grill safely and efficiently. It’s all about being cautious and prepared!
Choose Level Surface
Although choosing the right spot may seem simple, placing your propane grill on a flat, stable surface outdoors is crucial to prevent tipping and guarantee safe cooking. A level surface ensures your grill won’t wobble or shift, letting you focus on getting that perfect quick sear without worrying about safety.
Before you start, clear the area of leaves or combustible debris to keep your grill clean and avoid fire hazards. When your grill is steady, you can heat it evenly like a hot oven, making it easier to maintain consistent temperatures across the grill grates.
This stability helps you cook more confidently and efficiently, preserving your food’s flavor and texture while keeping your outdoor cooking experience safe and enjoyable. It really makes a difference, trust me!
Ensure Proper Ventilation
Because propane grills release gas that can accumulate dangerously, you should always position yours outdoors in a well-ventilated area. Proper ventilation is vital to prevent gas buildup and guarantee your safety.
When setting up your grill, remember to place it on a flat, stable surface away from overhanging branches and flammable materials. Also, keep it at least 10 feet away from your home, garage, or any enclosed spaces.
Make sure there’s unobstructed airflow around the grill for continuous ventilation. And never operate your propane grill indoors or in poorly ventilated areas. Safety first!
Open the Propane Valve Fully
Start by turning the propane valve counterclockwise slowly until it stops to guarantee it’s fully open.
Listen for a steady hissing sound that confirms the gas is flowing properly. Opening the valve fully before lighting the grill is essential for safe and efficient operation.
Turn Valve Counterclockwise
When you turn the propane valve counterclockwise, you open the gas flow from the tank to the grill. This ensures a steady supply of propane for safe ignition and cooking.
This step is really important for a successful grilling experience. Just remember to open the valve slowly to avoid any sudden gas release or leaks.
Turn the valve counterclockwise until it stops—that way, you know it’s fully open. But before you do, always double-check that the regulator and hose connections are secure.
- Feel confident knowing the gas flow is steady
- Enjoy the anticipation of lighting your grill
- Experience the safety of a properly opened valve
- Relish the start of your cooking adventure with ease
Ensure Steady Gas Flow
To guarantee steady gas flow, you’ll want to open the propane tank valve fully by turning it counterclockwise at least three to four turns. This ensures maximum gas release without restrictions.
Before opening the valve, inspect the regulator and hose connections carefully for any signs of leaks or damage. Open the valve slowly to avoid sudden gas surges, which can cause flare-ups or leaks.
Once the valve is open, listen for a steady hissing sound from the regulator, confirming consistent pressure. This steady flow is vital for safe and effective grilling.
If you don’t hear a steady hiss or notice any irregularities, shut off the valve immediately and check your connections before proceeding. Better safe than sorry, right?
Keep the Grill Lid Open Before Ignition
Although it might seem simple, keeping the grill lid open before you turn on the gas is vital for safety. When you keep the grill lid open, it prevents dangerous gas buildup, allowing any trapped gas to escape.
This reduces the risk of sudden flare-ups or explosions, protecting you and your surroundings. Remember, never ignite the grill with the lid closed—trapped gas can cause hazardous flare-ups.
To keep your grilling safe and enjoyable, always:
- Keep the grill lid open to release accumulated gas
- Ensure proper ventilation before ignition
- Prevent flare-ups and explosions
- Take this essential safety step every time
Light the Grill Using Automatic Ignition or Manual Method
Before you ignite the grill, make sure the propane tank valve is fully open by turning it counterclockwise. Keep the lid open to let any gas escape safely.
Start by turning on the burner’s gas flow, then press the built-in ignition button immediately. This automatic ignition should light the burner quickly and safely.
Turn on the burner’s gas flow, then press the ignition button for a quick, safe light-up.
If the automatic ignition doesn’t work, don’t worry—you can use the manual method. Locate the side hole designed for manual ignition, and carefully insert a long lighter or match to light the gas.
Always watch the flames closely; they should be steady and blue. Once you see the proper flame, you can safely close the lid and proceed to adjust the heat as needed.
Proper ignition ensures safe and efficient grilling every time.
Preheat the Grill to the Desired Temperature
Once your grill is lit and the flames are steady, the next step is to preheat it to the right temperature. Preheating guarantees even cooking and perfect sear marks on your food.
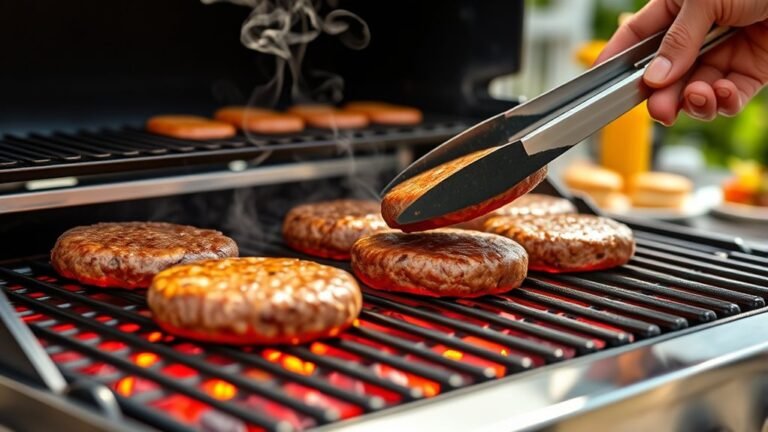
Start by turning all burners to high and closing the lid to trap the heat. Allow about 10–15 minutes for the grill to reach around 500°F. Use a grill thermometer to keep an eye on the temperature.
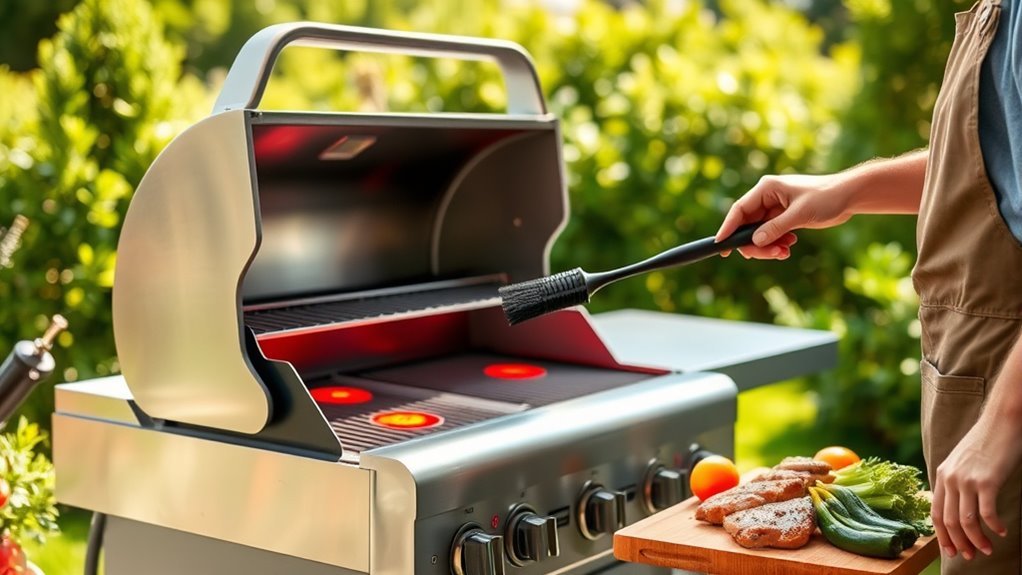
While preheating, clean the grates with a brush to remove any leftover residue.
Feel the excitement as the grill warms up. Anticipate the sizzle of food hitting hot grates and enjoy the aroma that builds during preheat.
Look forward to perfectly cooked meals every time. Preheat with patience and precision for the best grilling results.
Adjust Burner Settings for Your Cooking Needs
You’ll want to adjust your burner settings based on what you’re cooking and how you want it done.
Use high heat for searing, medium for most grilling, and low for slow cooking or warming.
Creating direct and indirect heat zones helps manage flare-ups and gives you more control over your food.
It’s all about finding the right balance to get the best results every time.
Selecting Heat Levels
Adjusting your propane grill’s burner settings lets you control the heat level to match your cooking needs perfectly. Once you set up the grill, selecting the right heat level guarantees your food cooks just right every time.
Crank up high heat (around 500°F) to sear steaks and lock in flavor quickly. It’s great for that perfect crust you’re aiming for.
Use medium heat (350–400°F) for juicy burgers and tender chicken. This range helps your food cook evenly without drying out.
Dial down to low heat (below 300°F) for delicate items or slow roasting. Think veggies or those slow-cooked ribs that need gentle heat.
Feel confident knowing you can tailor the temperature to your dish with ease. It’s all about cooking smarter, not harder!
Direct Vs Indirect
Controlling heat levels on your propane grill sets the stage for mastering direct and indirect cooking methods. Use high heat for direct cooking when searing steaks or grilling burgers, placing food right over the flames for a quick, flavorful crust.
For more delicate items or warming, lower burners to low to avoid burning. Indirect heat is perfect when you want slower, even cooking without charring.
To set this up, turn on one or more burners on high and place your food away from the flames, creating distinct hot and cool zones. This approach lets you grill multiple items at different temperatures simultaneously, giving you precise control over your cooking.
Adjust burner settings as needed to match your recipe’s demands. Easy, right? Just play around with the heat and zones until you find what works best for your meal.
Managing Flare-Ups
While grilling, flare-ups can quickly turn a perfect cook into a burnt disaster if you don’t manage them properly. To keep flare-ups under control, adjust your burner settings and cooking techniques as needed.
Start by lowering the heat to medium or low when flames flare up unexpectedly. You can also move food away from direct flames to avoid burning.
Here’s how to handle flare-ups effectively:
- Trim excess fat to reduce dripping that fuels flare-ups.
- Avoid oily marinades that can ignite suddenly.
- Close the grill lid to smother flames by cutting off oxygen.
- Use indirect heat zones for fattier or larger cuts to prevent flare-ups.
Manage Flare-Ups and Cooking Zones During Grilling
Because flare-ups can quickly ruin your food, you need to manage your cooking zones carefully. Use high heat for searing and set medium heat (350–400°F) for most cooking by adjusting burners to create direct and indirect heat zones.
Place larger cuts or slow-cooking items away from flames to avoid flare-ups. When flare-ups occur, move food to a cooler zone, trim excess fat before grilling, and close the lid to suffocate flames.
Keep a spray bottle of water handy to quickly douse small flare-ups without interrupting cooking. Lift the lid periodically to monitor flare-ups and adjust heat zones as needed, ensuring even cooking and preventing burnt spots.
Managing cooking zones effectively helps control flare-ups and delivers better grilled results every time.
Turn Off the Grill and Secure the Propane Tank
After you’ve finished grilling, turn off all burner knobs to stop the gas flow. Then close the main propane tank valve by turning it clockwise until it’s tightly sealed. This step is super important because it guarantees safety and prevents leaks.
Next, wait for the grill to cool completely before covering or storing it. Don’t rush this part—handling a hot grill can cause burns or even fire hazards.
Finally, make sure the propane tank is upright and securely connected when not in use. It’s also a good idea to regularly inspect the tank and hoses for leaks or damage. This will help keep your grilling safe and worry-free.
Remember to:
- Turn off burners and tank valve promptly
- Let the grill cool before covering
- Store the propane tank upright
- Inspect equipment regularly for safety
Conclusion
Now that you’ve navigated the necessary steps, you’re set to savor sizzling, smoky satisfaction. Always assess and attend to your apparatus attentively, ensuring safety and success.
By balancing burner settings and battling flare-ups boldly, you’ll bring bold, beautiful barbecue to your backyard. Remember, regular routines like turning things off and tightly securing tanks truly tame trouble.
With these tips on how to use a propane grill, you’ll transform grilling into a gratifying, gourmet game every time you gather. Keep safety top of mind, maintain your grill well, and enjoy delicious meals outdoors with confidence.