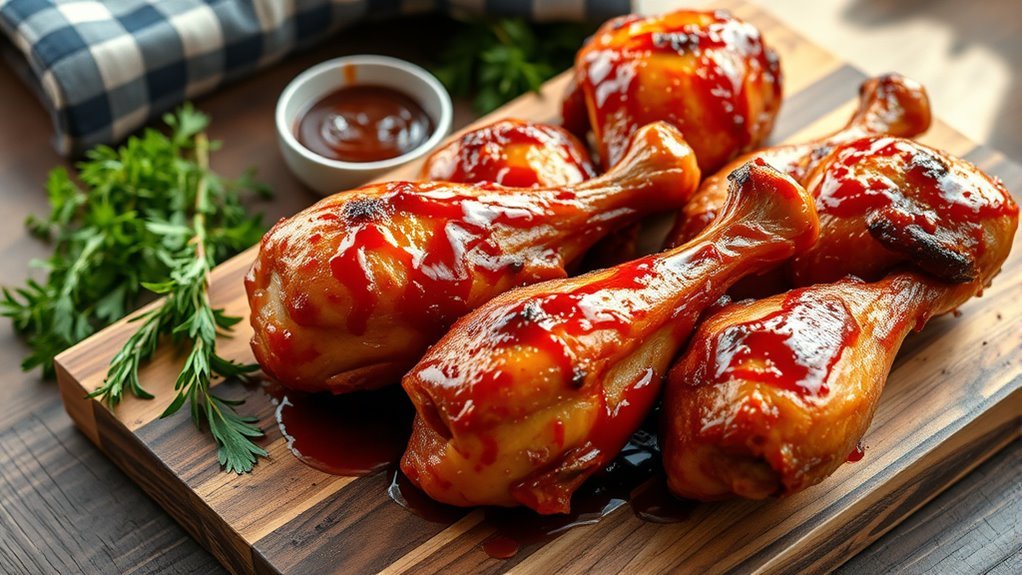
10 Easy Steps to Cook BBQ Chicken Legs in the Oven
Start by patting your chicken legs dry and seasoning them well with a flavorful dry rub. This simple step is key to infusing your BBQ chicken legs with delicious flavor.
Let them marinate in the fridge for at least 30 minutes to really soak in those spices.
Preheat your oven to 400°F and arrange the drumsticks skin side up on a lined baking sheet. Baking them covered for 30 minutes helps keep the meat juicy and tender.
After that, uncover, brush on BBQ sauce, and finish with a quick broil for a sticky, crispy glaze that everyone will love.
Keep going to reveal more tips for perfect flavor and texture. Trust me, these easy steps will make your oven-baked BBQ chicken legs a hit every time!
Key Takeaways
– Pat chicken legs dry, apply a seasoned dry rub, and refrigerate uncovered for at least 30 minutes for deeper flavor.
This step really helps the seasoning soak in, making your chicken tastier.
– Preheat oven to 400°F, arrange chicken skin-side up on a foil-lined baking sheet with space between pieces.
Give them some room so they cook evenly and the skin crisps up nicely.
– Cover chicken with foil for the first 30 minutes of baking to retain moisture, then uncover to crisp the skin.
This way, the chicken stays juicy but you still get that delicious crispy skin.
– Brush chicken with BBQ sauce after uncovering, bake 7-8 minutes, then broil 3-4 minutes with extra sauce for caramelization.
The sauce caramelizes beautifully under the broiler, adding loads of flavor.
– Flip chicken halfway through broiling, reapply sauce for an even, sticky, and crispy BBQ glaze finish.
Make sure to coat both sides so every bite is packed with that yummy glaze.
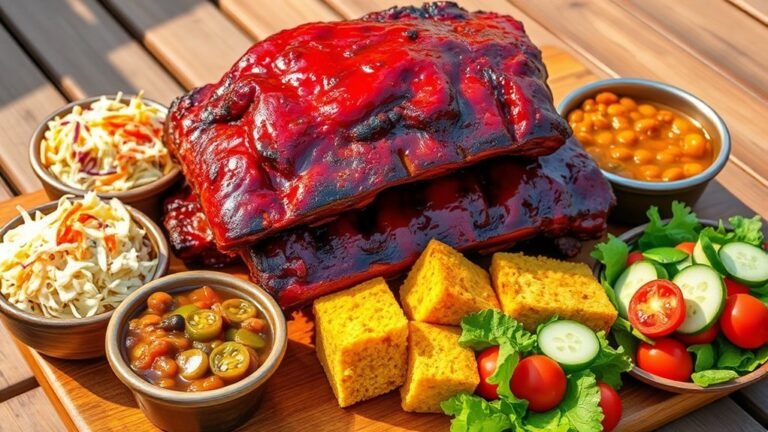
Gather Your Ingredients
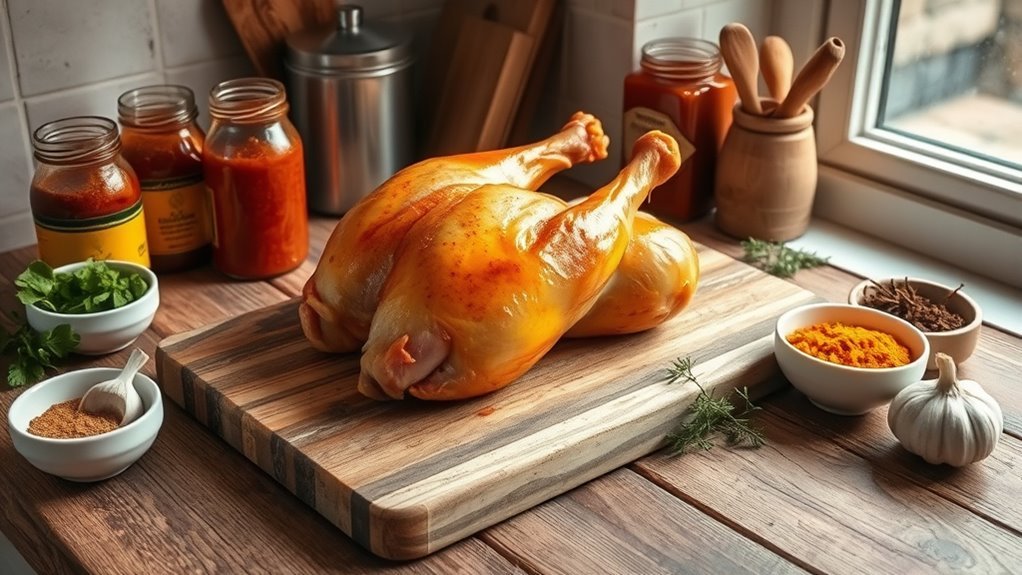
Start by gathering 12 bone-in chicken drumsticks, totaling about 4 pounds. You’ll want to have salt, black pepper, garlic powder, and smoked paprika ready to create a flavorful rub for your chicken.
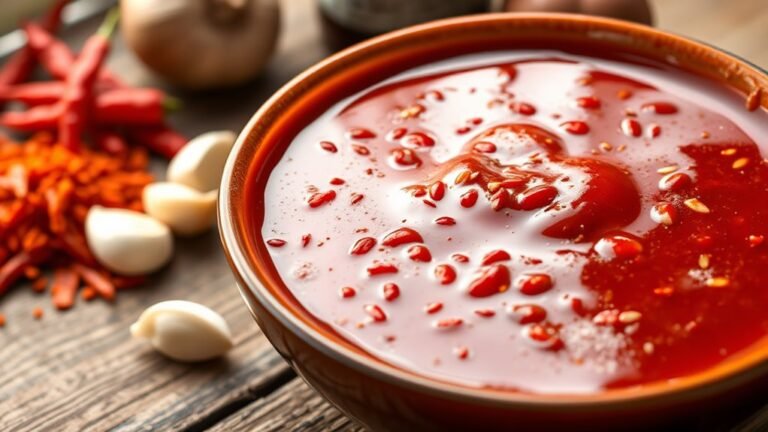
Don’t forget your favorite BBQ sauce—it’s key to that rich, tangy finish. Prepare a baking sheet lined with foil or parchment paper to make cleanup after cooking in the oven easier.
If you like, collect additional seasonings or marinades for extra flavor. Having everything measured and set aside before you start will save time and keep your cooking process smooth.
With all your ingredients in place, you’re ready to move on to preparing the chicken legs for that perfect oven-baked BBQ dish.
Prepare the Chicken Legs

Before seasoning, pat the chicken legs dry with paper towels to remove excess moisture. This helps the spice rub stick better.
Focus on each drumstick, making sure they’re dry all over. Once dry, apply your seasoning evenly across the drumsticks.
Ensure each drumstick is thoroughly dry before evenly applying your seasoning for the best flavor.
Make sure to cover every side with the spice rub for maximum flavor. To let the seasoning really sink in, place the chicken legs uncovered in the refrigerator.
Leave them there for at least 30 minutes or up to 24 hours. When you’re ready to cook, give the drumsticks a quick pat down again.
This removes any moisture that may have accumulated. Trust me, this step guarantees your oven baked chicken legs develop a crispy, flavorful crust.
That’s because the spice rub adheres perfectly during cooking.
Make the Dry Rub
When you combine salt, black pepper, garlic powder, onion powder, smoked paprika, and a touch of cayenne pepper, you create a flavorful dry rub that brings your chicken legs to life. This spice mixture is key to achieving a deep flavor infusion.
Use about 2-3 tablespoons of this seasoning per pound of chicken to ensure every bite is perfectly seasoned. Before mixing the dry rub, pat your chicken legs dry with paper towels; this helps the rub stick better and promotes crispiness during cooking.
Once your dry rub is ready, it’s time to apply it generously all over the chicken. Make sure to get between the skin and meat for maximum flavor infusion. This simple spice mixture sets the foundation for delicious oven-baked BBQ chicken legs.
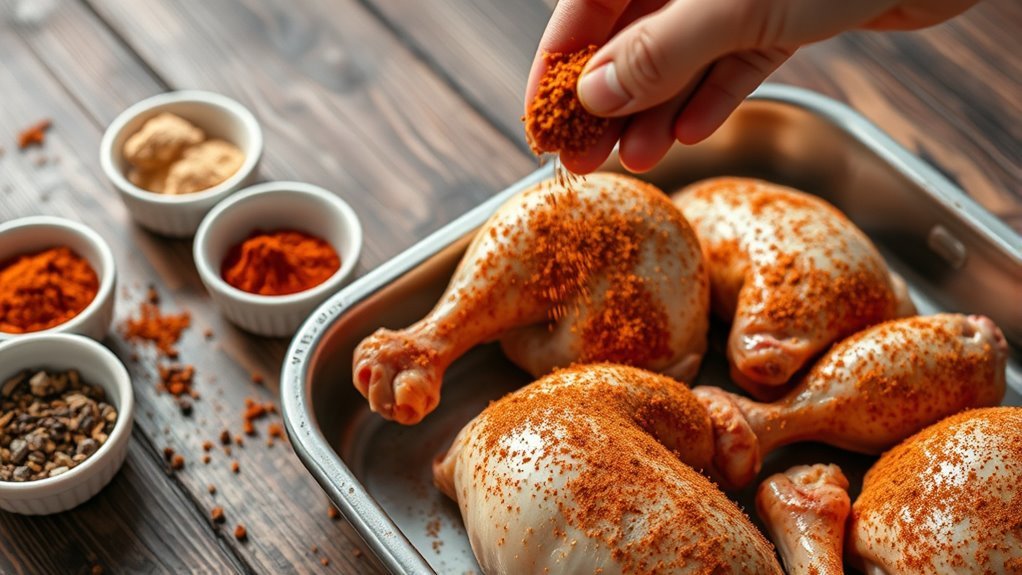
Apply the Seasoning
You’ll want to start by picking the right spices to create a flavorful blend. Make sure to coat each chicken leg evenly, rubbing the seasoning into every nook and cranny.
Then, let the chicken rest in the fridge to really lock in those flavors before cooking. Trust me, this step makes a big difference!
Choosing the Right Spices
Although selecting the right spices can seem simple, choosing a blend that includes paprika, garlic powder, onion powder, salt, and pepper will create a rich, flavorful base for your BBQ chicken legs. Start with a spice rub featuring paprika for vibrant color and mild sweetness.
Adding smoked paprika enhances the smoky aroma, giving your chicken an authentic BBQ taste. Here are some seasoning tips to keep in mind:
- Use garlic and onion powder for depth and savory notes
- Adjust salt and pepper levels to balance flavor
- Incorporate smoked paprika to boost smokiness
This seasoning blend ensures your chicken legs have a well-rounded flavor. Remember, you can tweak the spice rub intensity to suit your taste before moving on to the next step.
Evenly Coating the Chicken
Start by patting the chicken legs dry with paper towels to help the seasoning stick better. Next, generously sprinkle your chosen seasoning evenly over all sides of the chicken legs.
Don’t just stop at the surface—rub the seasoning into the meat using your hands or a spatula. Make sure you get beneath the skin if possible. Pay close attention to the crevices between the drumsticks to ensure full coverage.
This thorough rubbing and coating guarantee consistent flavor throughout each piece. Taking the time to evenly coat the chicken with your spice rub not only enhances taste but also helps the seasoning adhere during cooking.
The end result? Deliciously seasoned BBQ chicken legs every time.
Marinating Time Importance
When you apply the seasoning and let the chicken legs marinate, the flavors have time to deeply penetrate the meat, boosting both taste and tenderness. Marinating in the refrigerator for at least 30 minutes is good, but letting it rest for 4 hours or overnight makes the flavor richer and the meat more tender.
Before cooking, take the chicken out about an hour early to help it cook evenly and keep its juiciness. Keep these tips in mind for perfect results:
- Marinate in the refrigerator to develop a deeper, more complex flavor profile
- Longer marinating enhances moisture retention and tenderness
- Remove from the refrigerator before cooking for even heat distribution
This simple step transforms your chicken legs into mouthwatering, tender BBQ delights.
Marinate the Chicken
Before marinating, make sure you pat the chicken legs dry. This helps the flavors stick better.
Choose your favorite spices like garlic powder, paprika, and pepper to create a marinade that suits your taste. Let the chicken sit in the fridge for at least 30 minutes. Or, if you can, leave it up to 24 hours for a richer flavor.
Marinating Time Tips
Although marinating chicken legs for just 30 minutes can boost their flavor and tenderness, letting them soak in the refrigerator for 4 to 24 hours will give you the best results. Marinating longer enhances flavor absorption and improves tenderness, especially if you marinate overnight.
Just be sure not to exceed 24 hours to avoid texture changes.
To get the most out of your marinating time: cover the chicken completely with marinade to ensure every bite is flavorful. Also, refrigerate the chicken to safely develop rich tastes and maintain freshness.
And here’s a handy tip: remove the chicken about an hour before cooking to let it reach room temperature for even baking.
Follow these tips, and you’re guaranteed juicy, tender BBQ chicken legs with deep, mouthwatering flavor.
Flavoring Ingredients Choices
To boost the flavor and moisture of your chicken legs, marinate them with a blend of salt, pepper, garlic powder, onion powder, and smoked paprika. These spices create a perfect balance of sweet and smoky notes that complement BBQ sauce beautifully.
Before applying the marinade, pat the chicken dry so the spices adhere well and the skin crisps during baking. For the best results, let the dry rub sit on the chicken for at least four hours, or even overnight in the refrigerator, covered with foil or plastic wrap.
This allows the garlic, onion, and paprika flavors to deeply penetrate the meat, giving each bite a rich, savory taste that enhances your oven-cooked BBQ chicken legs perfectly.
Preheat the Oven
Set your oven to 400°F (200°C) and position the rack about 6 inches from the heat source to guarantee even cooking. Preheating the oven is essential to reach the right temperature and ensure your chicken legs roast perfectly.
When you preheat, the heat spreads evenly, cutting down cooking time and helping the chicken cook through thoroughly.
Before you start preheating, remember to line your baking sheet with foil or parchment paper for easy cleanup. Also, allow the oven to fully preheat for at least 10-15 minutes.
Don’t forget to check that the rack is correctly positioned for balanced heat exposure.
Taking these steps sets you up for even cooking and a delicious, perfectly roasted BBQ chicken leg. Easy, right?
Arrange Chicken on Baking Sheet
Once your baking sheet is lined with foil or parchment paper, arrange the chicken legs in a single layer, making sure there’s space between each piece. This spacing is essential for even cooking, allowing heat to circulate freely around each leg.
Use tongs or a fork to place the seasoned chicken carefully on the baking sheet without overcrowding. Position each chicken leg with the skin side up; this helps achieve that irresistible crispy skin as it bakes.
Avoid overlapping or letting the legs touch because that traps moisture and prevents uniform browning. By arranging chicken properly, you guarantee every piece cooks evenly and develops a golden, crispy exterior that’s perfect for BBQ chicken legs straight from your oven.
Bake Covered for Optimal Juiciness
Although it might seem tempting to bake the chicken legs uncovered for a crispy finish right away, covering them with aluminum foil during the first 30 minutes locks in moisture and keeps the meat juicy.
When you bake the chicken covered in the oven at 400°F, the foil traps steam, creating a moist cooking environment that prevents the legs from drying out.
This step is essential for maximizing juiciness before you finish with a crisp.
Here’s what the aluminum foil does for your baked chicken:
- Holds in steam, locking moisture inside the meat
- Creates a gentle cooking atmosphere to avoid dehydration
- Helps tenderize the meat for a juicy texture
Covering your chicken legs at first guarantees flavorful, tender results every time.
Uncover and Add BBQ Sauce
Once your chicken legs have baked covered, it’s time to uncover and add the barbecue sauce. Use a generous amount and apply it evenly with a brush or spoon to guarantee every bite is flavorful.
Then, return the chicken to the oven so the sauce can set and caramelize perfectly. This step really brings out that smoky, sweet goodness we’re all craving!
Timing for Sauce Application
When the chicken has baked for about 20-25 minutes, you should uncover it and apply the barbecue sauce to prevent the sugars from burning. This timing is vital for a perfect balance of flavor and texture.
After saucing, return the chicken to bake for another 7-8 minutes, allowing the sauce to set. Later, broil the chicken for 3-4 minutes with an extra brush of sauce to caramelize the glaze without charring.
To nail the sauce application timing:
- Uncover and baste halfway through baking for even flavor
- Bake with sauce to let it thicken and stick
- Broil at the end with a final sauce layer for a caramelized finish
Following this timing ensures a sticky, flavorful BBQ chicken with a beautiful glaze.
Amount of BBQ Sauce
How much barbecue sauce should you use to get that perfect sticky glaze? For oven baking chicken drumsticks, you’ll want about ½ cup to 1 cup of bbq sauce total.
Uncover the chicken legs during the last 10-15 minutes, brushing on generous layers of sauce. This step lets the sauce caramelize beautifully, creating that irresistible sticky coating.
Reapply sauce after flipping the drumsticks for full coverage and a glossy finish. Here’s a quick guide for sauce amounts and timing:
| Stage | Action | Sauce Amount |
|---|---|---|
| Initial bake | No sauce | 0 |
| Final 15 mins | Brush 1st layer | ¼ cup |
| After flipping | Brush 2nd layer | ¼ cup |
| Optional | Extra glaze | 2 tbsp |
| Total | ½ – 1 cup total |
Techniques for Even Coating
Although the chicken legs start baking covered, you’ll want to uncover them halfway through to let the barbecue sauce caramelize perfectly. This step is key to developing rich flavor and a sticky glaze.
Use a basting brush to apply barbecue sauce generously, ensuring an even coating on all sides. Just be careful to avoid thick clumps that might burn in the oven by spreading the sauce smoothly.
Remember to flip the chicken legs and reapply sauce midway through the final baking or broiling phase for uniform coverage. Picture these steps:
- Brushing sauce gently but thoroughly over every curve
- Chicken legs turning golden with caramelized edges
- A glossy, sticky finish forming with each reapplication
This technique guarantees your BBQ chicken legs come out flavorful and beautifully coated.
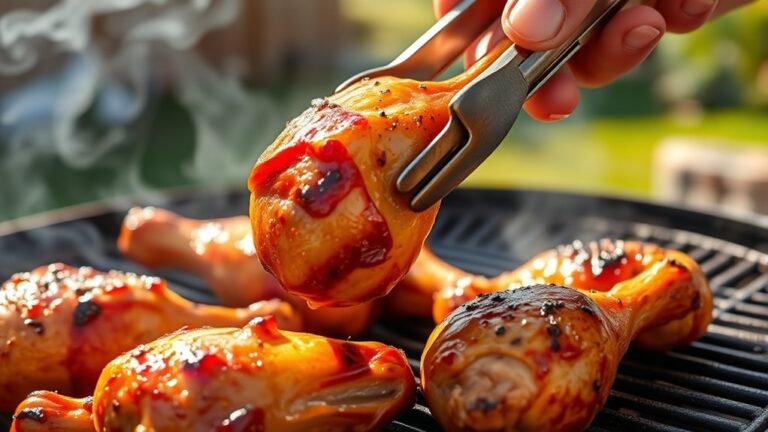
Broil for a Perfect Finish
To achieve a crispy, caramelized exterior on your BBQ chicken legs, broil them in the oven for 3 to 4 minutes after baking. Start by positioning the oven rack about 6 inches from the heat source to guarantee even browning without burning.
Before broiling, brush the drumsticks with extra barbecue sauce to boost flavor and create a sticky, glazed finish. Keep a close eye on the chicken during broiling, as the sugars in the sauce can burn quickly.
Halfway through, flip the legs and reapply sauce to get an evenly glazed, crispy crust on all sides. This final broil step seals in juiciness while giving your chicken legs that perfect, mouthwatering finish everyone will love.
Conclusion
Just like a painter blends colors to create a masterpiece, you’ve combined flavors to craft perfect BBQ chicken legs. Each step, from seasoning to broiling, adds brushstrokes of taste and texture.
Now, as you take that first bite, you’re savoring more than food—you’re enjoying the art of cooking made simple. Remember, every meal you create tells a story.
This one’s a delicious chapter you’ll want to revisit again and again. Cooking BBQ chicken legs in the oven is easy and rewarding. With these 10 easy steps, you’ve mastered a flavorful dish that’s perfect for any occasion. So go ahead, enjoy your BBQ chicken legs and share the joy of homemade goodness!