7 Easy Steps to Season Your Blackstone Grill
To season your Blackstone grill, start by thoroughly cleaning and drying the surface. This step is crucial to remove any dirt or residue that might interfere with the seasoning process.
Next, preheat your grill to 400-500°F to prepare it for oil application.
Choose a high smoke point oil like flaxseed or canola oil, which works best for creating a durable seasoning layer.
Apply a thin, even layer of oil all across the grill surface.
Once coated, heat the grill until the oil starts to smoke. Keep the heat high for about 10-15 minutes so the oil bonds properly to the metal.
This creates that non-stick, rust-resistant layer you want.
For best results, repeat the oiling and heating cycles several times. This builds up a strong, lasting seasoning.
Remember, regularly maintaining your seasoning will keep your Blackstone grill performing great and looking good for years to come.
Key Takeaways
- Thoroughly clean and dry the griddle before seasoning to remove dirt, grease, and moisture.
- Preheat the grill to 400-500°F to open metal pores and burn off impurities.
- Apply a thin, even layer of high smoke point oil like flaxseed or canola over the entire surface.
- Heat the oiled surface until it smokes, maintaining high heat for 10-15 minutes without opening the lid.
- Repeat oiling and heating cycles multiple times to build a durable, non-stick seasoning layer.
Clean and Preheat Your Blackstone Grill
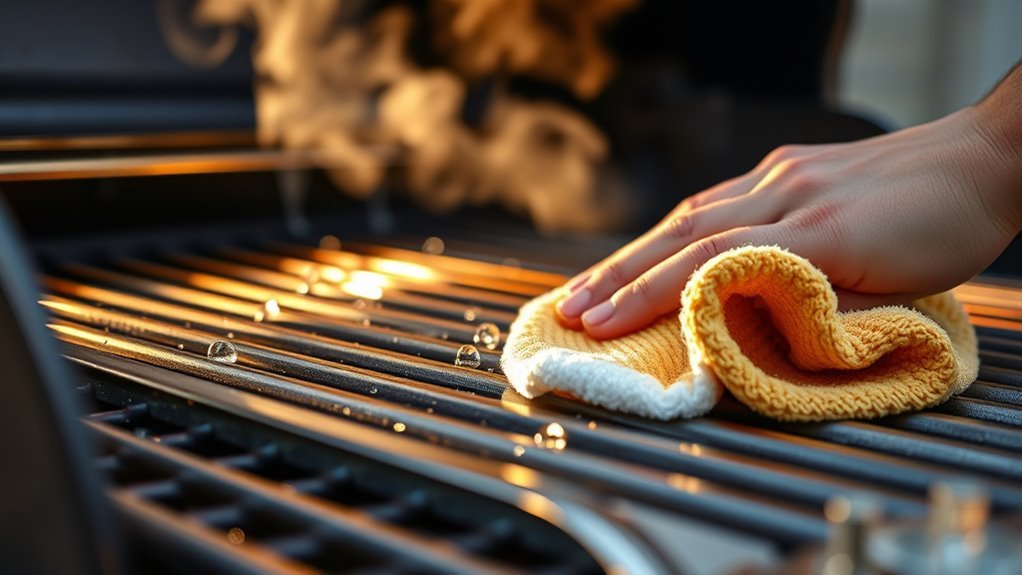
Before seasoning your Blackstone grill, make sure to clean it thoroughly with soap and water to remove any dirt or grease. This step is essential to guarantee no residues interfere with the seasoning process.
Once cleaned, dry the surface completely using a clean towel or cloth to prevent rust from forming. Next, clean and preheat your Blackstone grill by turning it on and setting the temperature between 400-500°F.
Let it run for 10 to 15 minutes; this opens the metal’s pores, making it ready to absorb the seasoning. Preheating also helps burn off any remaining impurities.
Following these steps prepares your grill perfectly, so the seasoning oil bonds well and creates a durable, non-stick surface. Just take your time, and you’ll get that perfect finish!
Choose the Right Seasoning Oil
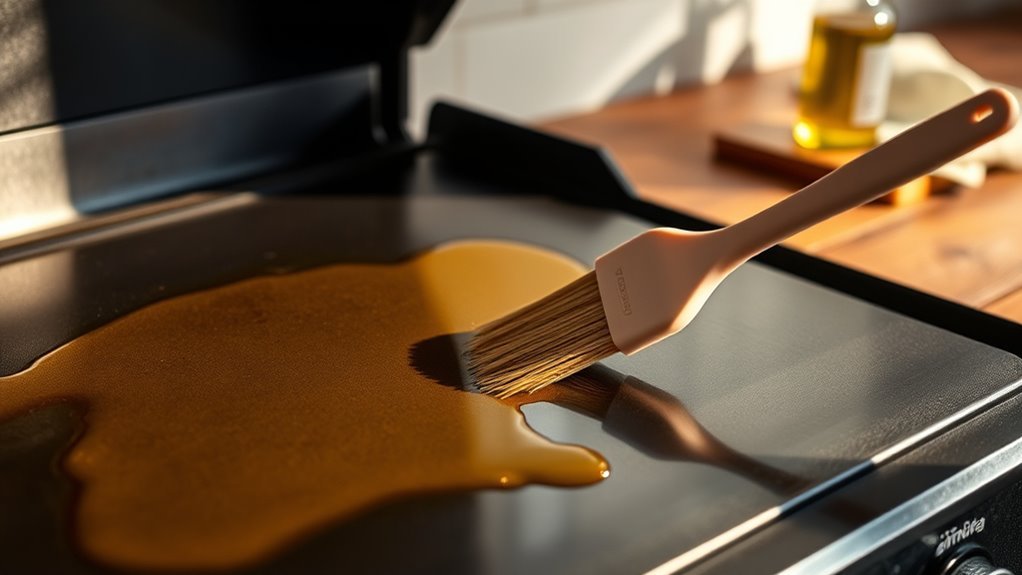
To get the best seasoning on your Blackstone grill, pick oils with a high smoke point like flaxseed, canola, or vegetable oil. These oils handle the heat well, so your seasoning layer comes out just right.
Avoid using animal fats, as they can lead to flaking and a brittle surface over time. Nobody wants their grill coating to chip away, right?
Using quality oil guarantees a smooth, durable non-stick coating that lasts. So, choose wisely and enjoy cooking on a perfectly seasoned grill every time!
Best Oils Selection
When seasoning your Blackstone grill, selecting an oil with a high smoke point like flaxseed, grapeseed, or canola guarantees a strong, durable coating.
To get the best oils for your seasoning, make sure you follow these tips:
- Use oils with high smoke points to prevent burning and create a tough, non-stick surface.
- Avoid olive oil or butter during initial seasoning, as their low smoke points can ruin the coating.
- Apply thin, even coats to ensure proper polymerization without pooling or uneven spots.
- Heat each layer until it smokes for about 15 minutes to bond the oil to the griddle.
Trust me, these steps really help build that perfect seasoning layer!
Avoid Animal Fats
Building on the importance of choosing oils with high smoke points, steer clear of animal fats like bacon grease during your Blackstone grill’s initial seasoning. Animal fats contain nitrates and salt that can cause the seasoning layer to become brittle, leading to chipping and flaking over time.
Instead, opt for a vegetable-based seasoning oil such as flaxseed, canola, or soybean oil. These oils polymerize effectively under heat, forming a smooth, durable, and long-lasting non-stick surface.
Using the right seasoning oil guarantees you apply a thin, even layer that bonds properly to your griddle, preventing future damage. Avoiding animal fats during seasoning sets the foundation for a tough, resilient coating that enhances your grill’s performance and longevity.
Importance of Oil Quality
Although seasoning your Blackstone grill might seem straightforward, choosing the right oil plays a crucial role in creating a durable, non-stick surface. The quality of oil you use directly affects how well your seasoning bonds and lasts.
Here’s what you need to know:
- Use oils with a high-smoke-point like flaxseed, canola, or vegetable oil for effective seasoning.
- Avoid low-smoke-point oils such as olive oil or butter; they burn easily and cause uneven layers.
- Select oils rich in unsaturated fats to build a strong, non-stick coating over time.
- Apply a thin, even coat of oil to prevent pooling and ensure the seasoning adheres properly.
Choosing the right oil maintains your Blackstone grill’s non-stick surface and extends its lifespan. It really makes a difference in keeping your grill performing its best!
Apply a Thin, Even Layer of Oil
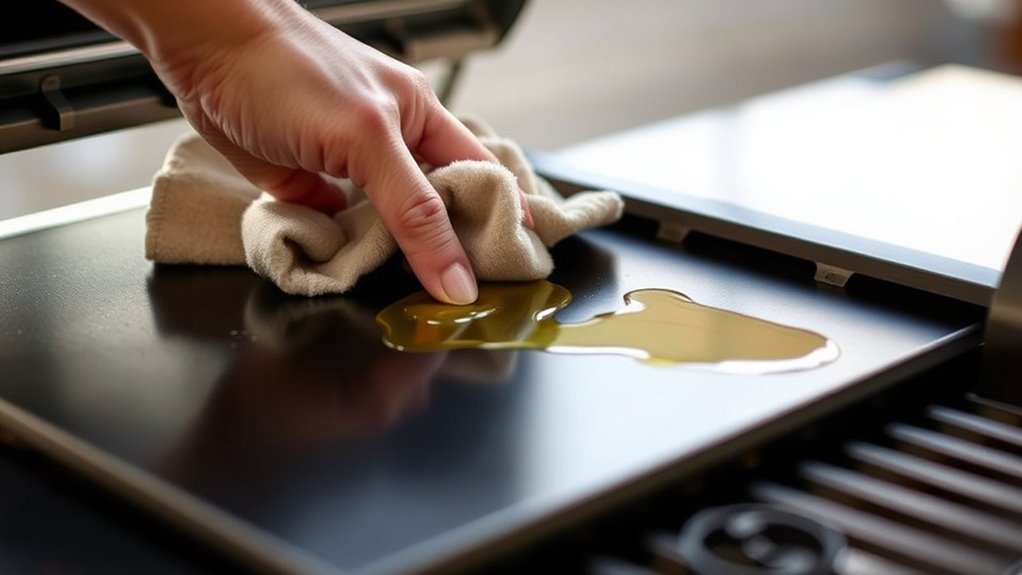
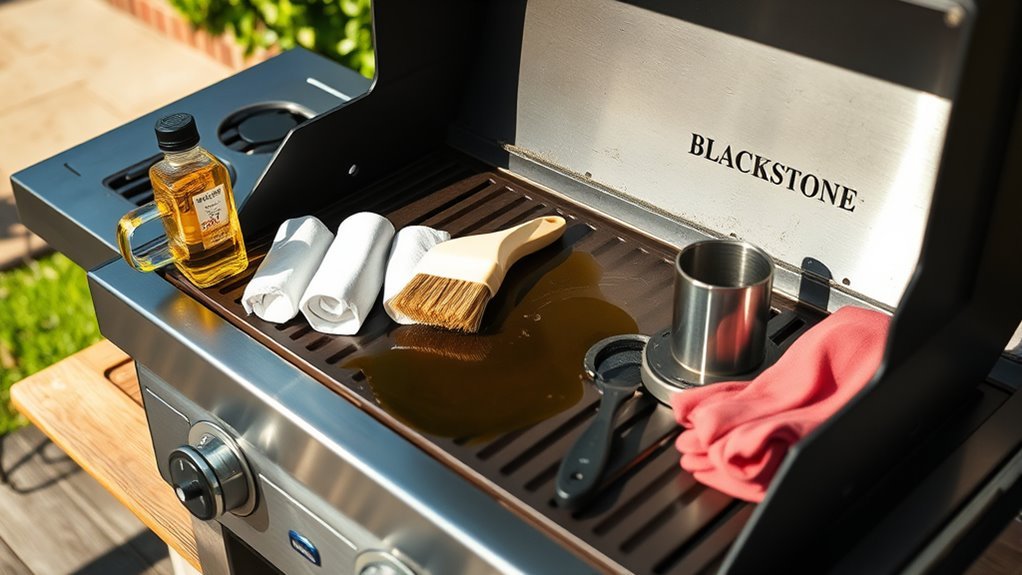
You’ll want to apply a thin, even layer of oil to guarantee the seasoning bonds properly without pooling or flaking. Use a paper towel or lint-free cloth to spread the oil smoothly across the entire surface, including edges.
Taking your time here really helps create a durable, nonstick finish that lasts. It’s worth the extra care to get it just right!
Importance of Thin Coats
When seasoning your Blackstone grill, applying a thin, even layer of oil is essential to achieving a durable, non-stick surface. Thick layers can bubble, flake, or chip, ruining your flat top.
Use a paper towel to spread a small amount of oil uniformly—don’t let it pool. Thin coats dry faster and cure better, building a stronger seasoning with each application.
Here’s why thin coats matter:
- Prevent bubbling and uneven coating.
- Ensure faster drying and curing.
- Create a durable, long-lasting surface.
- Avoid flaking and chipping over time.
Start with a clean slate, and after seasoning, your grill will be ready to go. If you found this helpful, join us on Facebook and be sure to leave a comment!
Techniques for Even Spread
Applying thin coats sets the stage for even oil distribution, which is key to seasoning your Blackstone grill properly. Start by choosing a high-smoke point oil like flaxseed or canola oil.
Apply it sparingly to avoid pooling, which leads to uneven layers. Use a folded paper towel or cloth to spread the oil evenly across the entire griddle surface, including edges and sides.
Aim for a thin layer that almost disappears into the metal to prevent excess buildup that can cause flaking later. After spreading, wipe off any extra oil to maintain a smooth, even coat before heating.
Repeat this process multiple times, allowing each thin layer to heat and polymerize properly. This will ensure a durable, non-stick seasoning on your Blackstone grill.
Heat the Grill to Polymerize the Oil
How hot should you get your Blackstone grill before seasoning? Preheat it to at least 400–450°F to guarantee the oil polymerizes correctly, forming that hard, non-stick surface.
Temperature control is key here to avoid burning the oil.
Follow these steps:
- Set your grill to 400–450°F.
- Apply a high smoke point oil like flaxseed or canola.
- Maintain this temperature for 10-15 minutes.
- Monitor constantly to prevent overheating or smoke damage.
Let the Grill Smoke for Proper Bonding
Although it might tempt you to check on the grill, letting it smoke undisturbed for at least 15 minutes is essential for the oil to bond properly.
This smoking process helps remove moisture and contaminants, ensuring a clean, durable surface. During this time, the oil chemically bonds to the metal, forming a strong non-stick layer that resists chipping.
| Time (minutes) | Temperature (°F) | Purpose |
|---|---|---|
| 0-5 | 400-450 | Oil starts to heat |
| 5-10 | 450-500 | Oil begins polymerizing |
| 10-15 | 500+ | Smoking process active |
| 15 | 500+ | Bonding completes |
| 15+ | Maintain heat | Avoid lid opening/heat change |
Stick to this process for the best seasoning results.
Repeat the Oiling and Heating Process
Since a single layer of oil isn’t enough to build a durable non-stick surface, you’ll need to repeat the oiling and heating process several times. This Layer Reinforcement is essential for creating a smooth, long-lasting coating on your Blackstone grill.
Follow these steps:
Follow these steps to build a durable, non-stick surface on your Blackstone grill.
- Apply a thin, even coat of oil over the griddle surface.
- Heat the grill until the oil smokes, ensuring it polymerizes properly.
- Let the grill cool slightly, then repeat the oil application.
- Reheat to smoke the oil again, bonding and strengthening each new layer.
Each cycle fills imperfections and builds multiple polymerized layers, enhancing durability and non-stick quality. Keep this up until the surface feels smooth and well-coated for the best cooking experience.
Maintain Your Seasoned Surface Regularly
Once you’ve built up a strong seasoning on your Blackstone grill through repeated oiling and heating, keeping that surface in good shape becomes your next priority. After each use, clean the griddle thoroughly with a scraper or paper towel—avoid water or harsh cleaners that can strip your seasoning.
Dry it completely, then apply a thin layer of seasoning oil to prevent rust and maintain the non-stick surface. Don’t fall for common seasoning myths that suggest heavy oiling or infrequent maintenance.
Instead, re-season with multiple thin coats every few months or whenever food starts sticking or rust appears. Use high heat for at least 10-15 minutes to ensure proper polymerization and durability.
Regular upkeep keeps your grill performing its best. It’s easier than you might think once you get into the habit!
Conclusion
By following these simple steps, you’ll transform your Blackstone grill into a sleek, seasoned canvas—ready to sizzle and shine like a well-oiled machine under the summer sun.
Each layer of oil is like a brushstroke, building a protective armor that turns every meal into a masterpiece. Keep nurturing this seasoned surface, and your grill will reward you with flavors that dance and memories that glow long after the flames die down.
Seasoning your Blackstone grill isn’t just about maintenance—it’s about enhancing the taste and longevity of your cooking experience. With regular care, your grill develops that signature non-stick surface and rich flavor profile that every outdoor chef dreams of. So, keep seasoning, keep cooking, and get ready to enjoy mouthwatering meals that bring everyone together. Your Blackstone grill is more than a tool—it’s the heart of your backyard gatherings.