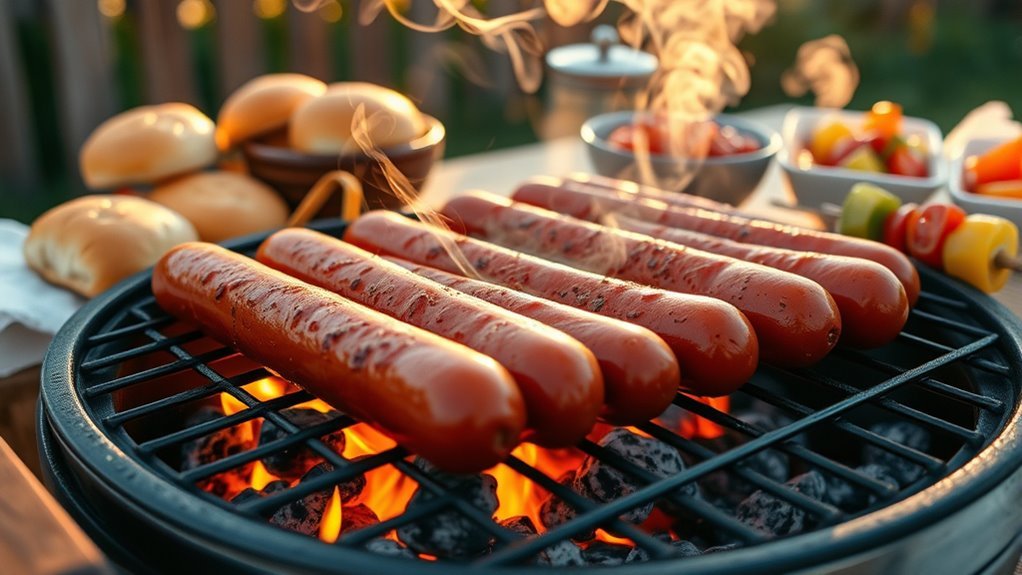
How to Grill Hot Dogs in 7 Easy Steps
To grill hot dogs perfectly, start by choosing your favorite type—natural casing for that satisfying snap or all-beef for a bold, classic flavor.
Preheating and cleaning your grill is key to a great cook, ensuring your hot dogs don’t stick and cook evenly.
Next, prep your dogs by lightly slashing skinless ones to avoid curling as they cook.
Then, place them over indirect heat and cook until they’re warmed through. This method keeps them juicy without charring.
Once warmed, sear the hot dogs briefly over high heat to get those irresistible grill marks and a bit of smoky flavor.
Don’t forget to toast your buns on the grill with a touch of butter for that perfect crunch.
Finally, assemble your hot dogs with your favorite toppings and enjoy immediately.
Keep following these easy steps, and you’ll master the art of grilling juicy, tasty hot dogs every time!
Key Takeaways
- Choose quality hot dogs, considering casing type and pre-cook by simmering or slashing to prevent shrinking and bursting.
- Preheat and clean the grill, oil grates, and set heat zones for both direct searing and indirect cooking.
- Cook hot dogs over indirect heat for 5-7 minutes, turning occasionally, then sear over high heat for 1-2 minutes per side.
- Toast buns over indirect heat with butter for about 1 minute until golden and crispy, watching closely to avoid burning.
- Assemble hot dogs in toasted buns immediately and add desired toppings for optimal warmth, flavor, and texture.
Choosing the Right Hot Dogs
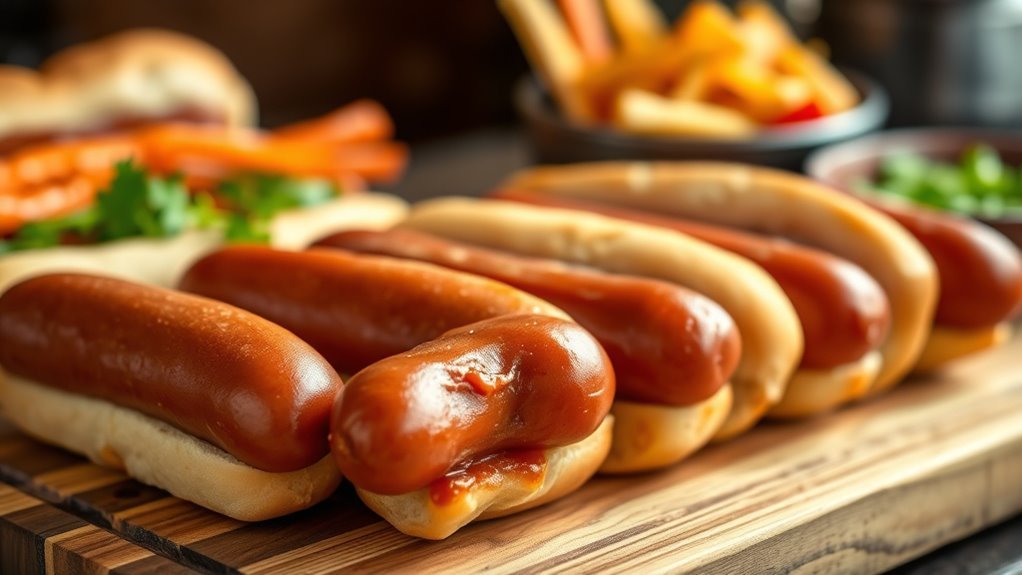
When choosing the right hot dogs for grilling, you’ll want to contemplate flavor, casing, and curing. Beef hot dogs are a popular choice, especially all-beef varieties like Nathan’s, known for their bold flavor and authentic taste.
If you want that satisfying snap and better texture, opt for natural casing hot dogs, which hold up well on the grill. Fully cooked hot dogs make grilling easier since you can place them directly on the heat, but slashing or simmering them first helps prevent shrinking and bursting.
If you’re health-conscious, uncured hot dogs provide a great alternative, made without artificial nitrates and often using natural sources like celery. Ultimately, pick hot dogs that suit your taste and grilling style for the best results.
Preparing Your Grill
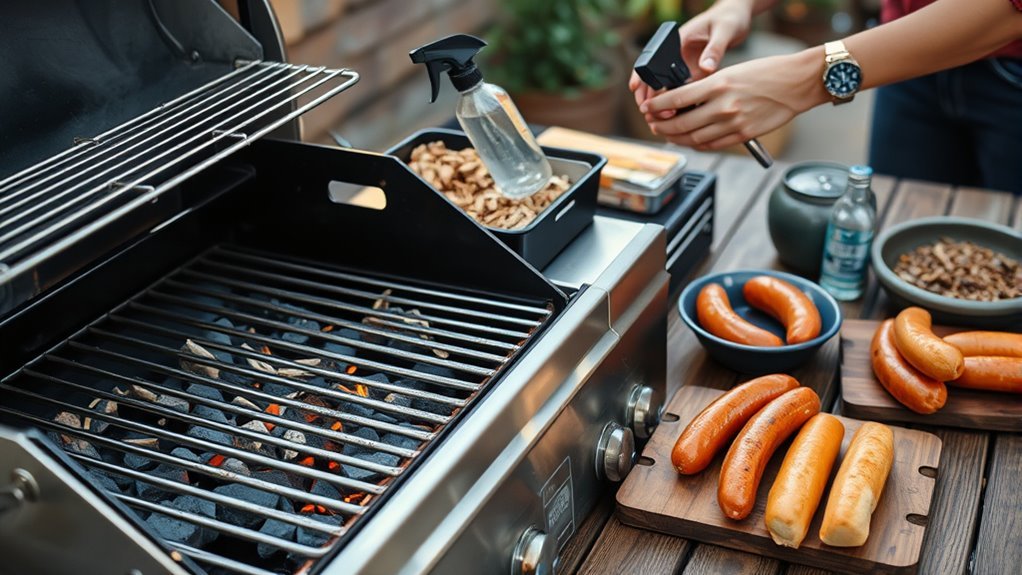
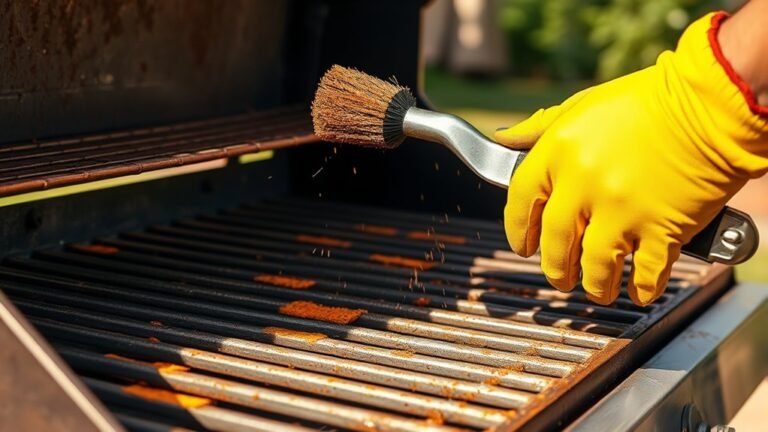
Before you start grilling, make sure to preheat your grill properly to get the right cooking temperature. Clean and oil the grates to prevent your hot dogs from sticking.
Setting up heat zones will help you cook your dogs evenly and avoid burning. It’s a simple trick that makes a big difference!
Preheating Techniques
Although preheating might seem like a simple step, it’s vital for grilling hot dogs evenly and preventing sticking. To preheat your grill, turn all burners to high and close the lid for 10-15 minutes. This brings the temperature up to an ideal level for cooking.
If you’re using a charcoal grill, wait until the coals are covered with white ash—that’s how you know they’re hot and ready. You can check the heat by holding your hand 4-5 inches above the grate; it should feel very hot.
Preheating ensures the grill surface is evenly heated, which is indispensable for perfect hot dogs. Skipping this step can lead to uneven cooking and sticking problems, so don’t rush it. Trust me, taking the time to preheat makes all the difference!
Cleaning and Oiling
Preheating your grill sets the stage for perfectly cooked hot dogs, but keeping the grates clean and well-oiled plays an equally important role. Before you start, follow these steps to prepare your grill grates:
- Scrub the grill grates thoroughly with a wire brush to remove leftover residue.
- Preheat your grill on high for 10-15 minutes to ensure it’s hot and ready.
- Lightly spray the grates with a non-stick spray designed for grills to prevent hot dogs from sticking.
- For gas grills, turn all burners to high and close the lid until the grates are hot; for charcoal, wait until coals are covered with white ash.
This cleaning and oiling routine helps you achieve those perfect sear marks and prevents sticking when grilling hot dogs.
It’s a simple step that makes a big difference, trust me!
Heat Zone Setup
When you set up your grill with two heat zones—one hot for searing and one cooler for indirect cooking—you gain greater control over how your hot dogs cook, ensuring they get that perfect char without burning.
Start by preheating your grill to 375°F to 400°F. Arrange your coals or gas burners so one side is hot for direct grilling (the hot side) and the other offers indirect heat.
This heat zone setup lets you sear the hot dogs briefly on the hot side to get those classic grill marks, then move them to the indirect heat zone to finish cooking gently without flare-ups.
Remember to monitor the temperature with a grill thermometer or hand test to keep the heat consistent throughout grilling. It really makes a difference!
Prepping Hot Dogs for Grilling
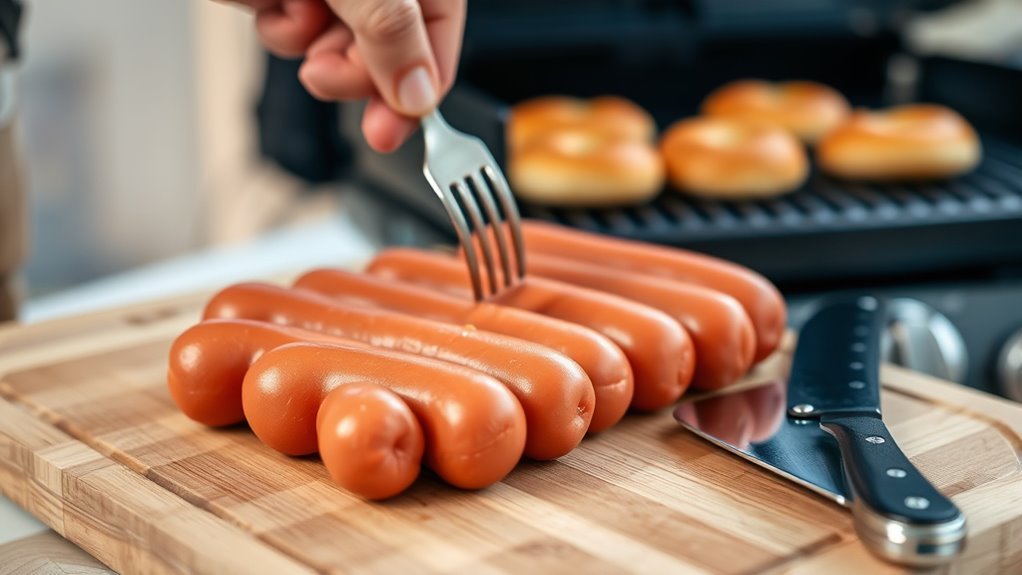
You’ll want to start by choosing the right hot dog, like all-beef or natural casing varieties, for the best flavor and texture.
Next, learn when and how to slash or score your dogs to keep them juicy and prevent shrinking.
Finally, consider pre-cooking methods, such as simmering, to boost moisture and enhance taste before grilling.
Choosing the Right Hot Dog
Although grilling hot dogs might seem straightforward, choosing the right type can make all the difference in flavor and texture. To get the best results, consider these tips when selecting hot dogs for grilling:
- Pick all-beef hot dogs like Nathan’s for a rich, robust flavor that stands up well on the grill. They really bring out that classic taste you’re looking for.
- Opt for natural casing hot dogs to enjoy that satisfying snap and superior texture during grilling. It’s a small detail that makes a big difference.
- Decide between cured varieties containing sodium nitrite or uncured versions using natural nitrates such as celery. Both have their perks, so it’s really about what you prefer.
- Choose fully cooked hot dogs so you can grill them directly without worrying about undercooking. Makes the process simpler and safer, too.
Slashing and Scoring Techniques
If you want to prevent your hot dogs from curling and splitting on the grill, slashing or scoring them is a simple yet effective technique. By making shallow cuts along the length, you allow heat to penetrate evenly. This keeps your hot dogs juicy and plump with less leathery skin.
Just a heads up—avoid slashing natural casing hot dogs like Nathan’s. Doing so helps preserve their signature snap and texture. Spiral slashes can boost crispiness, but they do require careful grilling to avoid tearing.
| Technique | Best For |
|---|---|
| Straight Slashes | Skinless hot dogs |
| Spiral Cuts | Extra crispy texture |
| No Cuts | Natural casing hot dogs |
Use these slashing and scoring techniques to elevate your grilling game!
Pre-Cooking Methods Explained
After mastering slashing and scoring techniques, prepping your hot dogs with the right pre-cooking methods can make a big difference in flavor and texture. Pre-cooking, especially simmering, helps retain moisture and enhances flavor before grilling.
Here’s how you can do it:
- Simmer hot dogs in water, broth, or beer for 5-7 minutes to heat them through gently.
- Use flavored liquids to boost the taste and keep the hot dogs juicy.
- Poke hot dogs with a fork to release steam and prevent bursting during grilling.
- Finish by grilling over direct heat for a crisp exterior while preserving moisture inside.
This two-step process guarantees your hot dogs stay juicy, flavorful, and perfectly cooked every time.
Cooking Hot Dogs Over Indirect Heat
When you preheat your grill and set up two heat zones, you create the perfect environment to cook hot dogs over indirect heat. Start by placing the hot dogs on the cooler side of the grill, away from direct flames.
This indirect heat gently warms the hot dogs, preventing burning and ensuring they cook evenly. Cover the grill to trap heat, allowing the hot dogs to heat through in about 5-7 minutes.
Use tongs to rotate them occasionally, promoting uniform cooking and avoiding splits. Cooking hot dogs this way on your grill helps maintain their juicy texture without charring the skin prematurely.
Once they’re heated evenly over indirect heat, they’re ready for the next step in your grilling process. Easy, right? Just a little patience and you’ll have perfect hot dogs every time!
Searing Hot Dogs for a Perfect Finish
Although indirect heat cooks your hot dogs gently, searing them over high heat adds the perfect finishing touch. It creates a flavorful, caramelized exterior with those classic grill marks you want.
To nail searing hot dogs, follow these steps:
- Preheat your grill to high heat and clean the grates thoroughly.
- Lightly oil the hot grill surface or brush the hot dogs with oil for better sear marks.
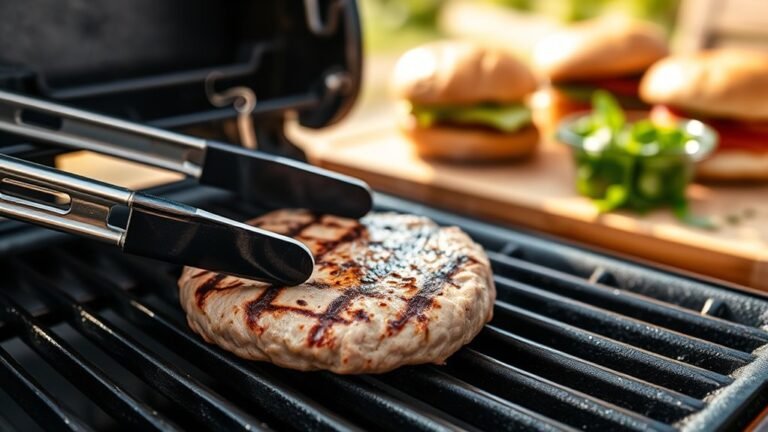
- Place hot dogs directly on the hot grill and sear each side for 1-2 minutes.
- Turn occasionally to ensure an even, caramelized exterior without burning.
This quick, intense cooking step locks in juices while delivering that signature grilled look and taste. It’s a simple way to take your hot dogs to the next level!
Toasting the Buns
Since toasted buns add a delicious crunch and warmth, you’ll want to toast them over indirect heat on the grill for about a minute. Before you start toasting buns, spread melted butter or garlic butter on the inside for extra richness.
Place the buns face down on the grill grates, positioning them perpendicular to the bars to ensure even toasting. Keep a close eye on them to avoid burning or drying out.
Once the buns turn golden brown and slightly crispy, remove them promptly to keep that perfect freshness. Using indirect heat prevents the buns from getting scorched too quickly while giving you that ideal toasted texture and flavor to complement your hot dogs perfectly.
Serving and Topping Your Hot Dogs
As you finish grilling and toasting, get ready to build your hot dogs with your favorite toppings. Start by placing each grilled hot dog into a toasted bun immediately to keep everything warm and prevent sogginess.
Place each grilled hot dog into a toasted bun right away to keep it warm and prevent sogginess.
When serving hot dogs, follow these steps for the best experience:
- Toast buns over indirect heat for about one minute to enhance flavor and texture.
- Add classic hot dog toppings like ketchup, mustard, relish, and onions.
For extra flair, include cheese, sauerkraut, or bacon bits.
Serve hot dogs right after assembly to enjoy the perfect balance of warm meat and fresh toppings.
Conclusion
Now that you know how to grill hot dogs in 7 easy steps, you’re ready to impress at your next cookout. Imagine your friends savoring perfectly seared dogs with toasted buns, topped just the way they like.
Like Sarah, who turned her backyard BBQ into a hit by following these simple tips, you’ll create tasty, crowd-pleasing hot dogs everyone will ask for again. So fire up the grill and enjoy your delicious results!
Grilling hot dogs is straightforward and fun, and with these easy steps, you can master the art in no time. Whether you’re hosting a casual get-together or a big summer party, these perfectly grilled hot dogs with golden buns will be the star of the show. Get ready to serve up juicy, flavorful hot dogs that bring smiles all around!