How to Cook Ribs on a Pellet Grill in 7 Easy Steps
To cook ribs on a pellet grill in 7 easy steps, start by trimming the ribs and applying a dry rub with a binder like mustard. Using a pellet grill is a fantastic way to get tender, smoky ribs at home, and it’s easier than you might think.
Choose quality wood pellets such as hickory or apple, then preheat your grill to 225°F. Smoking the ribs low and slow is key to unlocking that perfect flavor and tenderness.
Smoke the ribs for 3–4 hours, checking for tenderness with the bend test. When they’re almost done, apply barbecue sauce during the last 30 minutes to build that delicious glaze.
Finally, let the ribs rest before slicing and serving. Keep going to uncover tips for the best results and master the art of pellet grill rib cooking!
Key Takeaways
– Remove the silver skin, trim off excess fat, and apply a binder before seasoning the ribs with a dry rub evenly on all sides.
This helps the flavors stick better and makes the ribs taste amazing.
- Preheat your pellet grill to 225°F. Make sure the temperature stays steady and fill the hopper with quality wood pellets to get that smoky flavor.
- Smoke the ribs uncovered at 225°F for about 3 to 4 hours. Try not to open the lid too often because that lets the heat and smoke escape, which can mess with the cooking.
- When the ribs are almost done, apply barbecue sauce during the last 30 minutes. Reapply it about 10 minutes before finishing to get that nice, glossy glaze.
- Once the ribs are done, let them rest for 10 minutes. Then slice between the bones and serve right away with your favorite sides.
Preparing Your Ribs for Smoking
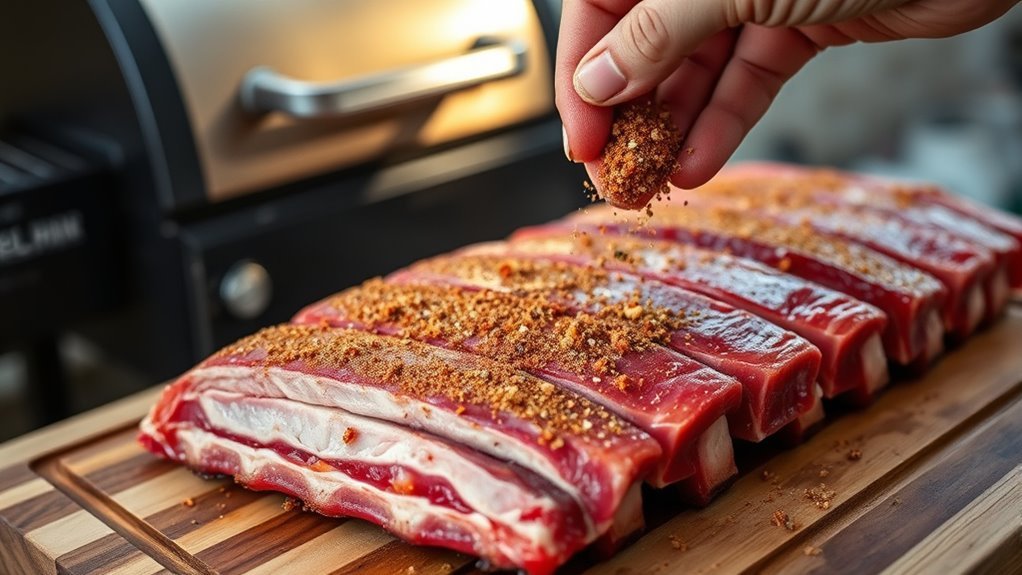
Before you start smoking, make sure to remove the silver skin from the bone side of the ribs using a sharp knife or paper towel. This helps the smoke and seasoning penetrate better. That membrane can block flavor, so peeling it off is essential to prepare your ribs properly.
Removing the silver skin from ribs is key for better smoke and seasoning absorption.
Next, trim excess fat and any uneven edges. This ensures even cooking and helps your seasonings soak in well.
Lightly coat the ribs with a binder like mustard or olive oil. This helps your dry rub stick evenly.
Then, season all surfaces thoroughly with your favorite dry rub, covering every inch, including the edges.
Finally, let your ribs sit at room temperature for 30 minutes to an hour before smoking. This allows the flavors to set and the meat to cook evenly.
Selecting the Right Wood Pellets
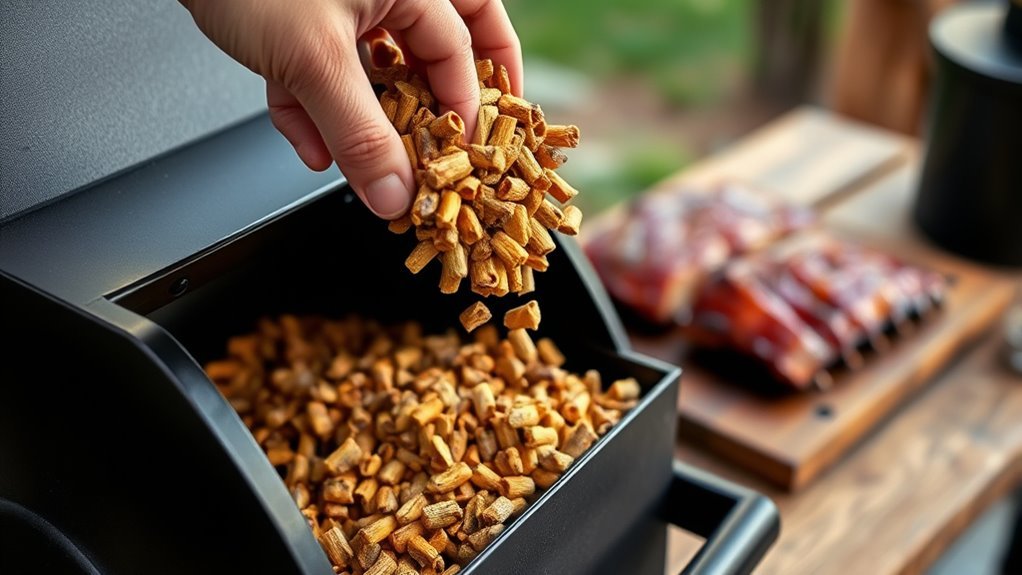
Once your ribs are prepped and seasoned, choosing the right wood pellets will shape the flavor profile of your smoke. Hickory pellets offer a strong, smoky flavor that pairs perfectly with pork.
Fruitwood options like apple, cherry, or pecan provide a milder, sweeter smoke flavor that really brings out the meat’s natural taste. Selecting premium quality wood pellets with consistent moisture content guarantees steady smoke production in your pellet grill.
This helps prevent unwanted bitterness or uneven cooking. You can even experiment with blending woods to balance bold and sweet notes, customizing your ribs’ flavor just the way you like it.
One thing to keep in mind: avoid softwood pellets like pine or cedar. They produce harsh flavors and harmful resins, which can mess with both the taste and safety of your meal.
Preheating the Pellet Grill
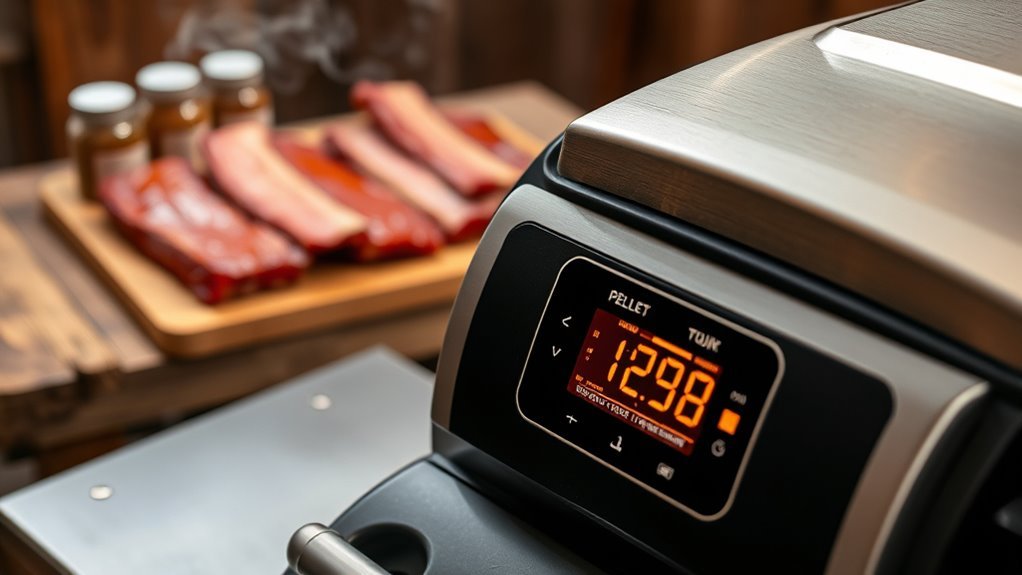
Before you start cooking, preheat your pellet grill to 225°F for the perfect low-and-slow smoke.
Make sure to fill the hopper with your chosen wood pellets to add that rich flavor. Give the grill about 15-20 minutes to reach and stabilize at the right temperature before placing the ribs inside.
Ideal Temperature Setting
Although it might be tempting to crank up the heat right away, you’ll want to preheat your pellet grill to a steady 225°F to achieve the best smoking results for your ribs. This ideal temperature setting guarantees consistent heat, promoting even smoke absorption and helping you develop tender ribs throughout the cook time.
Maintaining this low-and-slow approach for the first 3-4 hours allows the ribs’ internal temperature to rise gradually, breaking down connective tissues without drying out the meat. Use a reliable meat thermometer to confirm your grill reaches and holds this temperature before adding the ribs.
Avoid raising the heat prematurely, as it can disrupt smoke flavor and tenderness. Later, you can increase the temperature for a final caramelization, but for now, 225°F is key for perfect ribs.
Pellet Hopper Preparation
To get your pellet grill ready, start by filling the hopper with high-quality wood pellets like hickory, apple, cherry, or pecan. Proper pellet hopper preparation is key to maintaining steady heat during preheating.
Follow these steps to guarantee ideal loading pellets and preheat temperature:
- Fully load the pellet hopper with your chosen wood pellets, making sure there are no blockages.
- Turn on the pellet grill and set the preheat temperature, typically 225°F for ribs.
- Keep an eye on the grill’s digital display to confirm the temperature stabilizes.
- Let the grill run for 10-15 minutes, maintaining consistent pellet feeding for steady heat.
Doing this ensures your pellet grill reaches and holds the right temperature, so you’re all set for perfect ribs.
Preheat Duration Guidelines
Once you set your pellet grill to the target temperature—usually 225°F—it needs about 10 to 15 minutes to stabilize before you place the ribs on the grates. During this preheat duration, run the pellet grill empty to allow the temperature to stabilize and deliver consistent heat.
Use the grill’s built-in temperature probe or an external thermometer to confirm it reaches the desired preheat temperature accurately. Avoid opening the lid while preheating; this prevents heat loss and helps the pellet grill reach the set temperature quickly.
Once the grill maintains the target temperature steadily, you’re ready to season and place your ribs for smoking. This ensures even cooking and ideal flavor.
Applying the Dry Rub
Since seasoning is key to flavorful ribs, you’ll want to generously apply your dry rub evenly over all surfaces, including both the meat and bone sides. To properly season the ribs and guarantee flavor penetration, follow these steps:
Generously apply dry rub evenly on all rib surfaces, including meat and bone sides, for maximum flavor.
- Use about 2-3 tablespoons of dry rub per rack, making sure to apply evenly for full coating.
- Season the ribs thoroughly on the meat surface and the bone side, leaving some rub visible.
- Let the ribs sit at room temperature for 30 minutes to allow the flavors to penetrate.
- For deeper flavor, apply the dry rub the night before and refrigerate, but avoid over-caking to prevent overpowering the meat.
This careful application creates a balanced, flavorful bark on your ribs. It’s all about getting that perfect taste without going overboard.
Smoking the Ribs Low and Slow
Although it takes patience, smoking ribs low and slow at 225°F unfastens the tenderness and deep smoky flavor you’re aiming for. Set your pellet grill to maintain this steady temperature, ensuring consistent heat throughout the cook.
Place the ribs uncovered on the grill grates, using indirect heat to avoid flare-ups. Try not to open the lid too often; keeping it closed preserves the stable temperature and lets the smoke fully infuse the meat.
Smoke the ribs for about 3-4 hours to develop a flavorful bark, which is part of what makes barbecue special. Remember, cooking ribs low and slow means watching for visual cues like bark cracking and ribs bending easily, rather than relying only on time, to get that perfect, tender bite.
Checking for Perfect Doneness
When you think the ribs are close to done, start checking their doneness with a few simple tests. Perfectly cooked ribs show the right tenderness and bone exposure, and they pull clean from the bone without falling apart.
Use this checklist to confirm:
- Perform the bend test by lifting the ribs about one-third down with tongs; they should bend easily without cracking excessively.
- Look for ¼ to ½ inch of bone exposure at the rib ends as a visual cue.
- Insert a toothpick between bones; it should slide in with little resistance.
- Check the internal temperature, aiming for 195°F to 205°F to ensure tenderness.
These steps guarantee ribs cooked to juicy, tender perfection every time. Give it a try, and you’ll be rewarded with delicious results!
Adding Sauce and Serving Tips
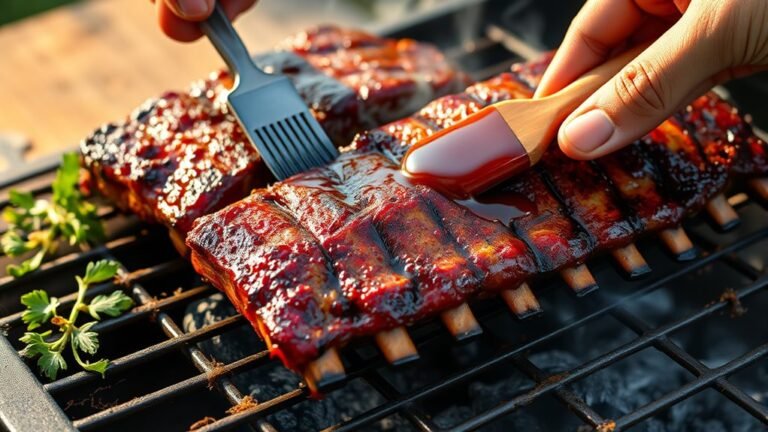
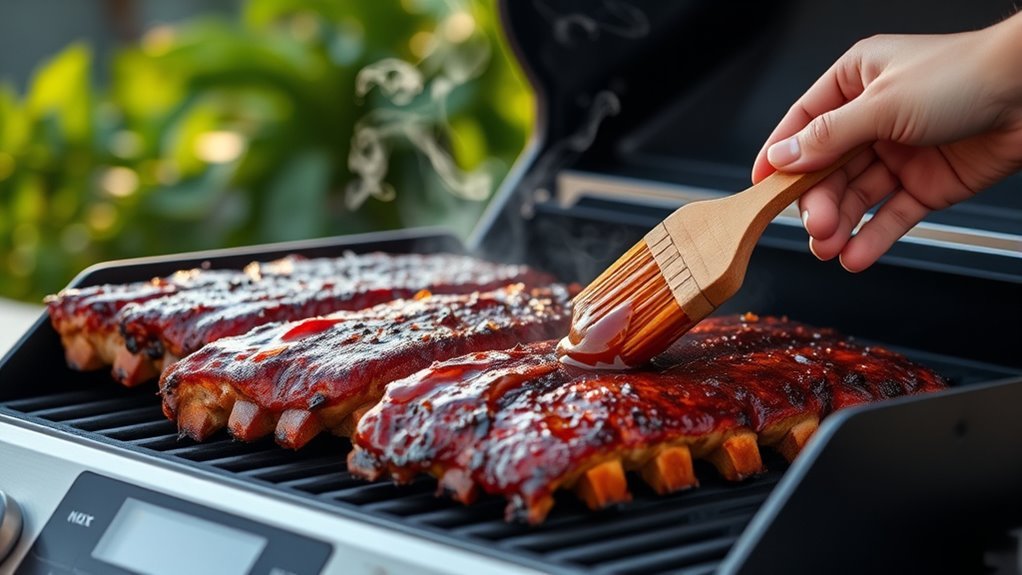
You’ll want to brush on your barbecue sauce during the last 30 minutes of smoking to get that perfect caramelized glaze. Make sure to apply it evenly on both sides for the best flavor and look.
After resting the ribs, consider adding another layer of sauce before slicing to boost the taste even more. Trust me, it really brings out that smoky, tangy goodness!
When to Sauce
Since applying sauce too early can cause it to burn and taste bitter, you should brush it on during the last 30 minutes of smoking ribs. To get the best results, cook them low and slow, and cover with foil if needed to retain moisture.
Follow these steps for perfect saucing:
- Begin saucing only in the last 30 minutes of cooking to allow caramelization without burning.
- Brush barbecue sauce in thin layers, repeating until the ribs are evenly glazed.
- Rest the ribs for at least 10 minutes after saucing to let flavors set and juices redistribute.
- Serve immediately after resting to enjoy ideal flavor and tenderness.
Timing your sauce application right ensures a delicious, balanced finish without bitterness. Trust me, it makes all the difference!
Sauce Application Tips
Applying barbecue sauce during the last 30 minutes of smoking helps you achieve that perfect caramelized glaze without risking bitterness. For even sauce application, use a brush to coat all sides of the ribs thoroughly, ensuring every bite bursts with flavor.
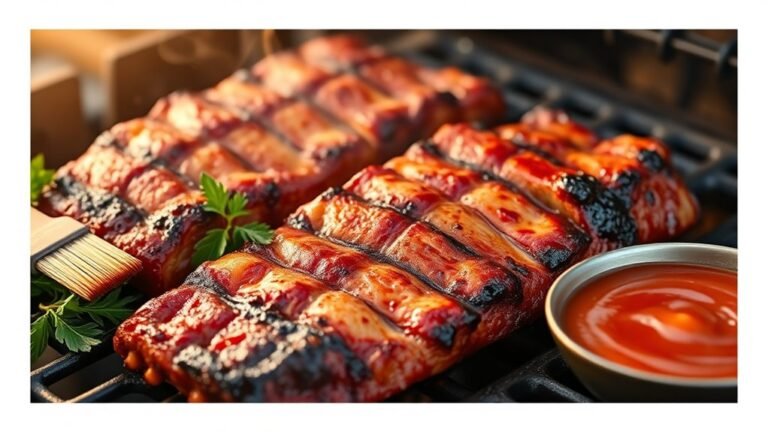
About 10 minutes before the ribs are done, go ahead and reapply a thin layer of barbecue sauce. This step enhances the caramelization and gives the ribs a glossy finish.
Once you remove the ribs from the pellet grill, let them rest for 10-15 minutes. This allows the sauce to set and the juices to redistribute, making the ribs tender and flavorful.
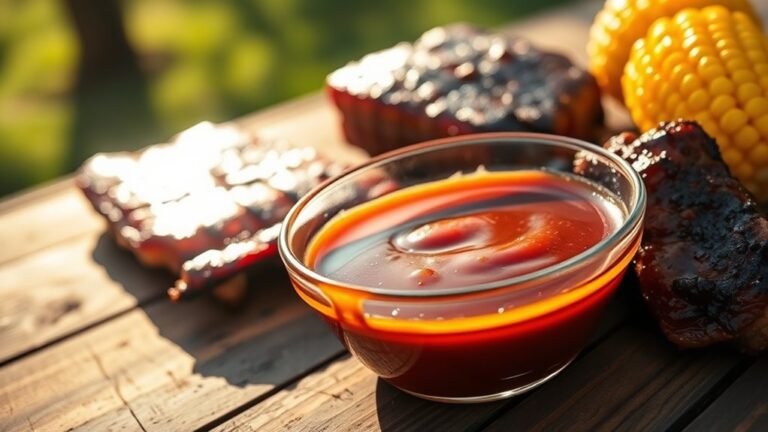
And hey, remember you can always serve extra barbecue sauce on the side. That way, anyone who wants more moisture or a stronger taste can have just that!
Serving Suggestions
When the ribs come off the pellet grill, let them rest for 10-15 minutes to let the juices settle before you slice between the bones with a sharp knife. Proper ribs rest guarantees flavor and moisture retention.
For ideal presentation, follow these serving suggestions:
- Apply barbecue sauce during the last 30 minutes of cooking, allowing it to caramelize without burning.
- Slice ribs carefully between the bones for even portions and an attractive look.
- Serve ribs immediately after resting, optionally garnished with extra barbecue sauce.
- Pair your ribs with classic side dishes like coleslaw, baked beans, or cornbread to complete the meal.
These tips make sure your ribs taste great and look inviting at every barbecue.
Conclusion
You might think cooking ribs on a pellet grill is complicated, but it’s actually simple and rewarding. While the process takes time and patience, the result is tender, smoky ribs that melt in your mouth.
By prepping carefully, choosing the right pellets, and smoking low and slow, you turn a basic cut of meat into a flavorful masterpiece. So, don’t rush—embrace the slow cook and enjoy every delicious bite.
Cooking ribs on a pellet grill might seem intimidating at first, but once you get the hang of it, you’ll see how easy it is to create mouthwatering ribs. The key is to maintain a low temperature and let the smoke work its magic over time.
With the right pellets and a bit of patience, your ribs will come out perfectly tender and packed with flavor every time. Trust the process, and soon you’ll be a pellet grill pro, impressing friends and family with your smoky, juicy ribs.