10 Steps to Cook Pork Ribs Perfectly on the Grill
Choose the right ribs—baby back for tenderness or spare for rich flavor. Removing the silver skin is key because it helps the seasoning soak in better.
Apply a dry rub evenly across the ribs and let it sit so the flavors really meld together.
Next, wrap the ribs in foil with a splash of apple juice to keep them moist.
Cook the wrapped ribs over indirect medium heat for that perfect slow cook.
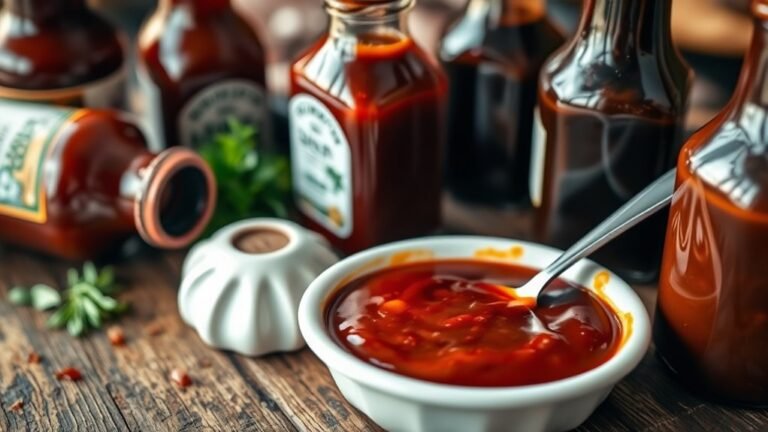
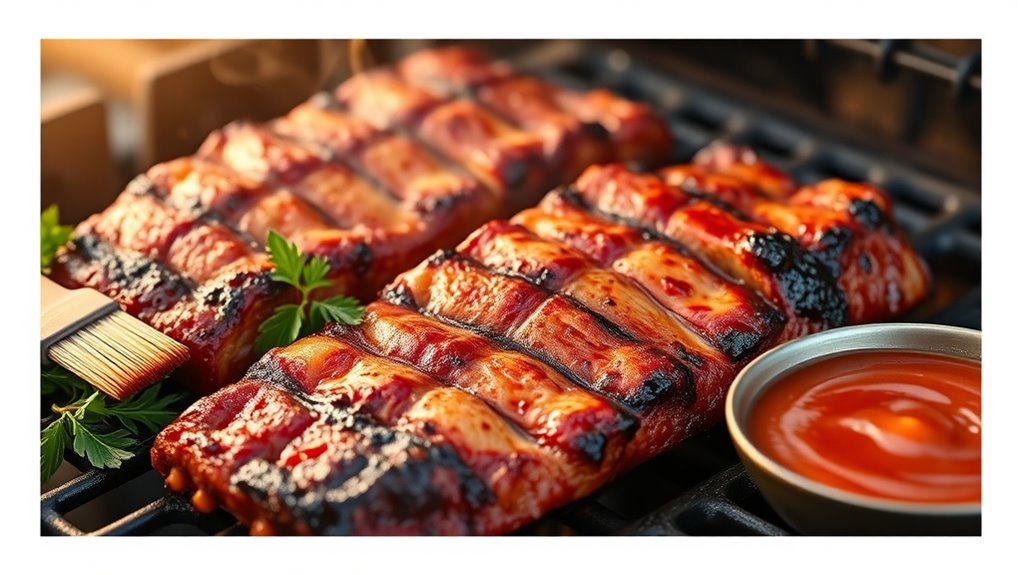
Once done, unwrap them and baste with your favorite barbecue sauce.
Finish by placing the ribs on high heat to caramelize the glaze, giving them that irresistible sticky finish.
Let the ribs rest a bit before slicing to keep every bite juicy and tender.
Stick with these steps, and you’ll master grilling pork ribs perfectly every time!
Key Takeaways
- Choose the right ribs, either baby back or spare ribs. Don’t forget to remove the silver skin—it helps with better flavor absorption and makes the ribs more tender.
- Apply a dry rub evenly over the ribs. Let them sit for about 15 to 30 minutes so the flavors can really meld before you start grilling.
- Preheat your grill to medium heat. Set up indirect heat zones; this helps the ribs cook evenly without burning.
- Wrap the ribs tightly in foil with some added liquid. Then, finish grilling them uncovered while brushing on barbecue sauce to get that perfect caramelized glaze.
- After grilling, let the ribs rest for 5 to 10 minutes before slicing. This step helps keep the juices inside and makes the ribs extra tender.
Choosing the Right Cut of Ribs
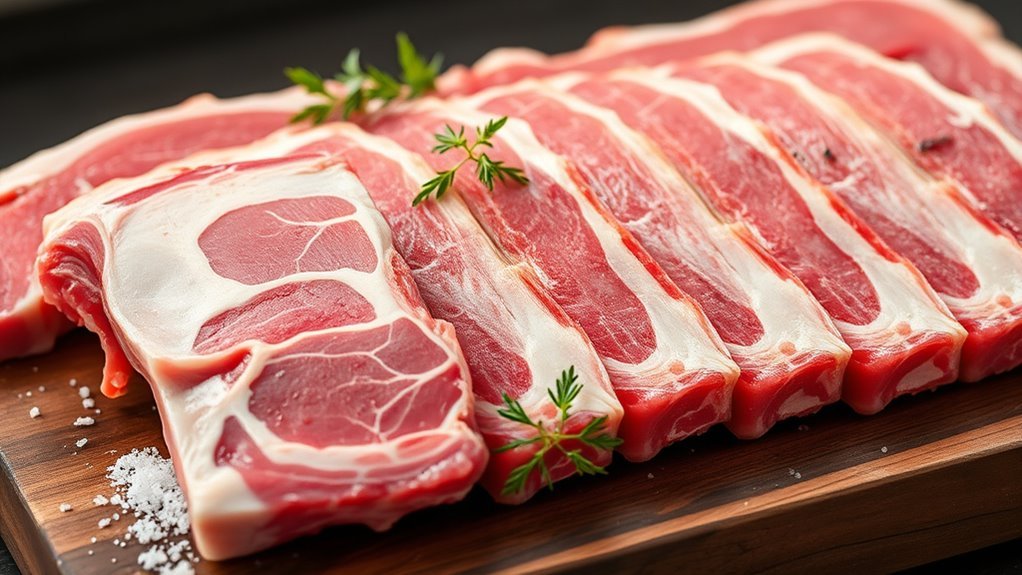
When choosing the right cut of ribs for grilling, you’ll want to contemplate flavor, tenderness, and cooking time. Baby back ribs are leaner, smaller, and come from the pig’s upper ribcage, offering a milder flavor profile and shorter cooking time.
Selecting ribs involves balancing flavor, tenderness, and cooking time—baby backs offer lean, mild taste with quicker grilling.
Spare ribs, larger and meatier with a higher fat content, come from the belly area, lending richer flavor and moisture but require longer cooking. Your cut selection depends on the grilling method and desired tenderness.
Consider the bone-to-meat ratio and size of ribs, as these affect how evenly they cook. Baby back ribs are ideal for beginners due to their uniform size and meat quality, while spare ribs suit those craving intense flavor and don’t mind extra cooking time.
Choose wisely to match your grilling goals.
Removing the Silver Skin
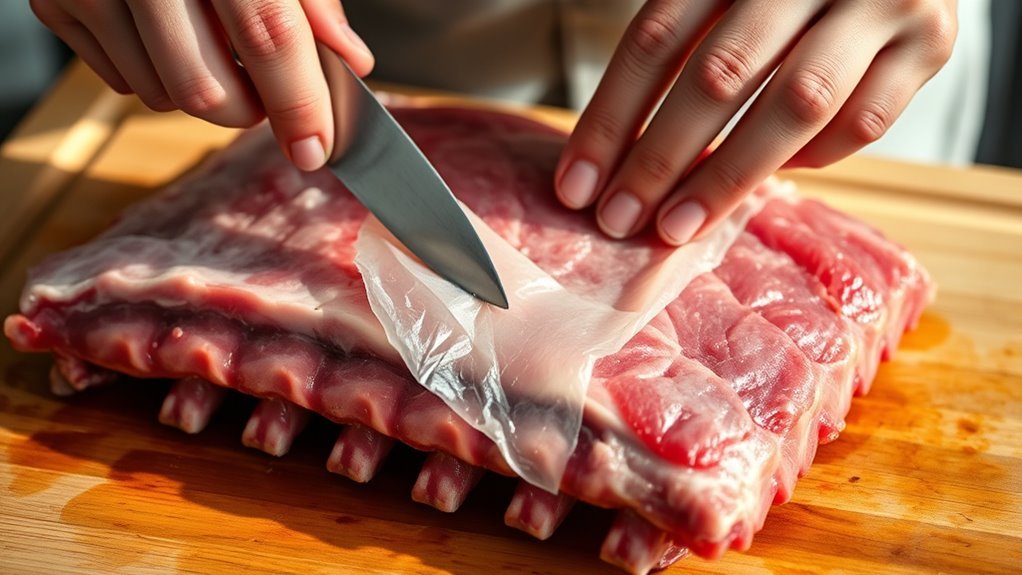
One essential step to perfect pork ribs is removing the silver skin. It’s a thin, tough membrane on the back of the ribs that blocks seasonings from soaking in.
To remove it, slide a sharp knife under one corner of the membrane and gently lift it away from the bone. The silver skin can be slippery, so use a paper towel to get a better grip and peel it off carefully.
Removing this membrane is vital because it improves the tenderness of the meat and allows your spices and rubs to penetrate deeply. If you find it difficult, you can ask your butcher to remove the silver skin for you.
Taking this step guarantees your ribs will be tender and flavorful when grilled. Trust me, it makes all the difference!
Preparing the Dry Rub
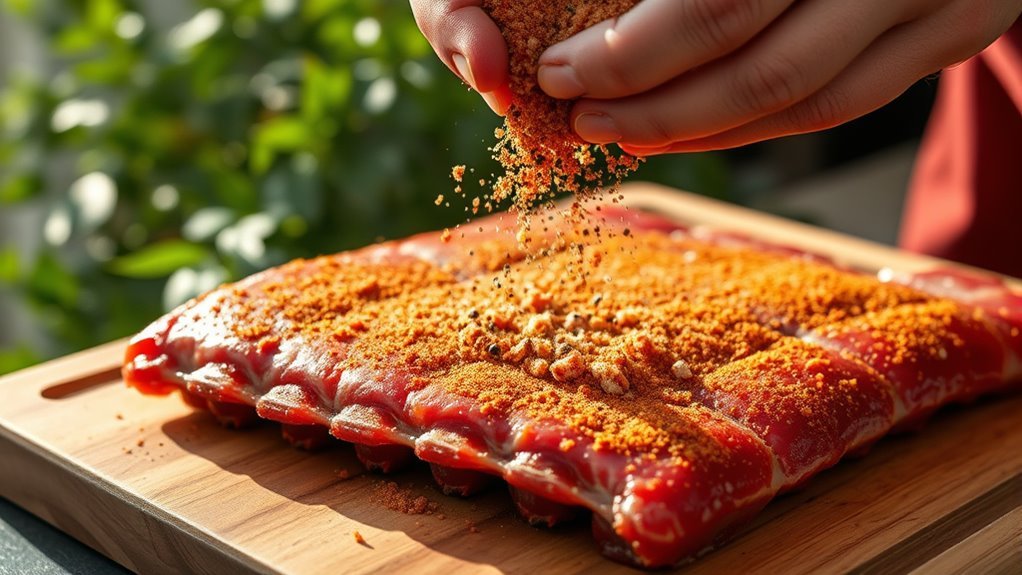
After removing the silver skin, you’re ready to prepare the dry rub that will bring your ribs to life. Start by mixing key spices and seasoning like paprika, chili powder, cumin, coriander, cayenne, salt, pepper, and brown sugar. This blend will enhance the flavor and create a flavorful crust upon grilling.
Pat your pork ribs dry to make certain the dry rub adheres properly. The application is essential—use a generous amount to coat all sides evenly, pressing it into the meat for better adhesion.
| Ingredient | Purpose |
|---|---|
| Paprika | Smoky flavor |
| Brown Sugar | Sweetness & crust |
| Chili Powder | Heat & depth |
| Salt & Pepper | Basic seasoning |
This preparation ensures a perfect coating for juicy, flavorful pork ribs. Give it a good rub, and you’re all set for some seriously tasty ribs!
Applying the Dry Rub Evenly
Since a well-applied dry rub sets the foundation for flavorful ribs, you’ll want to spread it evenly over every surface. Use your hands or a spoon to apply a generous layer of dry rub, ensuring full coverage on both sides of the meat.
Pat the rub firmly onto the ribs to promote adhesion, helping it stick and preventing it from falling off during grilling. Avoid piling the seasoning in one spot; instead, spread it out with your fingers or a brush for consistent flavor penetration.
This even application maximizes the rub’s contact with the meat, enhancing the overall taste. Once applied, let the ribs sit for 15-30 minutes to allow the flavors to meld deeply into the meat before you start cooking.
Wrapping the Ribs in Foil
When you wrap the ribs tightly in foil, you lock in moisture that keeps the meat tender and juicy throughout grilling. Use 2-3 layers of heavy-duty foil to cover the ribs completely without tearing.
Before sealing, add a small amount of liquid like apple juice or vinegar inside the foil to boost flavor and moisture. Then, wrap the ribs tightly to seal in steam, which helps cook the meat evenly and enhances tenderness.
- Use heavy-duty foil to prevent holes
- Add liquid to preserve moisture and flavor
- Wrap ribs tightly to trap steam and juices
- Let ribs rest in foil after cooking for 10-15 minutes
This method guarantees your pork ribs stay moist, tender, and packed with delicious juices. Give it a try—you won’t regret it!
Preheating and Setting Up the Grill
Before you start cooking, make sure to preheat your grill to a steady 350°F to 400°F for the perfect medium heat.
Set up indirect heat by turning on only the outer burners for gas grills or placing coals on one side for charcoal grills.
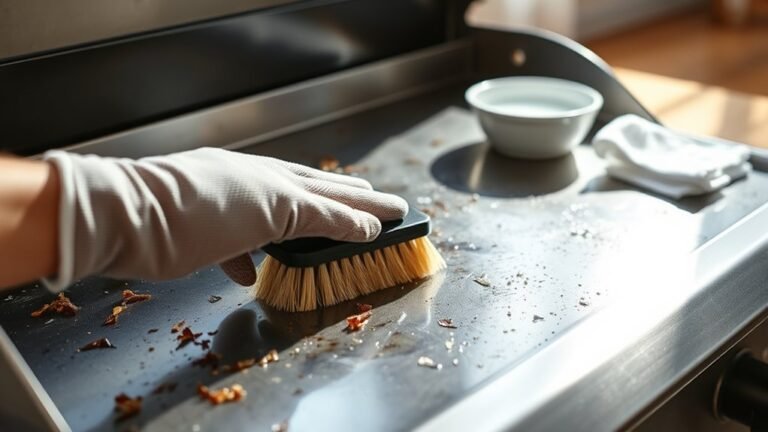
Don’t forget to clean and oil the grates to keep the ribs from sticking and to maintain even cooking.
Grill Temperature Setup
Although setting up your grill might seem straightforward, achieving the perfect temperature is key to cooking pork ribs evenly. Aim for a steady grill temperature between 350°F and 400°F. Proper grill heat control and temperature monitoring guarantee your ribs cook just right without burning.
Keep these tips in mind for an ideal grill setup:
- Create a two-zone fire: one side with medium heat (hot zone), the other cooler for indirect heat.
- For charcoal, wait until coals are covered in white ash before arranging.
- For gas grills, turn on outer burners only, leaving middle burners off.
- Use a reliable grill thermometer to monitor cook temperature throughout.
Position ribs over indirect heat on the grill grates to achieve tender, juicy results every time. It really makes a difference when you cook them this way!
Indirect Heat Method
Since maintaining steady heat is essential, start by preheating your grill to a medium temperature between 350°F and 400°F.
For the indirect heat method, create separate heat zones: if you’re using a gas grill, turn on one or two burners and leave the others off to establish a cooler grill zone for slow cooking.
On a charcoal grill, pile the coals on one side, placing your ribs on the opposite side away from direct flames. Use a grill thermometer to monitor grill temperature closely, ensuring temperature control throughout the cooking process.
Keep the grill lid closed to retain heat and smoke, which promotes even cooking and tender ribs. This setup guarantees consistent indirect heat, perfect for slow cooking pork ribs to perfection.
Cooking the Ribs Over Indirect Heat
When you cook pork ribs over indirect heat, you let them cook slowly and evenly without burning. First, preheat your grill to a steady 250°F to 300°F. Set up a cool zone by turning off some burners or pushing coals to one side.
Place the ribs bone side down over the indirect heat zone. This setup ensures slow cooking and even cooking. To keep the temperature steady and heat consistent, keep an eye on the grill and:
- Rotate the ribs periodically to prevent hot spots
- Adjust grill vents or burners to maintain temperature
- Use a reliable thermometer to monitor grill temperature
- Position ribs away from direct flames for indirect cooking
This method really maximizes tenderness and flavor by letting the ribs cook gently and thoroughly.
Unwrapping and Basting With Barbecue Sauce
After the ribs have cooked slowly over indirect heat, carefully unwrap the foil. Be sure to discard any accumulated liquids to keep the meat from getting soggy.
With the ribs now exposed, generously baste the surface with barbecue sauce. Cover every inch for maximum flavor.
Once coated, return the ribs to the grill uncovered. This final step involves cooking for 10-12 minutes, flipping and basting twice.
Doing this helps avoid any uncooked areas and builds a smoky, caramelized glaze. Keep an eye on the heat to prevent burning while letting the sauce thicken and char slightly.
This flipping and basting process creates that perfect balance of tenderness and a rich barbecue crust. Once done, you’ll have ribs that are ready for the final finishing touches.
Finishing the Ribs on the Grill
Although the ribs have already developed great flavor, placing them bone side down directly on the grill grates over low heat lets you build a perfect charred glaze. Remove the foil-wrapped ribs carefully, then baste the top with barbecue sauce.
Next, cook uncovered at high heat for 10-12 minutes. Remember to flip the ribs twice to ensure even cooking and baste generously with barbecue sauce for a sticky glaze.
You can add hickory wood chips for an optional smoky flavor. Just keep an eye on the ribs to prevent burning.
This finishing step caramelizes the sauce and locks in those savory juices. You’ll have a beautifully charred, flavorful crust that complements the tender meat inside.
Avoid wrapping again; instead, rest the ribs briefly before you slice between the bones to serve.
Resting and Serving the Ribs
Because the ribs just came off the grill, you’ll want to let them rest for 5 to 10 minutes to lock in their juices and enhance flavor. During this resting period, loosely tent the ribs with foil to maintain the right temperature without causing excess moisture or sweating.
Resting allows the meat to reabsorb its juices, improving tenderness and making cutting easier and cleaner. If you cut the ribs immediately, the juices will run out, leaving the meat dry and less flavorful.
Once rested, you can confidently cut and serve the ribs, knowing they’ll be juicy, tender, and packed with flavor. Proper resting is essential to elevate your grilling results and deliver the best eating experience every time.
Conclusion
Just like a painter carefully layering colors to create a masterpiece, grilling perfect pork ribs takes patience and attention to detail. Remember, the magic happens when you wrap, cook low and slow, then finish with a glaze of barbecue sauce.
Many pitmasters say ribs cooked this way turn out so tender they fall off the bone effortlessly—proof that great things come to those who wait.
So fire up your grill, follow these steps, and savor the delicious reward! Cooking pork ribs perfectly on the grill isn’t just about heat; it’s about timing and technique. By embracing the low and slow method, wrapping the ribs, and finishing with a flavorful barbecue sauce, you’ll achieve mouthwatering, tender ribs every time. Whether you’re a beginner or a seasoned griller, these 10 steps will guide you to pork rib perfection — juicy, smoky, and packed with flavor. Get ready to impress your friends and family with ribs that are truly fall-off-the-bone delicious!