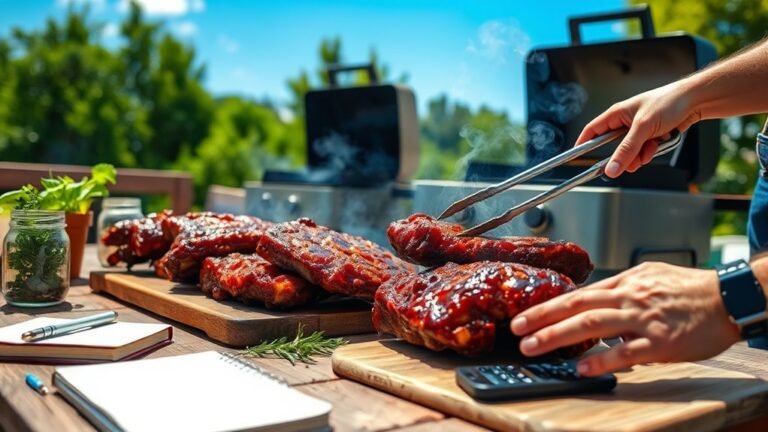
How to Build a BBQ Island in 10 Easy Steps
You can build a BBQ island in 10 easy steps by first planning your layout and gathering tools like a level and impact driver. Having a clear plan is key to creating a functional outdoor kitchen that fits your space perfectly.
Start by preparing a solid, level foundation with gravel and concrete. This ensures your BBQ island will be stable and durable for years to come.
Next, build a sturdy frame from treated lumber or metal.
Then, install plumbing, gas, and electrical lines according to local code. This step is important for safety and convenience when using your outdoor kitchen.
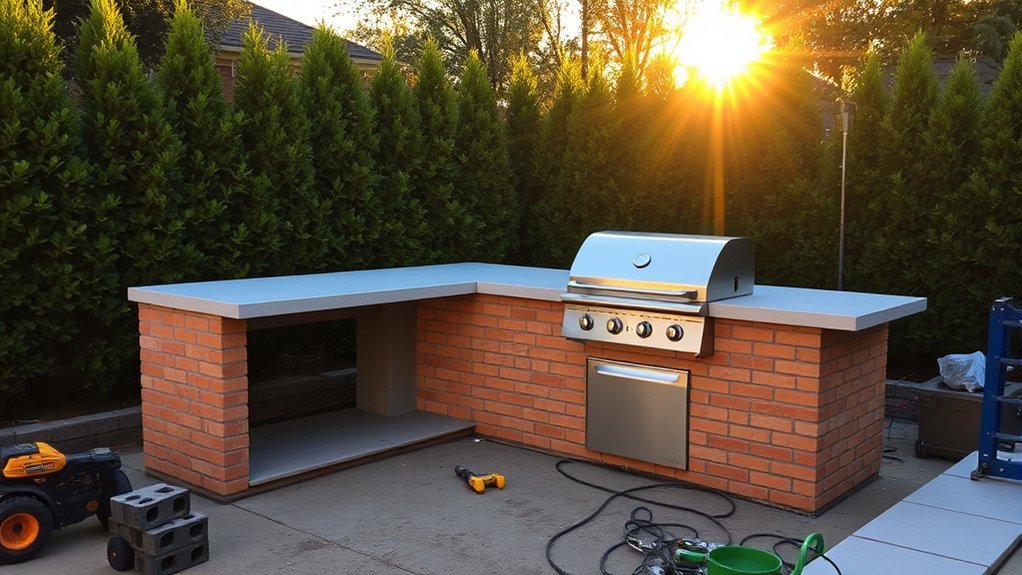
Add cabinets, countertops, and securely fit your grill. These elements not only provide storage and workspace but also give your BBQ island a polished look.
Finish with weatherproofing and accessories like lighting or a sink.
Finally, test the stability and appliance function to make sure everything works smoothly. Keep going to discover detailed tips for each stage.
Key Takeaways
– Plan layout zones, measure outdoor space, and sketch detailed BBQ island design including appliance placement and countertop overhangs.
It’s important to get these details right from the start, so you know exactly what you’re working with.
– Prepare site with proper drainage, level ground, and pour a sturdy concrete slab or footing for the foundation.
This ensures your BBQ island stays stable and lasts a long time.
– Build a level, plumb frame using treated lumber or metal, attaching cement board panels raised slightly for drainage and moisture protection.
Taking care with the frame means your structure will be solid and protected against the elements.
– Rough in plumbing, gas, and electrical lines following local codes, then install cabinets, countertops, and appliances ensuring proper fit and ventilation.
Make sure everything fits perfectly and is safe to use.
– Finish with weatherproof materials, add accessories, test stability and functionality, and secure all fasteners for a durable, safe BBQ island.
Once you’re done, you’ll have a great outdoor cooking space ready for all your BBQ adventures!
Planning Your BBQ Island Layout and Design
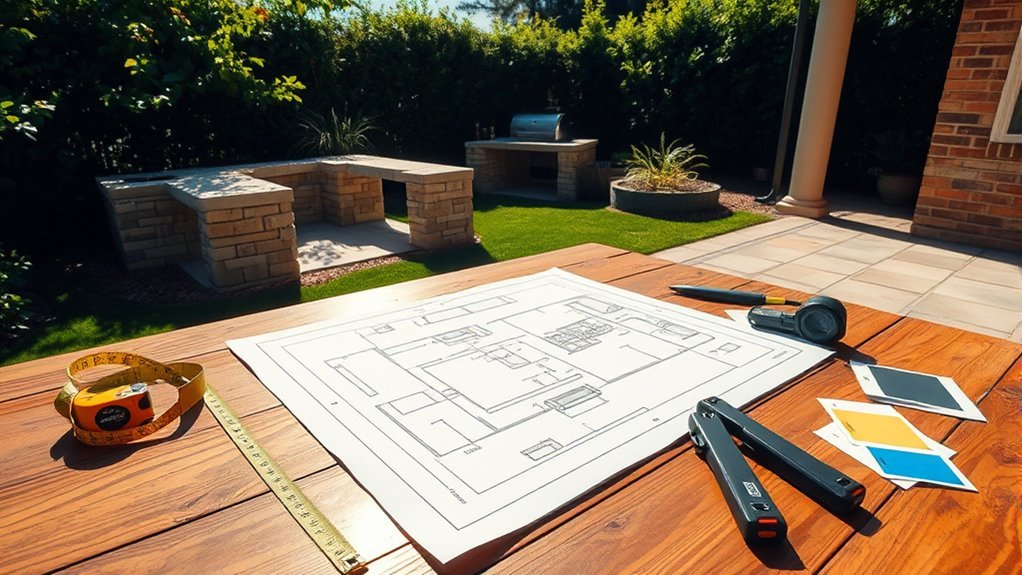
Before you start building, measure your outdoor space carefully to make certain your BBQ island fits perfectly. This step is vital in planning your outdoor kitchen and ensuring your island design complements the area.
Decide on a layout that includes distinct zones for cooking, prep, storage, and seating, tailored to how you’ll use the space. Choose the best location for utilities like gas, water, and electrical connections, keeping local codes and safety in mind.
Next, sketch a detailed plan, marking appliance placements, doors, drawers, and countertop overhangs for maximum functionality. Finally, pick materials and finishes that blend with your outdoor environment, and plan for proper drainage and ventilation around the island to keep everything running smoothly.
Gathering Essential Tools and Materials
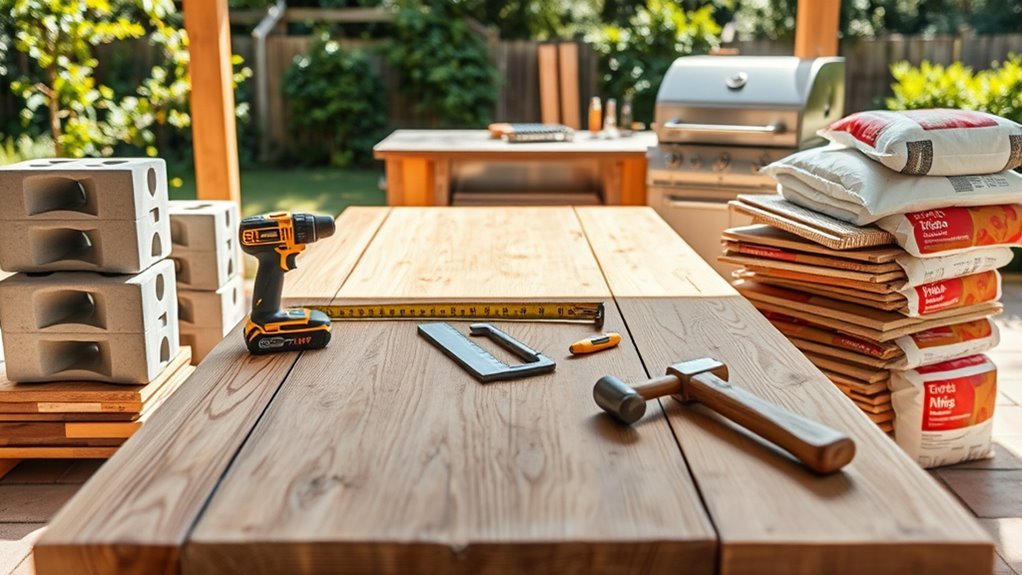
Before you start building, make sure you have all the must-have tools like an impact driver, tape measure, and levels. Choosing quality materials such as cement board and self-drilling screws will make your BBQ island durable and sturdy.
Planning where to source these supplies ahead of time will save you headaches and keep your project on track. It’s always better to be prepared than to realize you’re missing something halfway through!
Must-Have Tools
When you build a BBQ island, gathering the right tools is vital to guarantee a smooth process and a sturdy result. Start with a reliable impact driver to securely fasten panels and frame components quickly.
A level is essential to ensure your island sits perfectly even, preventing structural issues later on. You’ll also need a tape measure, pencil, and square for precise measurements and marking cutouts on cement board and countertops.
An angle grinder helps efficiently cut openings, while hand tools like combination wrenches, screwdrivers, and shims assist in assembling and adjusting parts. Don’t forget safety gear—gloves, goggles, and ear protection—to protect yourself during cutting and grinding tasks.
Having these must-have tools on hand sets you up for success from start to finish. It really makes the whole building process smoother and less stressful.
Material Selection Tips
Having the right tools ready makes choosing the best materials much easier as you plan your BBQ island. When focusing on material selection for your outdoor living space, consider durability, style, and maintenance.
Opt for materials like granite, concrete, or stainless steel for countertops to withstand weather conditions. Don’t forget sealing supplies for porous surfaces to prevent damage.
Keep these tips in mind: Match materials to your design style and budget. Also, ensure you have framing, paneling, and finishing materials on hand.
Use essential tools such as a tape measure, level, and impact driver for precise assembly. These little things can really make your project go smoothly!
Sourcing Quality Supplies
To build a sturdy BBQ island, start by gathering at least six essential tools: a pencil, tape measure, levels, impact driver, angle grinder, and box knife. Next, focus on sourcing quality supplies to guarantee durability and safety.
Choose materials like ½ inch cement board (Durock or Permabase), self-drilling lath screws, and composite shims. Don’t forget appropriate hardware such as clip nuts, washers, nuts, and bolts, especially if you’re assembling a multi-section frame.
Buy your materials in bulk from reputable suppliers to maintain consistency and avoid construction delays. Finally, confirm all your supplies meet local building codes and safety standards.
This careful sourcing sets a solid foundation for your BBQ island’s strength and longevity. It’s worth taking the time to get it right!
Preparing the Site and Foundation
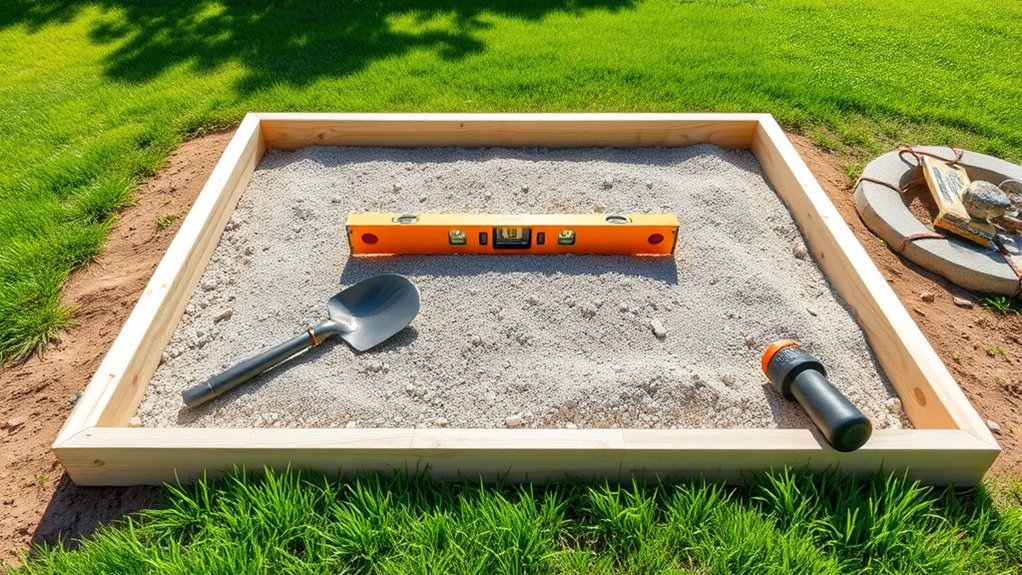
Since a solid foundation guarantees your BBQ island’s durability, you’ll need to clear and level the site carefully. Make sure there’s proper drainage and enough room to move around.
Begin by marking the exact layout with stakes and string to visualize your outdoor cooking space. Excavate to the required depth, then add a gravel base for stability and drainage.
If you want a permanent foundation, pour a concrete slab or lay a pre-formed footing. Just be sure to allow it to fully cure before building.
Keep these tips in mind:
- Use a 2-foot level to check the site’s grade and levelness.
- Ensure proper drainage to avoid water pooling.
- Leave enough space around the foundation for easy access and safety.
This prep work sets a strong base for your BBQ island project. It’s worth taking the time to get it right!
Building the Frame Structure
Start by choosing a strong, level base and marking your frame’s layout carefully. Assemble the frame using durable materials like galvanized steel, making sure all joints are secure and tight.
Use a level to keep everything plumb and stable, adjusting as needed for proper support and height. It’s important to double-check each part to ensure your structure is safe and sturdy.
Frame Assembly Basics
When you measure and mark the spot for your BBQ island, be sure to allow enough clearance for doors, drawers, and appliances. The frame assembly is a critical step that guarantees your BBQ island’s structure is solid and functional.
Start by assembling the frame using galvanized steel or aluminum tubing. Connect the sections securely with clip nuts, washers, and bolts.
Keep these tips in mind during assembly:
- Check that all frame connections are tight and stable.
- Confirm the frame height meets your design and allows proper clearance.
Use a level to keep the frame plumb, adjusting with leveling feet or shims as needed. This way, everything stays straight and solid.
Leveling and Stability
Although assembling the frame is essential, ensuring its leveling and stability is what guarantees your BBQ island will stand strong and function properly. Start by positioning the frame sections, connecting them securely with clip nuts, washers, and bolts if you’re using multiple sections.
Use a level to set the frame at its highest point, maintaining at least a ½ inch clearance from the ground. Adjust the built-in leveling feet on galvanized steel frames to achieve perfect horizontality, then tighten the backup nuts to lock the position.
Before attaching the cement board, verify the entire frame is stable and properly leveled across all axes. Double-check that the frame’s height and stability accommodate your planned countertops, appliances, and drainage needs for lasting durability.
Installing Utilities and Connections
Before installing countertops or appliances, make sure you’ve roughed in all plumbing lines for water and drainage. Next, verify that your gas supply lines are safely installed and comply with local building codes before hooking up your grill or other gas appliances.
Proper positioning is vital, so use a level and measuring tape to align utility outlets with your fixtures. Don’t forget to install electrical wiring and outlets in designated spots, following electrical codes and allowing easy future access.
Always test all connections for leaks or proper flow before sealing or closing surrounding structures. Key steps include:
- Checking plumbing and gas lines for safety and code compliance
- Accurately positioning outlets and connections
- Testing all utilities to ensure leak-free and efficient operation
Applying Cement Board and Weatherproofing
Since the frame is ready and utilities are in place, you’ll cut the cement board to fit precisely, leaving spaces for doors, drawers, and appliances. Attach the cement board to the frame with an impact driver and 1-inch self-drilling lath screws, spacing them about 10 inches apart.
Make sure to raise the cement board ¼ to ½ inch off the ground to prevent water pooling and improve drainage. Keep the protective laser film on areas until you apply finish materials to avoid damage.
After installation, seal all seams and edges thoroughly with weatherproofing caulk or sealant. This step is vital to block moisture infiltration, ensuring your BBQ island stays durable and stands up to the elements over time.
Assembling Cabinets and Storage Areas
Once you’ve marked the cabinet and storage locations on the frame, you can begin attaching the panels and shelves using impact drivers and self-drilling screws. Make sure each cabinet section is firmly secured to provide durability for your BBQ island.
Pay close attention to aligning doors and drawers, using a level and adding shims where necessary to keep them plumb.
After the cabinets are assembled, install hardware like handles, hinges, and locking mechanisms following the manufacturer’s instructions. Before moving on, verify all storage compartments open smoothly and are tightly fastened.
Key steps to focus on include:
- Securely attach cabinet panels and shelves
- Align doors and drawers with a level and shims
- Install proper hardware for functionality and security
This guarantees your cabinet and storage areas are sturdy and functional.
Installing Countertops and Grill Components
Start by measuring and marking the exact cutout on your countertop to fit the grill and appliances perfectly. Make sure to place and secure the grill components carefully, following guidelines for proper ventilation and alignment.
Finally, fasten and level the countertop to prevent gaps and guarantee a sturdy, professional finish. This way, everything will look great and work just right.
Countertop Measurement Tips
Before cutting your countertop, you’ll want to measure your grill and appliances carefully to guarantee a perfect fit. Accurate countertop measurement is essential in your DIY BBQ island project to avoid costly mistakes and ensure a smooth installation.
Use a flexible measuring tape to capture all dimensions, especially around irregular shapes or existing structures. Don’t forget to leave at least a 1/2-inch overhang on the edges for a polished look. Always double-check your measurements at multiple points before making any cuts.
Keep these tips in mind:
- Measure the grill and appliances, allowing for proper manufacturer-specified clearance
- Use flexible tape for custom cutouts around irregular shapes
- Include a 1/2-inch countertop overhang for ease of installation and aesthetics
Following these steps will set you up for success.
Grill Component Placement
Although it might seem straightforward, placing grill components requires careful measurement and cutting to guarantee a perfect fit in your countertop. Start by measuring and marking the exact cutout spots for your grill and any additional BBQ features.
Use an angle grinder with a diamond blade to cut openings precisely along your markings. Next, insert the grill into its designated spot, making sure it sits flush and fits securely.
Attach side panels, shelves, or other accessories around the grill, ensuring everything is level and well-supported. Before finishing, double-check all connections, vents, and clearance requirements to ensure safety and functionality.
Taking these steps will help you build a durable, efficient BBQ island tailored perfectly to your outdoor cooking needs. It’s all about getting those details right so your setup works great and looks fantastic.
Securing and Leveling
When you install your countertops and grill components, make sure to use a 2-foot level to keep everything perfectly plumb and even. Achieving the right level is vital for both function and appearance.
To guarantee stability and proper alignment, follow these steps: use self-drilling screws to secure doors, drawers, and appliances, adding shims to adjust as needed. Also, maintain at least a ½ inch gap beneath countertops for drainage and easy cleaning.
Before setting heavy components like the grill insert, verify the entire structure’s stability. Once everything is level and stable, tighten all fasteners securely to prevent shifting or uneven surfaces.
Taking these steps guarantees your BBQ island will be solid, safe, and ready for cooking.
Adding Finishing Touches and Accessories
How can you transform your BBQ island from functional to exceptional? Start by choosing finish materials that complement your outdoor kitchens, such as stone veneer or decorative tiles.
Then, add practical accessories like side shelves, spice racks, and tool hooks to boost usability. Installing LED strips or task lighting enhances both visibility and ambiance during evening cookouts.
Don’t forget weather-resistant covers to protect your investment from the elements. Always follow safety guidelines when connecting electrical or gas accessories.
| Finishing Touches | Accessories |
|---|---|
| Decorative tiles | Side shelves |
| Stone veneer | Spice racks |
| Outdoor trim | Tool hooks, LED lighting |
Testing Stability and Functionality
Before you finalize your BBQ island, you’ll want to thoroughly test its stability and functionality to guarantee safety and ease of use. Start by gently rocking the structure to check for any wobbling, ensuring overall stability.
Thoroughly test your BBQ island’s stability by gently rocking it to ensure it’s safe and secure.
Next, tighten all fasteners, especially at joints and support points, to keep everything secure. Use a 2-foot level to verify the island is perfectly plumb and horizontal, adjusting shims or leveling feet as needed.
Also, confirm that the cement board and countertop are well supported and don’t sag under pressure. Finally, test that appliances, doors, and drawers open smoothly without obstruction to ensure full functionality.
- Check for movement or wobbling by gently rocking the island
- Tighten all connections and fasteners
- Test appliances and doors for smooth operation
Conclusion
Building your BBQ island is easier than you think—just follow these 10 steps, and you’ll have a backyard centerpiece in no time.
Did you know that 70% of homeowners say an outdoor kitchen increases their property’s value? That means your new BBQ island isn’t just perfect for summer cookouts; it’s also a smart investment.
So get started, enjoy the process, and soon you’ll be grilling like a pro right at home! With your own BBQ island, outdoor cooking becomes a breeze, making every gathering more enjoyable.
By creating this outdoor kitchen space, you’re not only enhancing your backyard’s look but also adding real value to your home. Ready to build your BBQ island? Let’s get grilling!