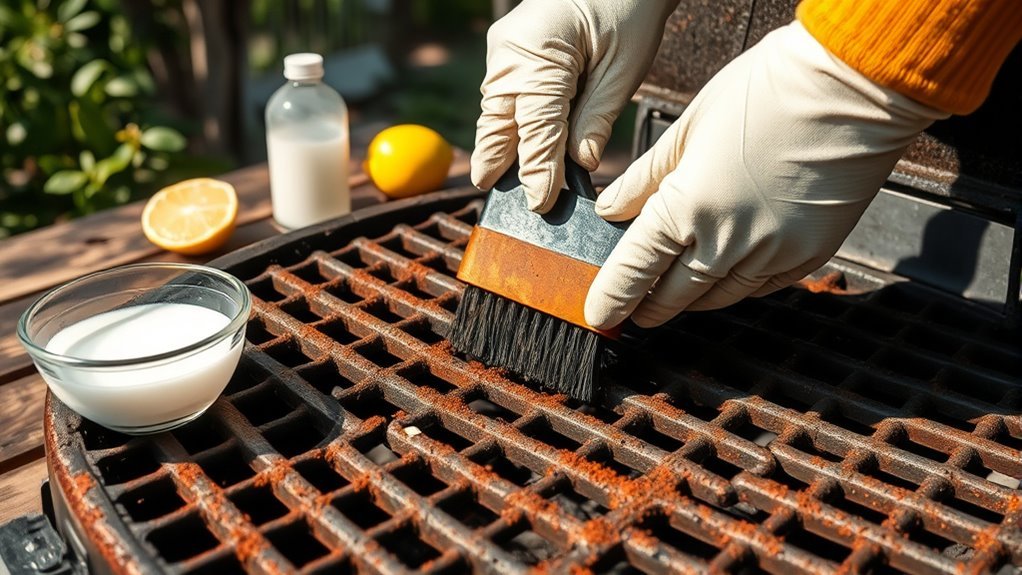
10 Easy Steps to Clean Rust Off Grill Grates
Start by inspecting your grill grates for rust and damage. Gather supplies like a wire brush, baking soda, and vinegar to get ready for cleaning.
Preheat the grill to loosen the rust. Then, use the brush or steel wool to scrub away the rust buildup.
For stubborn spots, apply a baking soda paste. Rinse thoroughly with warm water and dry completely to prevent new rust from forming.
Finally, season the grates with oil to protect the surface.
Clean your grill regularly to keep it rust-free and in great shape.
Keep following these easy steps, and you’ll master rust removal in no time!
Key Takeaways
- Preheat your grill to 400-500°F and let it heat up for 10-15 minutes. This helps loosen the rust, making it easier to scrub off.
- Grab a wire brush or some steel wool and scrub the grates thoroughly. You want to get rid of all that rust and any leftover debris.
- For those stubborn rust spots, try applying a baking soda paste or some vinegar. These are great at breaking down rust effectively.
- Once you’ve treated the rust, rinse the grates with warm water. This will wash away all the cleaning residues and rust particles.
- Make sure the grates are completely dry. Then, season them with a thin layer of oil that has a high smoke point. This helps keep rust from coming back.
Assess the Condition of Your Grill Grates
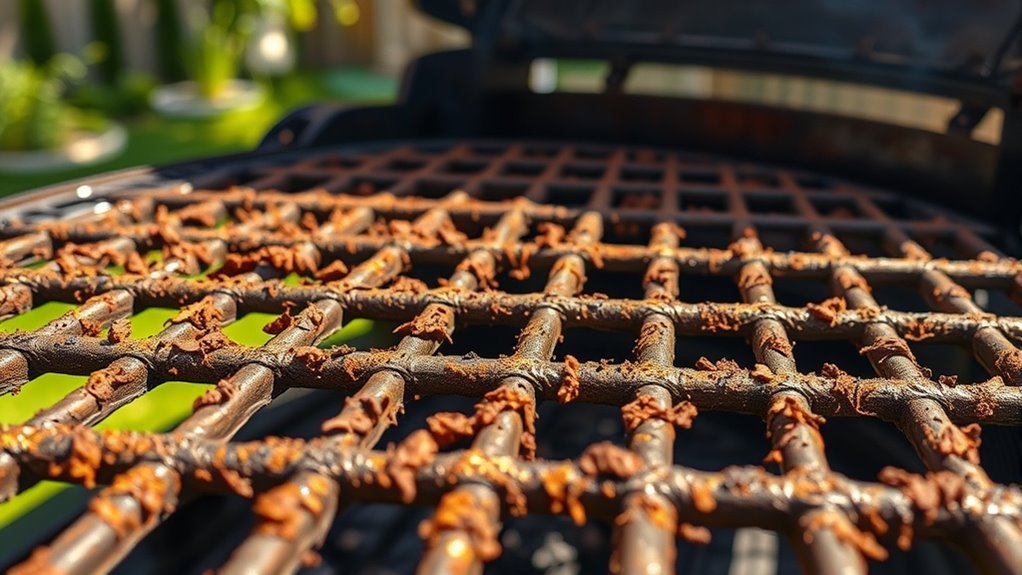
Before you begin cleaning, take a close look at your grill grates to assess the rust’s severity. Check for visible rust, flaking, or corrosion to understand how deeply it has affected the surface.
Inspect your grill grates carefully to gauge rust severity before starting the cleaning process.
Identify the material of your grates—cast iron or stainless steel—since each requires different cleaning methods. Look closely for deep pitting or structural damage; significant deterioration might mean replacement is necessary instead of cleaning.
Determine if the rust is just on the surface or has penetrated deeply, compromising the grates’ integrity. Also, consider your grill’s age and past maintenance, as these factors influence how much effort you’ll need to remove the rust.
This thorough assessment helps you choose the most effective approach for cleaning your grill grates.
Gather the Necessary Cleaning Supplies
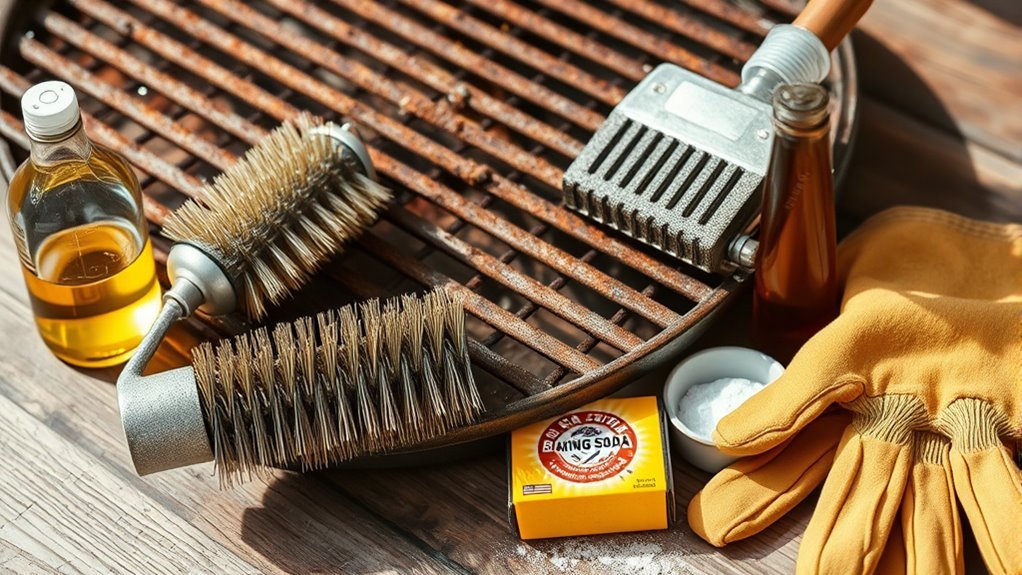
You’ll want to gather essential cleaning materials like a wire brush, baking soda, vinegar, and protective gloves before you start. Choose safe cleaners that won’t damage your grill or harm you during the process.
Setting up your workspace with warm water and soap nearby will make rinsing and cleanup easier. It’s all about making the job simpler and safer!
Essential Cleaning Materials
Although tackling rust may seem intimidating, gathering the right cleaning materials makes the job much easier. You’ll want a few essentials: a wire brush or a high-quality grill brush to scrub off surface rust and keep your grates clean afterward.
Baking soda acts as a gentle abrasive that lifts rust without harming the metal. Vinegar’s acetic acid is great for dissolving rust if you plan to soak or make a paste.
Aluminum foil crumpled into a ball serves as a handy scraper to remove stubborn rust patches. And, ultimately, a stiff scrubber helps reach tricky spots.
With these materials on hand, you’ll be well-prepared to restore your grill grates to their best condition.
Choosing Safe Cleaners
Since using harsh chemicals can damage your grill grates, choose safe, non-abrasive cleaners like vinegar, baking soda, or grill-specific degreasers. These safe cleaners effectively tackle rust removal without harming the grate material.
For heavier rust buildup, opt for rust removers formulated specifically for grills. Before you start, gather all necessary supplies: a wire brush, soft scrubber, baking soda, vinegar, and a spray bottle.
Always wear gloves and eye protection when handling any cleaning products to keep yourself safe. Make sure all cleaners you use are food-safe and rinse the grates thoroughly after cleaning to avoid contamination.
Preparing Your Workspace
Once you’ve picked the right cleaners, it’s important to get your workspace ready before tackling the rust. Preparing your workspace ensures you work efficiently and safely.
Start by gathering all necessary cleaning supplies so you won’t have to stop mid-task. Make sure your workspace is clear of clutter and set up a stable surface for the grill grates. Don’t forget to wear protective gloves and safety glasses to shield yourself from debris and chemical splashes.
Here’s what you’ll need to gather:
- Wire brush, baking soda, vinegar, aluminum foil, and a sponge
- Bucket of warm water mixed with dish soap for rinsing
- Protective gloves and safety glasses
- Well-ventilated area or outdoor space
Getting these cleaning supplies and workspace ready sets you up for success. It really makes the whole process smoother and safer.
Preheat the Grill to Loosen Rust
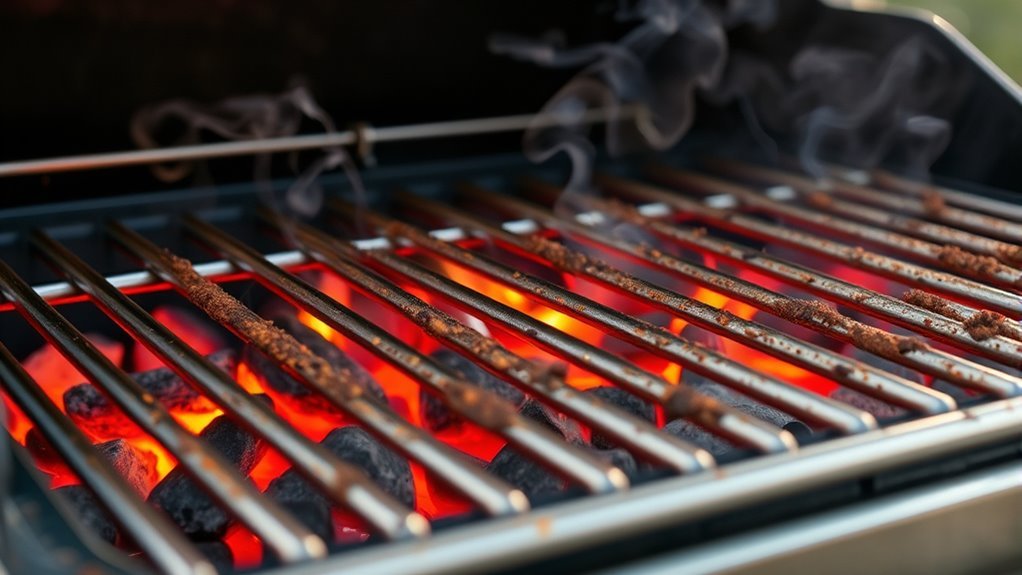
Start by preheating your grill to around 400-500°F to activate rust removal. The heat makes rust brittle and loosens it, so scrubbing becomes much easier.
Just remember to wear heat-resistant gloves when handling the hot grates for safety. It’s a simple step that really makes the cleaning process smoother and safer.
Heat Activates Rust Removal
When you preheat your grill to high heat, rust particles expand and loosen, making them easier to remove. The heat helps oxidize the rust further, breaking it down so you can clean more effectively.
Here’s why heating your grates is a key step: heat causes rust to expand and detach from the surface. Oxidation speeds up, softening rust layers.
Loose rust and debris burn off, reducing scrubbing effort. Preheat for 10-15 minutes for ideal results.
Always wear heat-resistant gloves when handling hot grates to avoid burns. By activating rust removal with heat, you make the cleaning process quicker and less strenuous.
This simple step sets you up for a much cleaner grill grate. It really makes a difference!
Warm Grates Ease Scrubbing
Although scrubbing rust off cold grill grates can be tough, warming them up makes the task much easier. When you preheat the grill to a medium-high temperature for about 10-15 minutes, the metal warms and rust expands slightly, loosening baked-on rust and grease.
This heat softens rust layers, making them less adherent and easier to clean. After preheating, let the grates cool slightly to avoid burns and improve safety while scrubbing.
Using a wire brush or scraper on warm grates will remove rust more efficiently, reducing the effort needed. By warming your grill grates before cleaning, you’ll save time and energy, ensuring your grill stays in great shape and ready for your next cookout.
Use a Wire Brush or Steel Wool to Scrub Rust
If you want to effectively remove rust from your grill grates, using a wire brush or steel wool is your best bet. A wire brush with stiff bristles works great on warm grates to knock off loose rust and flaking paint.
For stubborn rust spots, steel wool pads provide abrasive cleaning without harming cast iron or stainless steel surfaces. When scrubbing, apply firm, consistent pressure to break up rust layers thoroughly.
Remember to protect yourself by wearing gloves and eye protection to avoid injury from flying debris or bristles. To keep your grill grates in top shape, clean them regularly with these tools.
Here’s what to keep in mind:
- Use a wire brush on warm grates for loose rust
- Scrub stubborn spots with steel wool
- Apply steady pressure for best results
- Wear protective gear during cleaning
Apply a Baking Soda Paste to Stubborn Rust Spots
Because stubborn rust spots can resist simple scrubbing, applying a baking soda paste offers a powerful yet gentle solution to break down corrosion on your grill grates. Start by mixing baking soda with a small amount of water to create a thick, spreadable paste.
Apply this paste directly onto the rusted areas, making sure to cover each spot fully for effective rust removal. This targeted approach helps loosen the rust without damaging your grates.
After applying, you’ll want to wait before scrubbing, but for now, focus on evenly coating the rust. This method uses baking soda’s mild abrasiveness and chemical properties to tackle rust safely.
Once the paste sets, you’ll be ready to scrub and rinse the grates, restoring them to a cleaner state.
Let the Paste Sit Before Scrubbing Again
While the baking soda paste sits on your grill grates, it works to break down rust particles, making your scrubbing more effective later on.
When you let the paste sit on rusty grates for 10-15 minutes, it triggers a chemical reaction that loosens stubborn rust.
This waiting period is key to achieving a cleaner surface without excessive effort. Here’s why patience pays off:
- The paste penetrates deep into rusted areas.
- Rust particles break down, easing removal.
- Avoid scrubbing immediately to maximize effectiveness.
- The process prepares the grates for easier scrubbing with a wire brush.
Rinse the Grill Grates Thoroughly With Water
Once you’ve let the baking soda paste work its magic, rinse the grill grates thoroughly with warm water to wash away loosened rust particles and any leftover cleaning residue. Using warm water helps dissolve and remove rust residues and cleaning agents like baking soda or vinegar.
Make sure you rinse every surface well to prevent any cleaning agents from lingering, which could affect the flavor of your food later. After rinsing, take a close look at the grates for any remaining rust spots.
If you spot stubborn rust, rinse again until the grates are completely clean. This thorough rinse with water is essential for a clean, safe grill surface before moving on to the next step.
Dry the Grates Completely to Prevent Future Rust
To prevent rust from returning, you need to dry the grill grates completely after rinsing. Residual moisture is a prime cause of rust, so eliminating it is essential.
Use a dry cloth or paper towels to wipe every surface thoroughly. After drying, consider these tips to keep rust at bay:
- Wipe the grates with a dry cloth to remove all water.
- Store the grill in a dry, sheltered area to avoid humidity.
- Cover the grill when not in use to reduce condensation.
- Regularly inspect and dry the grates to catch early rust.
Taking these simple steps really helps keep your grill in great shape. It’s all about staying on top of moisture and storage!
Season the Grates With Vegetable Oil
Because rust forms when moisture lingers on your grill grates, applying a thin layer of vegetable oil creates a protective barrier that keeps water away and prevents rust from developing.
After thoroughly cleaning and drying your grates, use a high-smoke point vegetable oil like canola or grapeseed for seasoning. Simply wipe a light coat onto the grates with a cloth or paper towel, making sure to cover them evenly.
This seasoning not only blocks moisture but also enhances your grill’s non-stick surface. It makes cooking easier and helps extend the lifespan of your grates.
Maintain Regular Cleaning to Keep Rust at Bay
You’ll want to clean your grill grates right after each use to stop rust before it starts. Scrubbing with a wire brush and wiping them dry keeps moisture—and rust—away.
Regular care like this makes your grill last longer and cook better every time. It’s a simple step that really pays off!
Consistent Post-Grilling Care
Although rust can develop quickly on grill grates, cleaning them thoroughly after each use prevents food residue and moisture buildup that cause corrosion. Consistent post-grilling care is essential to keep your grill grates rust-free and performing well.
Incorporate these simple steps into your regular maintenance routine:
- Brush off debris immediately after cooking while the grates are still warm.
- Wipe the grates with vegetable oil before storing to create a protective barrier.
- Cover your grill and store it in a dry place to reduce moisture exposure.
- Schedule a deep clean and rust removal session at least once a year.
Preventive Rust Maintenance
When you clean your grill grates regularly, you prevent rust from taking hold by removing food residue and moisture that cause corrosion. To further prevent rust, apply a thin layer of vegetable oil or a rust-resistant coating before storing your grill. This creates a protective barrier against moisture.
Always cover your grill with a heavy-duty, waterproof cover when it’s not in use to block rain and humidity. If possible, store your grill in a dry, sheltered spot, especially during winter months, to reduce rust risk.
Don’t forget periodic deep cleaning and seasoning of the grates to maintain their finish and keep rust buildup at bay. By following these preventive rust maintenance steps, you’ll keep your grill in great shape and ready for your next cookout.
Conclusion
Now that you’ve tackled rust off your grill grates, you might wonder if seasoning them really helps prevent rust or if it’s just a grilling myth. Well, seasoning creates a protective layer that keeps moisture—and rust—away, so it’s definitely worth the effort.
By keeping up with regular cleaning and seasoning, you’ll extend your grill’s life and enjoy better-tasting food. So, don’t skip these steps—they actually make a difference! Regular maintenance not only keeps rust at bay but also ensures your grill grates stay in great shape for many BBQ seasons to come. Remember, a well-seasoned grill grate is key to both preventing rust and enhancing your grilling experience.